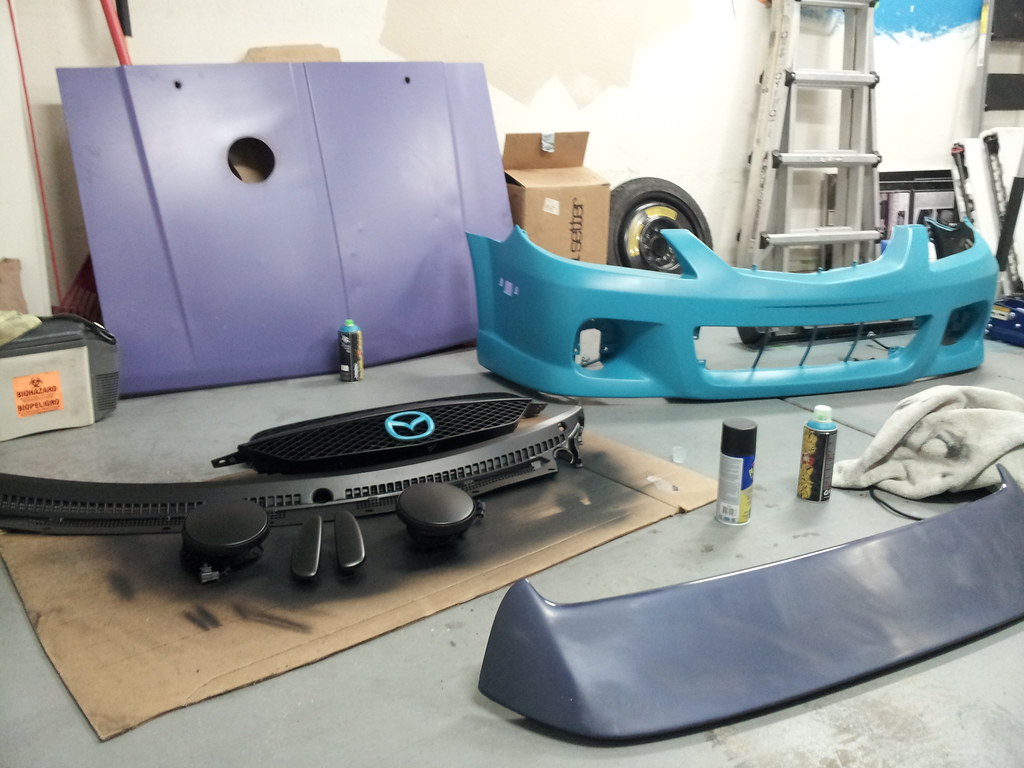
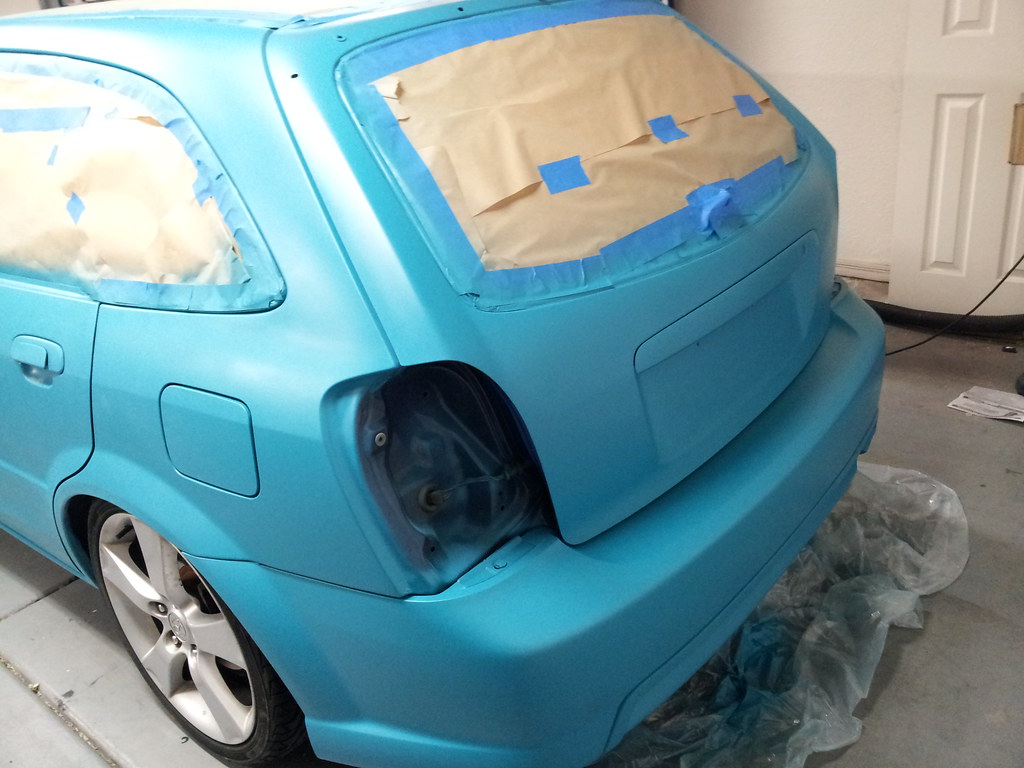
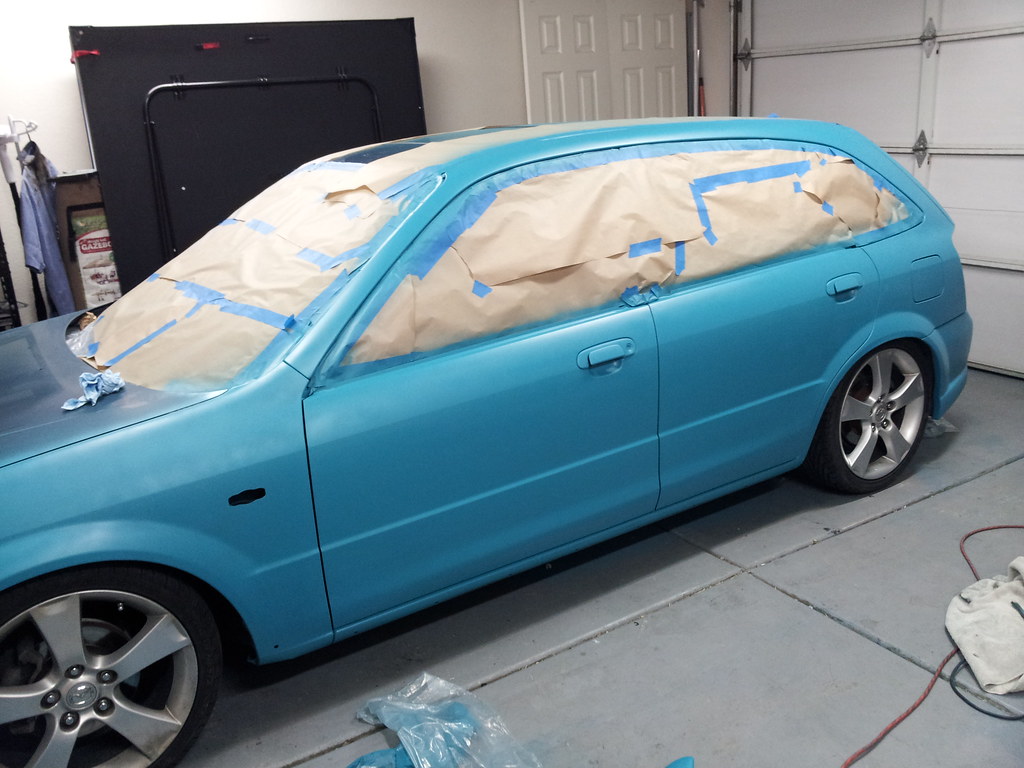
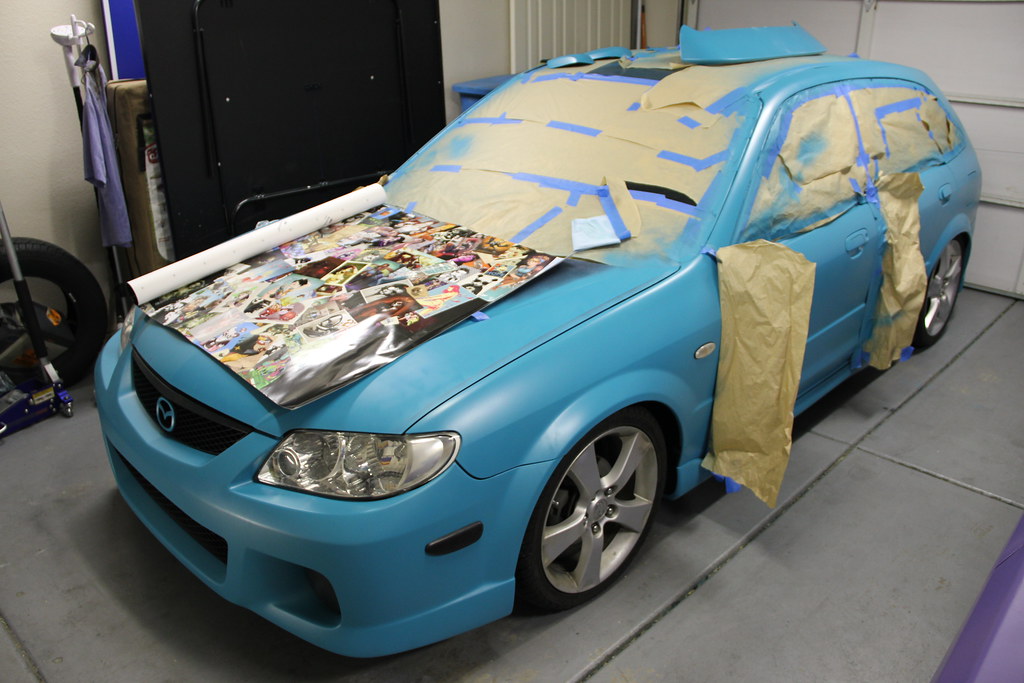
How far did you disassemble the car? Did you remove door handles and everything? Did you paint it with the bumpers and hood on the car? Or how much of it was just carefully taping off window trim and what not? I am curious about the paint, since you said it went on thick, did you have issues with small spaces and it clogging, particularly creases between door handles etc.