
I did the right side last weekend and there was no change to the WAH WAH WAH WAH noise coming from the front end. So I started freaking out and thinking its bent wheel, broke tires, yadda yadda. This morning I jacked it up and ran it in forth gear and listened with my stethoscope. Sure enough the noise was coming from the left side bearing. I swore it was the right but my wife said "I thought it was the left all along". Guess I should have asked her oppinion, usually women can discern noise direction way better than men, at least in my experience. Anyway, after having had my @#!*% kicked by the right side and purchasing a real press to complete it, I tackled the left side today and took pictures. This time went A LOT better. I consulted the manual and was delighted to find that my techniques on the right were not too far off par. So here's what I did to do the left.
Items it would have sucked to not have:
-a good press
-a 3/4" socket set (a lot of use on the press)
-5' piece of 1" black pipe, the uber breaker bar.
-chisel and punch
-2lb ballpien, you need the oomph.
-torque wrench
-factory manual for torque specs
The rest is just usual tools like sockets, wrenches and pliers.
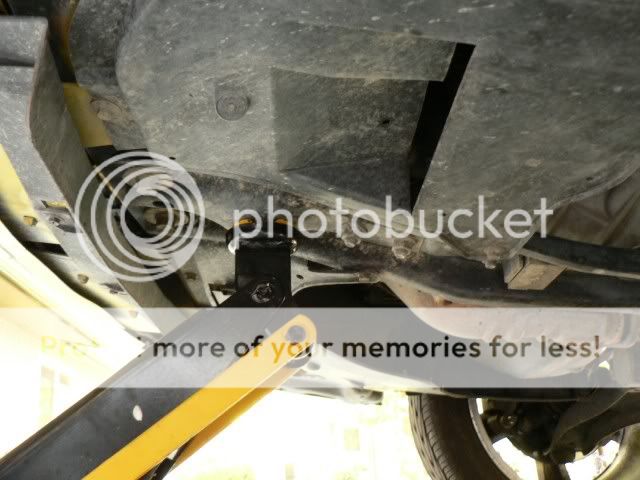
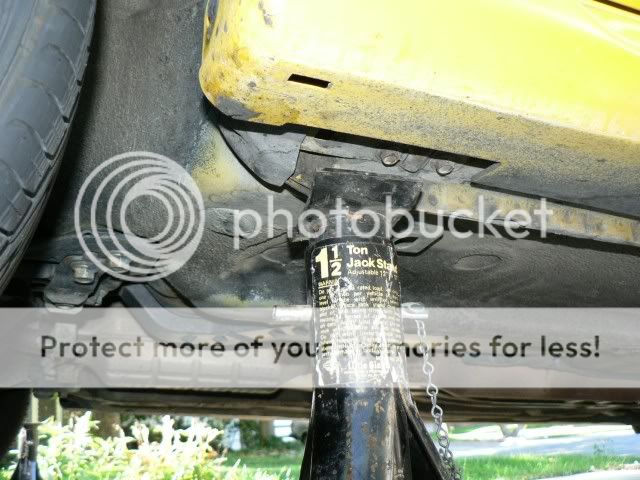
1. Jacked up the car. I chose the crossmember as I use jackstands on the side.
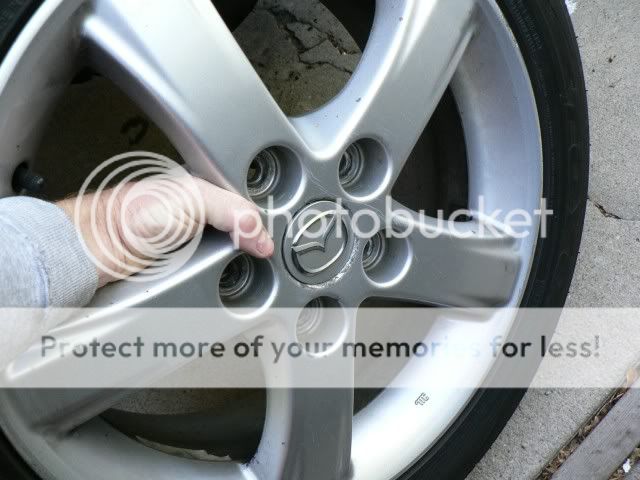
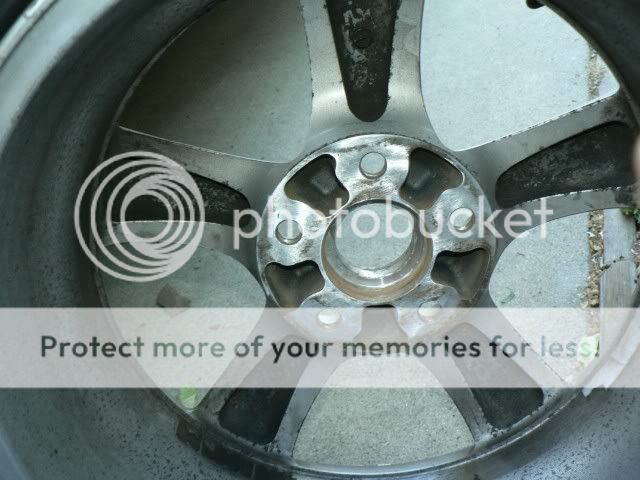
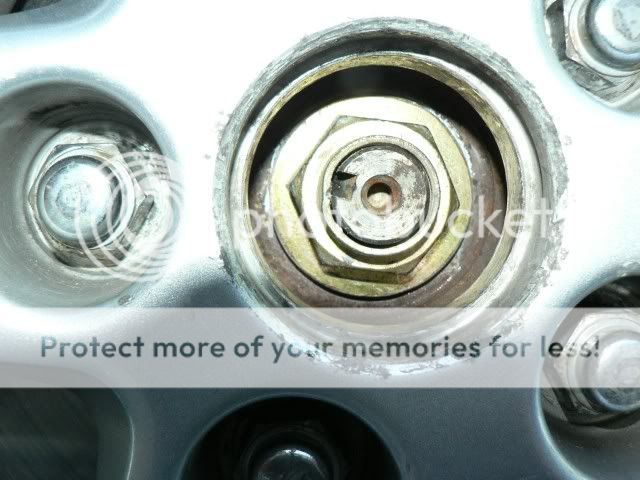
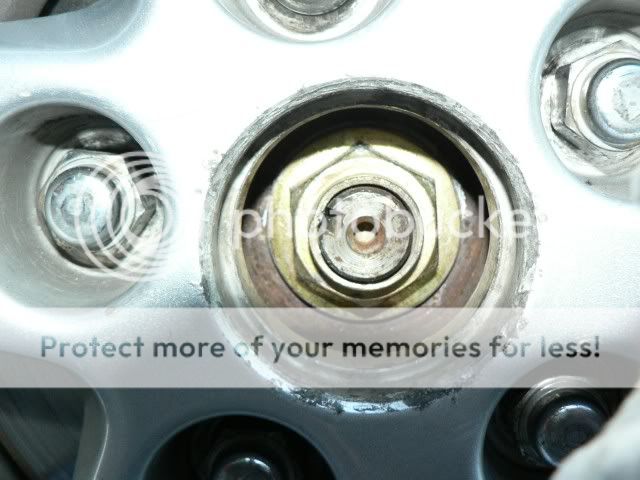
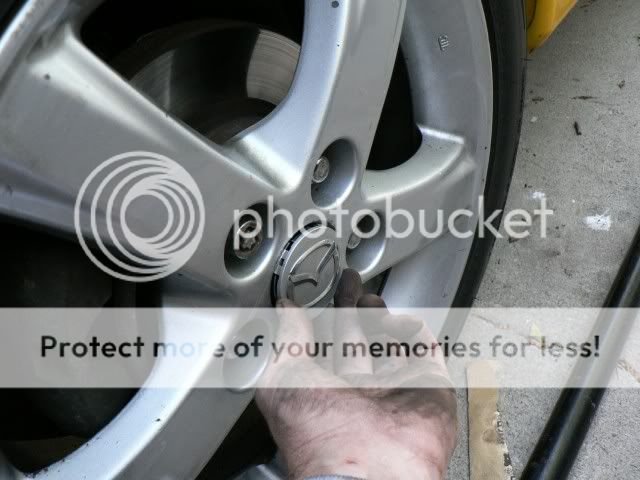
2. Removed the wheel and pushed out the center cap. This is to give acces for the axle nut using my breaker bar.
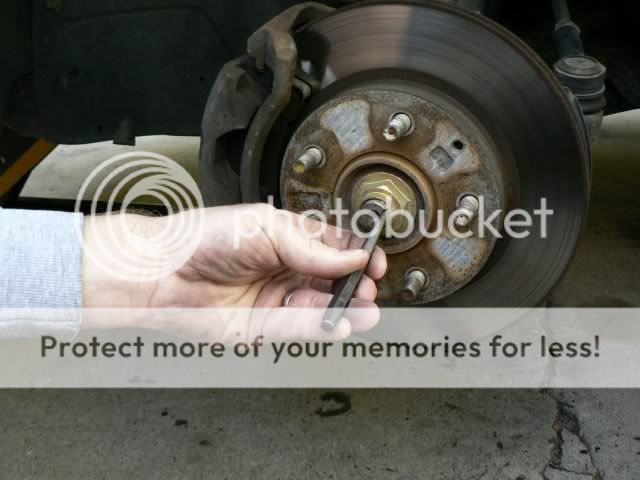
3. Used a punch to raise the divot on the axle nut.
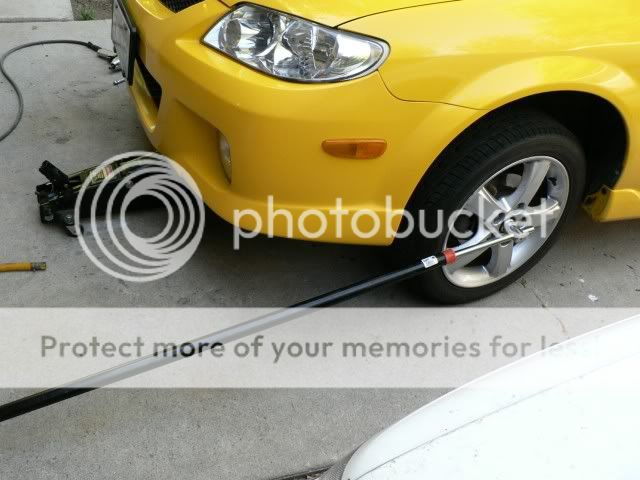
4. Reinstalled the wheel, lowered it and used a breaker bar to loosen the nut.
5. Raised it up again, placed a jackstand and removed the wheel.
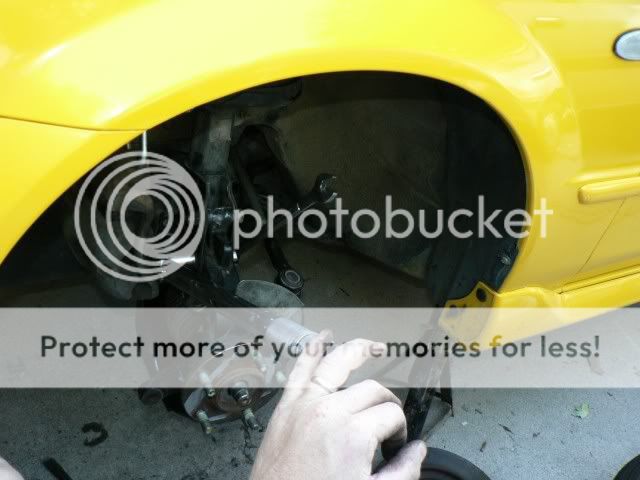
6. Pulled the brake hose clip
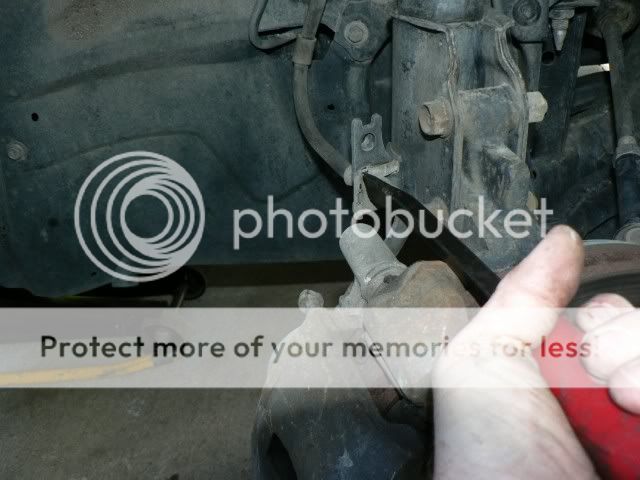
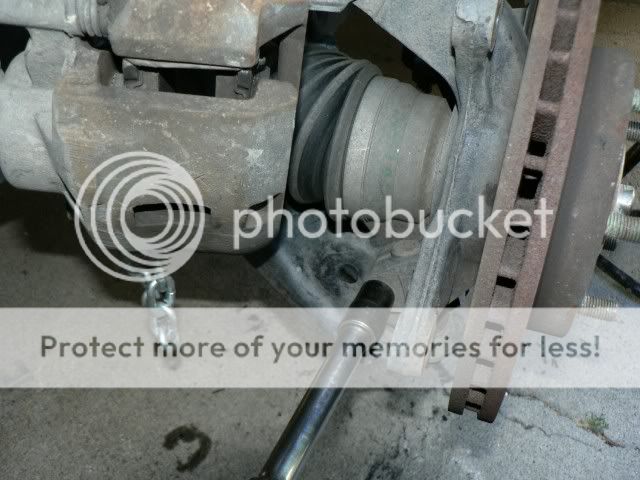
7. Took the caliper off, the top bolt is tricky, had to use an extension. The morons at Les Schwabb put red loktite on it (brake service before I bought the car).
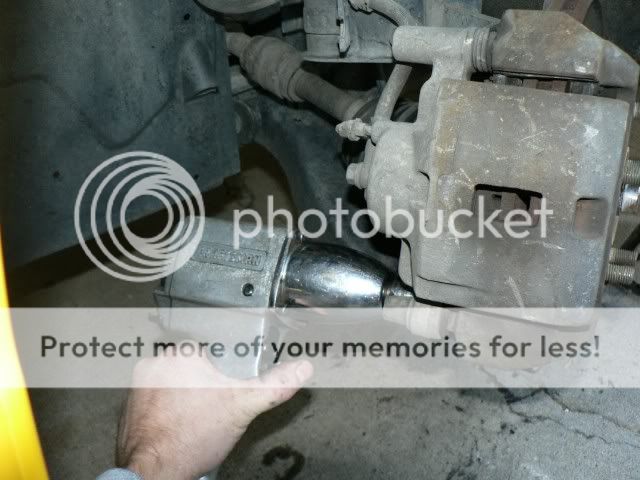
8. Hung the caliper out of the way

9. Took the balljoint bolt out.
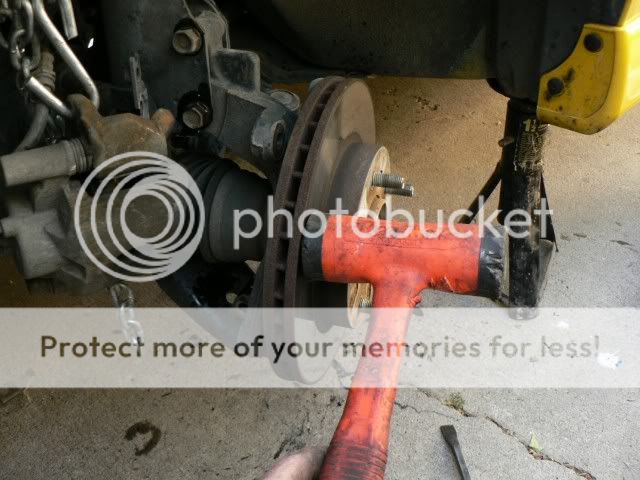
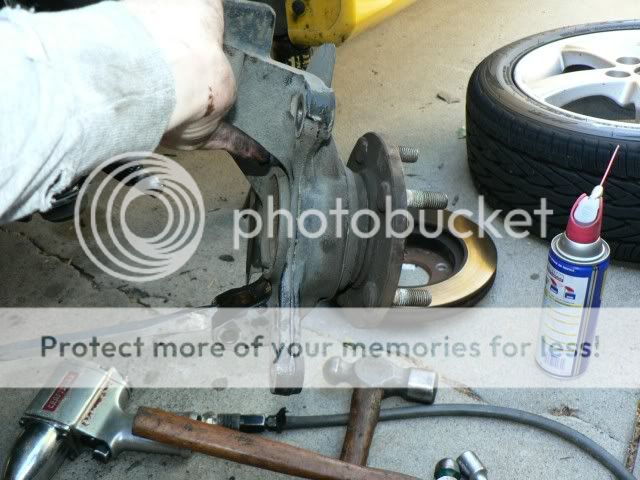
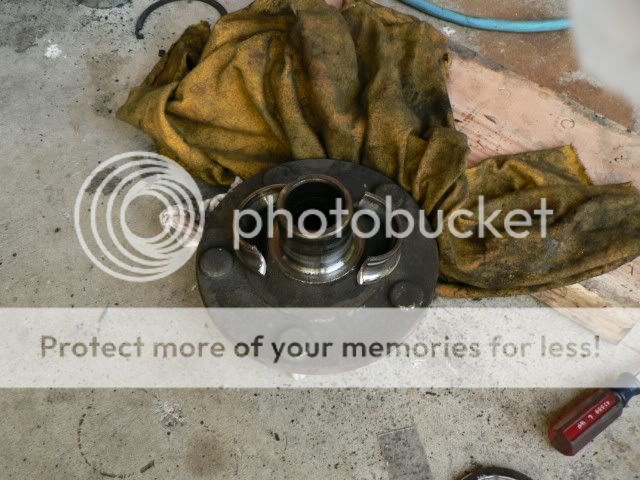
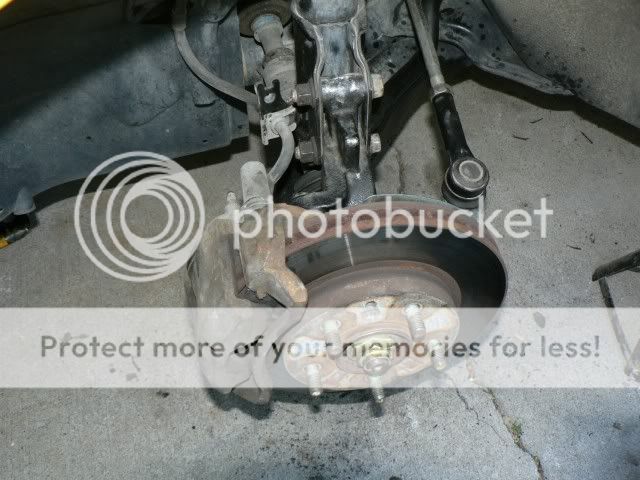
10. Used a soft hammer to break the rotor loose and remove
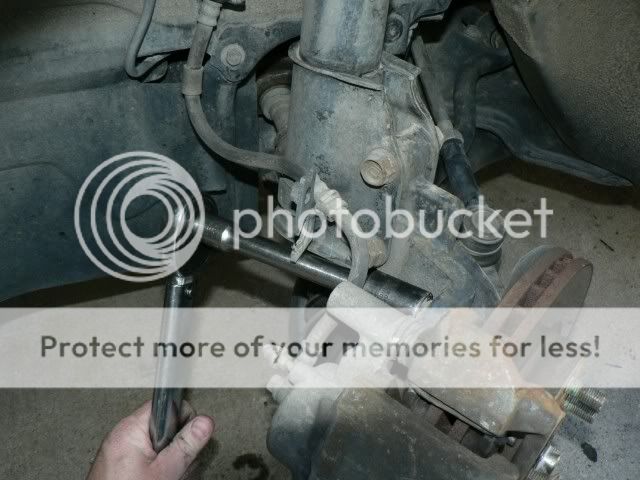
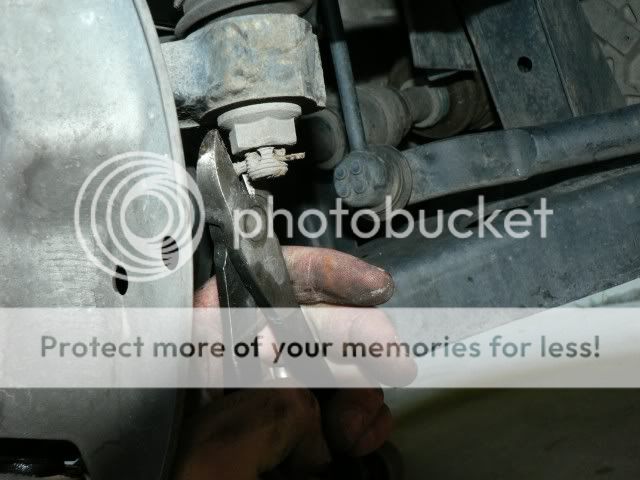
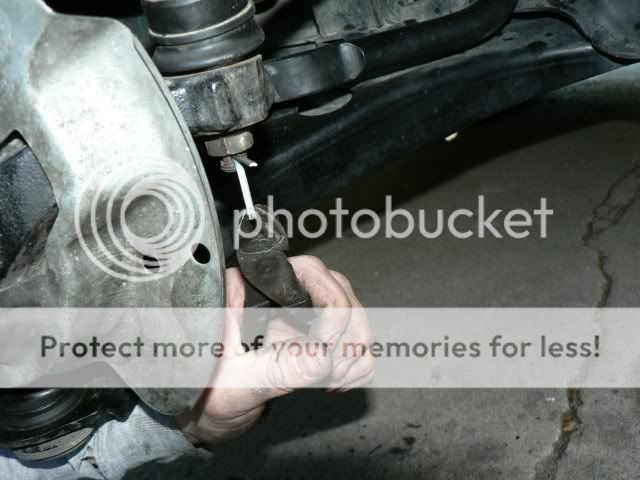
11. Took out the tierod cotter pin and nut. Once I straighten the bent sides, use the side cutters to "lever" the pin out, its the easiest way and if I sqeeze gentle enough the pin can be reused.
12. Using a 30" pry bar I pry up on the tie rod end and bang the knuckle (right by the tirerod) with a 2lb ballpein. Works every time, takes 5 to 15 blows with the hammer before it pops loose. Gotta brace myself when it gives I'll go flailing backward if I'm not ready

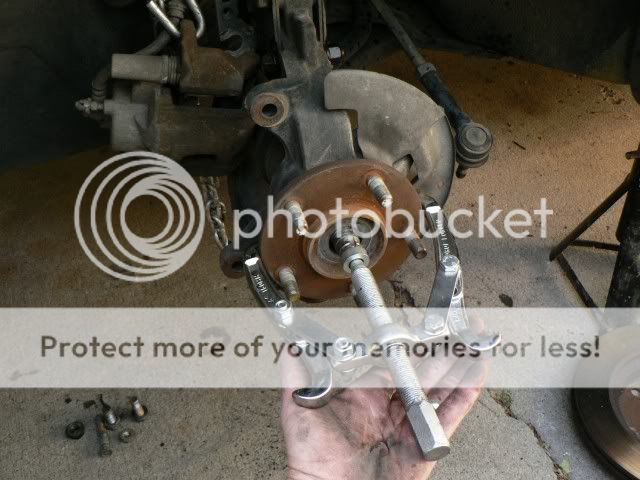
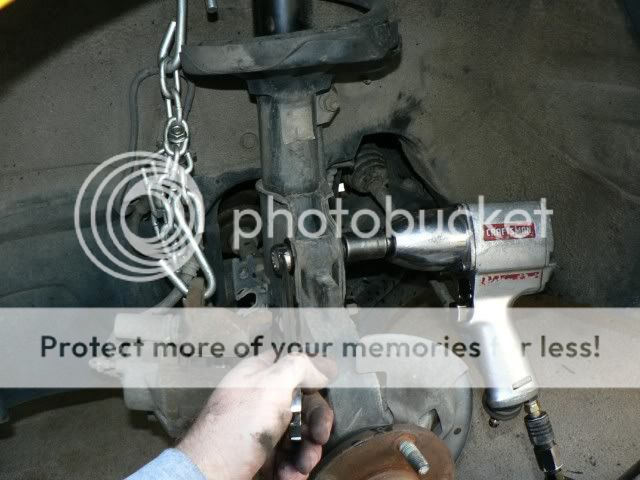
13. Use a puller and penetrating lube on the axle, I have never done this before and it worked like a champ on the right. Thanks to the member who suggested it on another thread. This axle didn't require the puller but I put it on for example.
14. Removed the strut bolts.
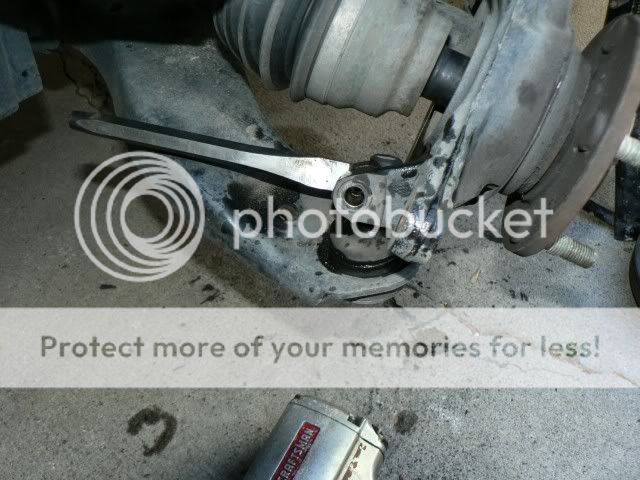
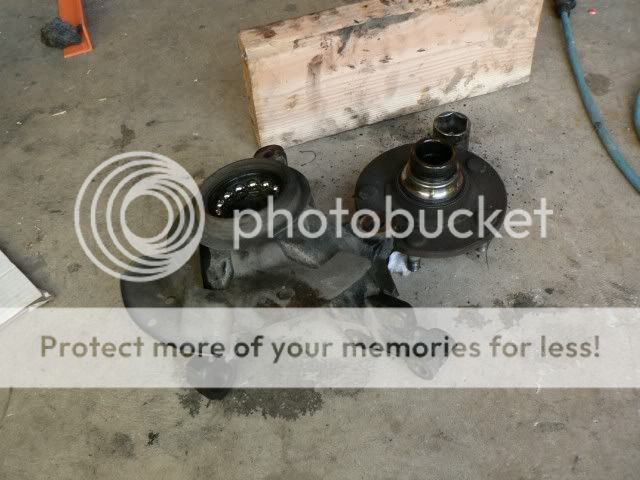
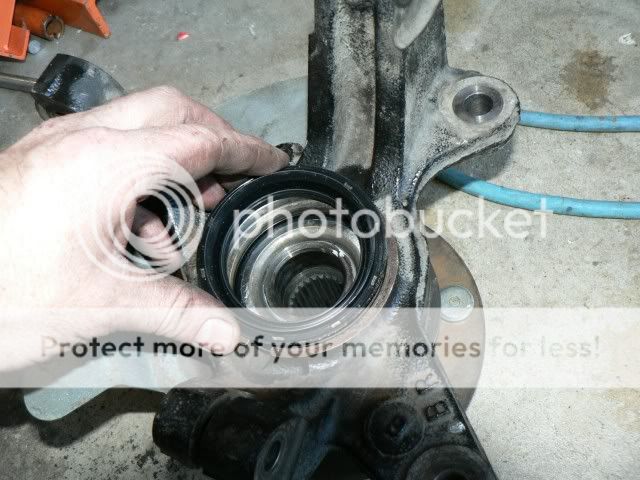
15. Put a large cold chisel in the balljoint slit to spread the knuckle and then lift the assembly off the balljoint.
** Here I it was very easy to feel and hear that the bearing was toast. A nice grinding feel and noise when spinning the hub.
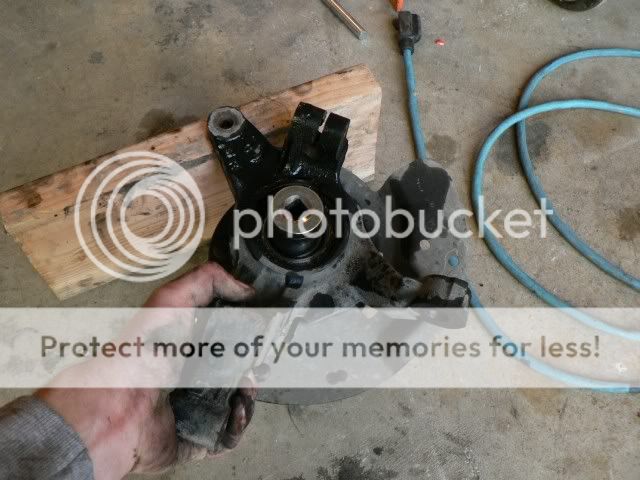
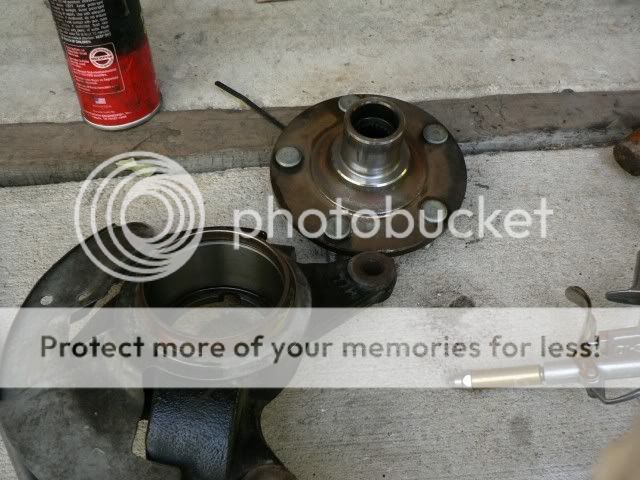
16. Propped the knuckle tierod flange on a 2x6 and placed a socket that was slighly smaller in diameter than the HUB and gave it a few strong blows with the 2lb hammer till it fell out.
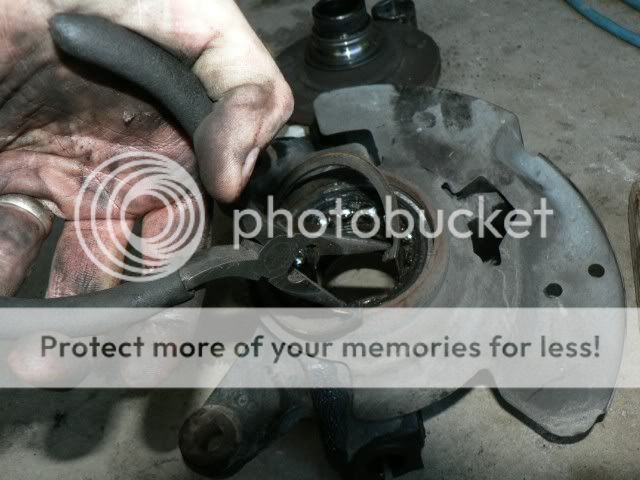
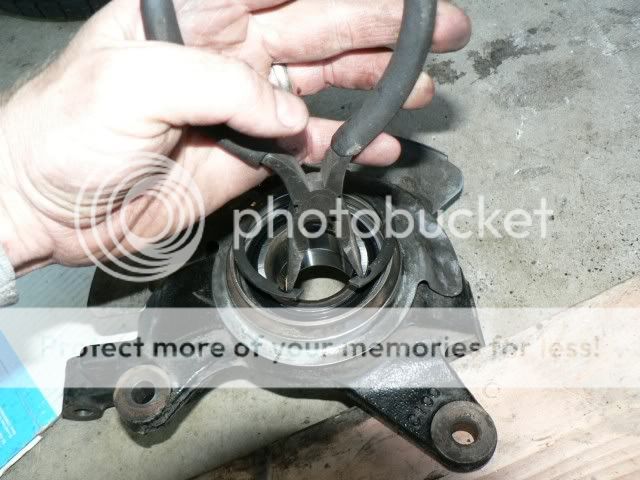
17. Used needlenose pliers to remove the retaining ring and sprayed penetrating lube all over the bearing.
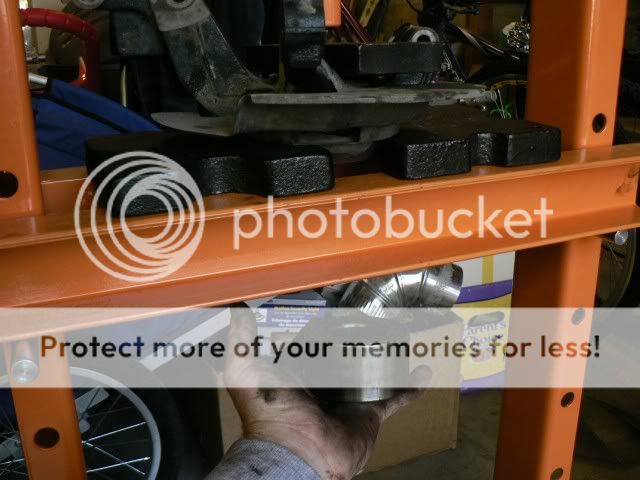
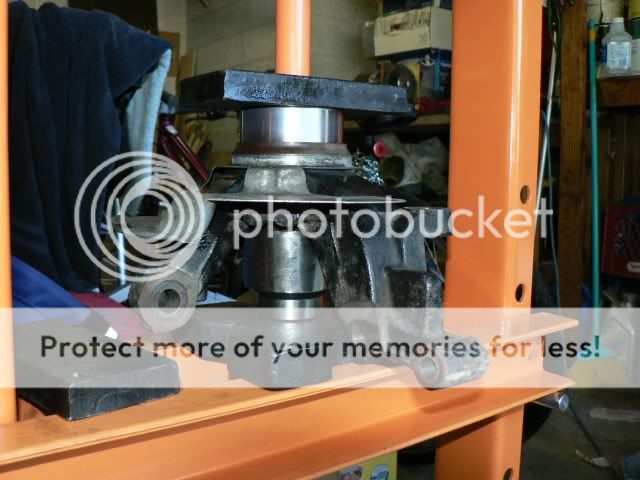
18. Placed the knuckle on the press plates and selected a socket that fit the INNER RACE.
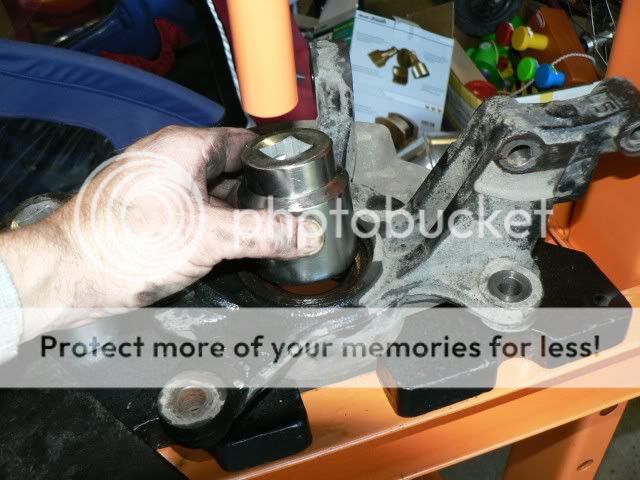
19. It wouldn't budge and I don't like loading up a 12 ton press with no movement. So I took the knuckle out and repeated what I did at step 16 for the hub on the inner race till I saw the bearing move a few thousandths. Then I knew the seizure was busted.
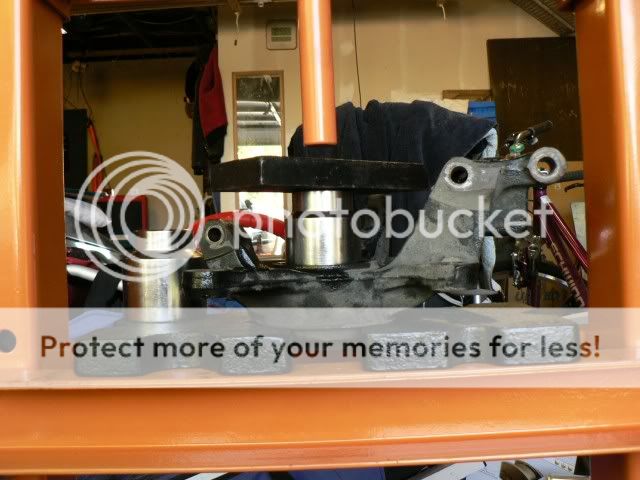
20. Set it back in the press and out it came
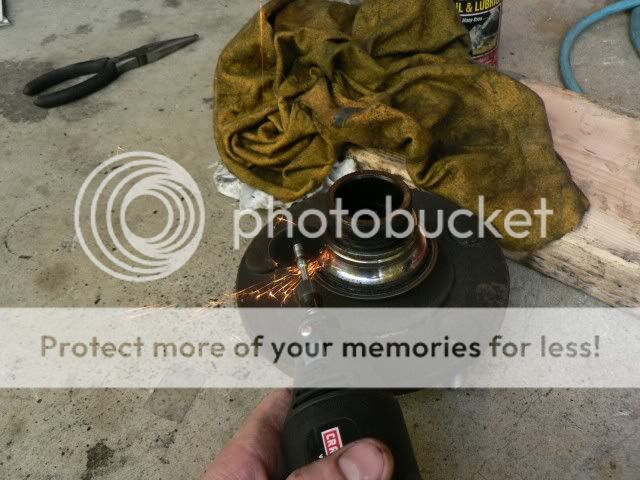
21. Used the dremel to cut the race left on the hub off. This is the manual recommended way and there is no other, trust me. If you mess up for some reason and have to press the hub out with the new bearings it won't affect it, just press the hub back in and it'll be fine. I did this on the right side as I pressed the bearing onto the hub before putting it in the knuckle; which makes it impossible to put the retaining ring back in....
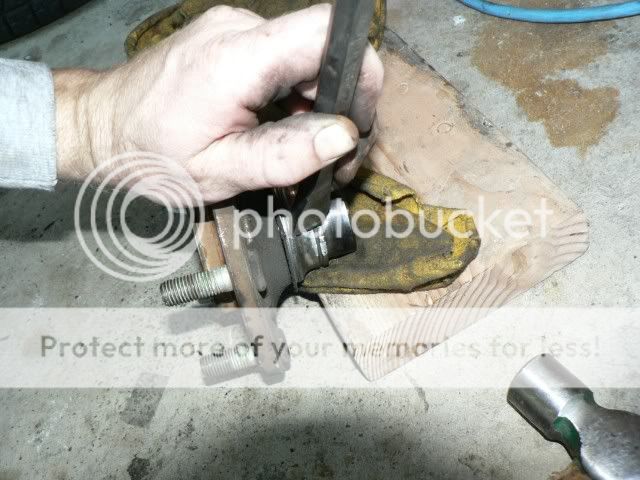
22. Once cut, chiseled it at an angle till it popped and slid it off.
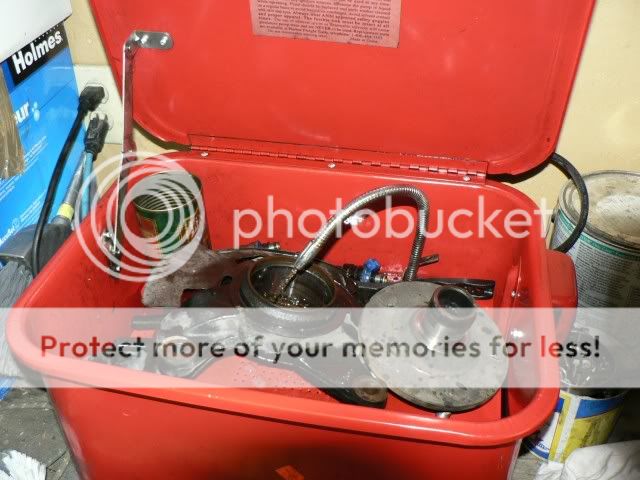
23. Cleaned up the parts
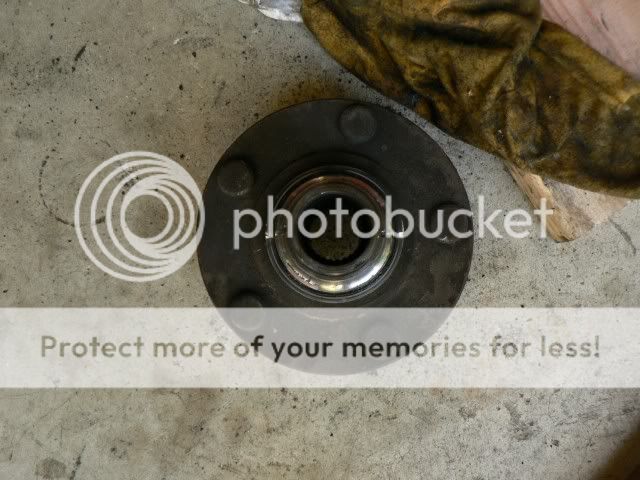
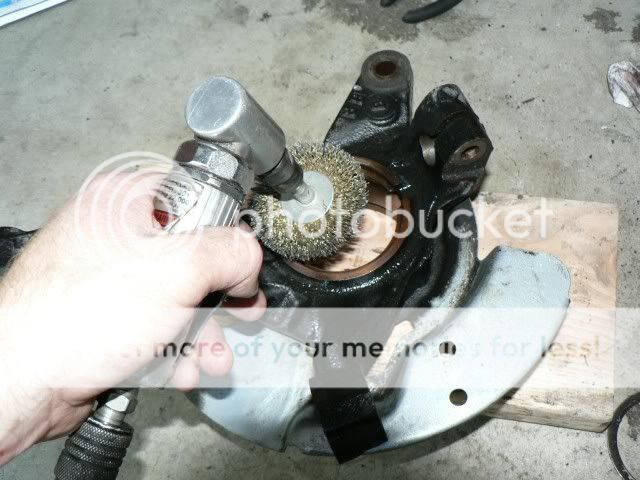
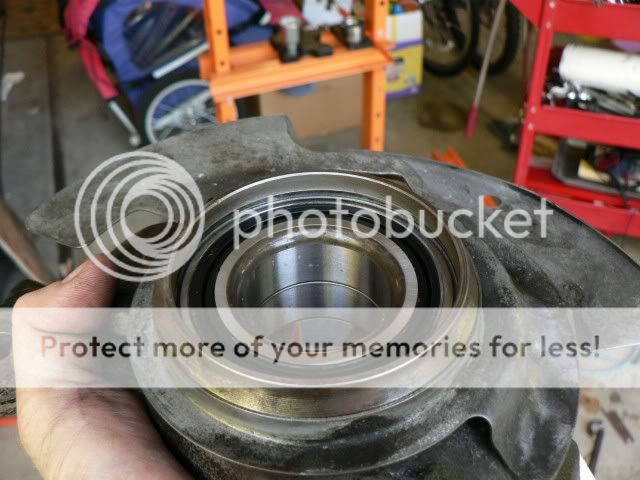
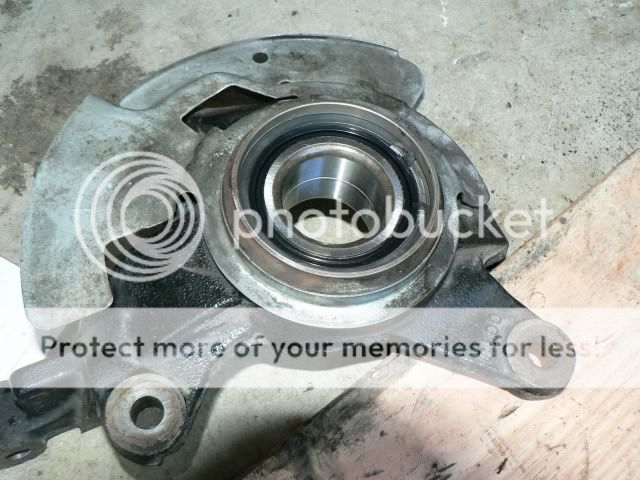
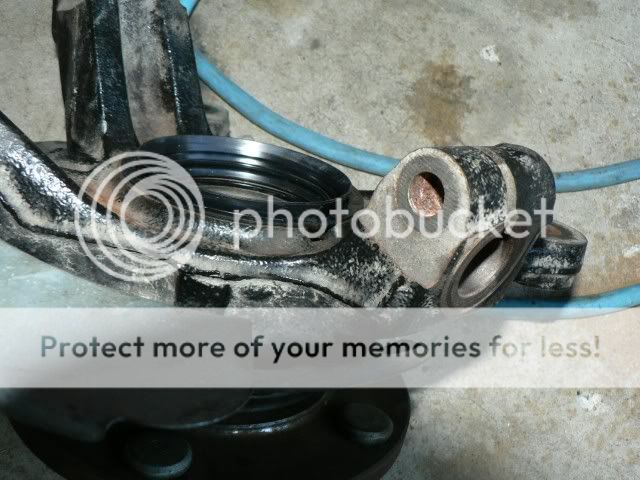
24. Notice there was NO WHEEL SEAL from the factory, which explains why these are a common fail. There is a wheel seal available and I would suggest using it. The bore for it was all rusted and nasty so I wire brushed it to shininess.
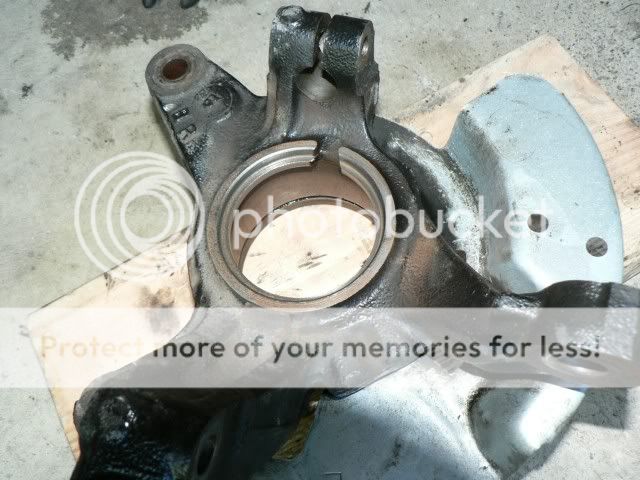
25. All clean, I "honed" it with scotchbrite and wire wheel followed by a wash with soapy water and blow dry. The bearing bore is so tight that you want it absolutely clean, any amount of dirt will cause the bearing to bind while pressing in and it'll be a @#!*% . Get it clean, period. Soapy water is the best method, oil and solvents will hold particles on the surface.
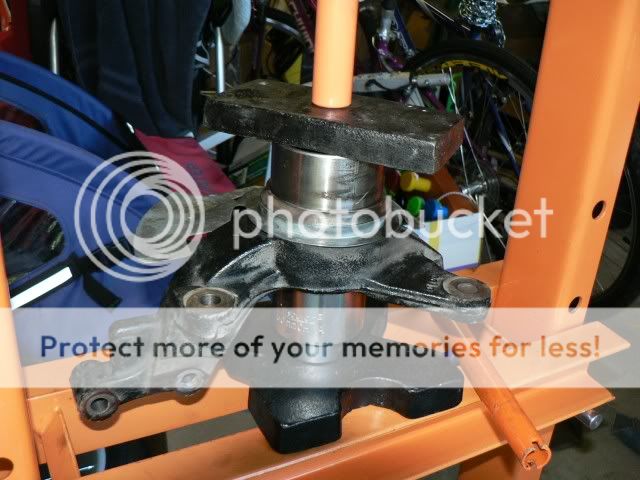
26. Gave it a spray of lube, lined everything up perfect and started to press. Went something like this pump pump pump POP, pump pump pump POP, each pop it would go down about 1mm.
27. Once it was flush with the knucke I used an old bearing to push it the rest of the way.
28. Pressing complete, the ring groove is fully exposed and put the ring in.
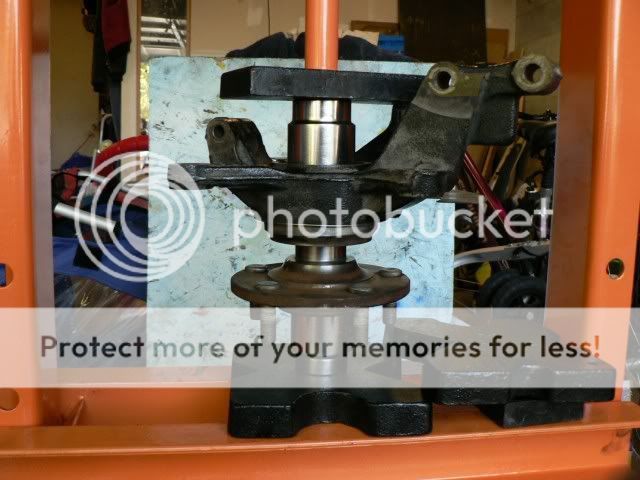
30. Now selected socket that fit the INNER RACE and another that held the hub square, then proceeded to press the hub in.
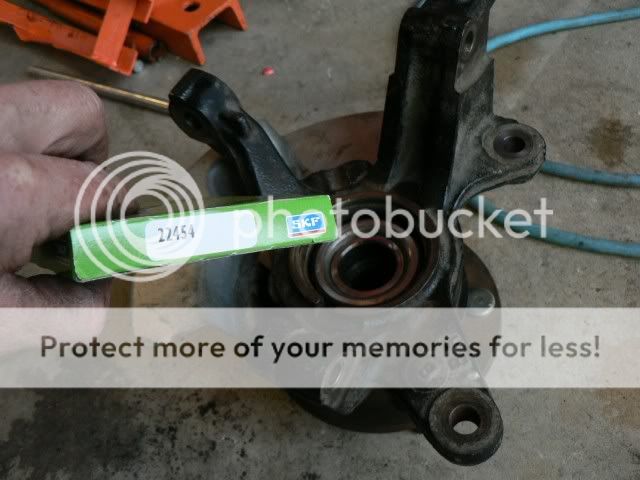
31. Wheel seal part number and installed it in the clean bore.
32. Notice the "drain" groove from the factory and how it defeats the seal I just installed. I filled it with high temp RTV.

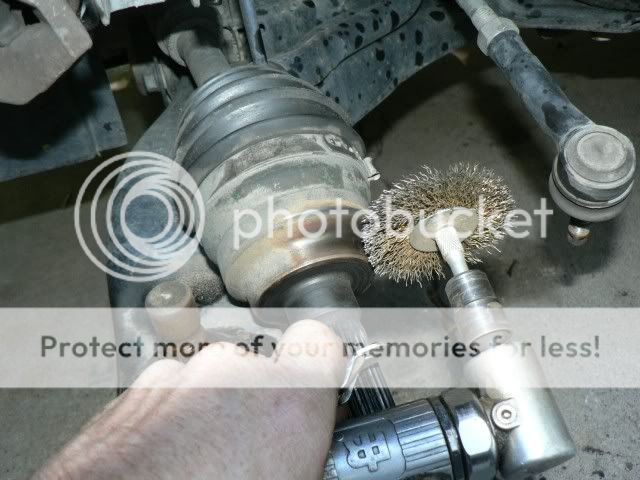
33. The knuckle is complete. Since it never had an seal, the axle seal surface needed a good cleaning. 150grit and a wirewheel. Notice the anti-seize on the balljoint and axle splines.

34. See how the wheel seal is going to protect the bearing now. There's some talk of why there isn't a seal in subsequent posts.
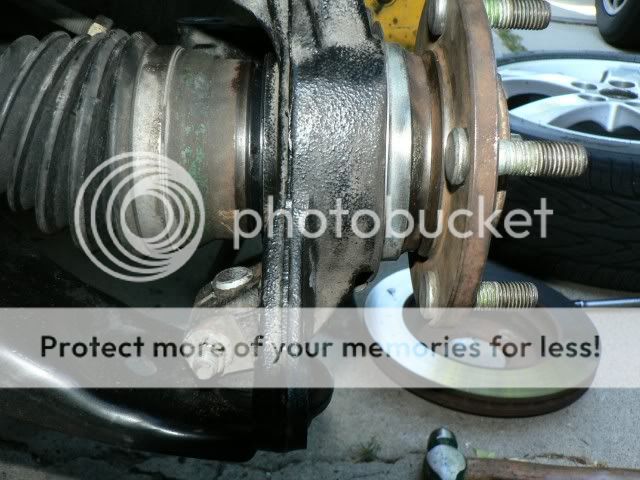
35. I like to have my wheels mount as flush as possible so I bust all the rust off of the hub, rotor and wheel.

36. Button it all up and double check all that I took loose. Put the wheel on lowered the car.
37. Set the torque wrench to its max setting of 150 ft/lbs, and it didn't put the axle nut back to its original location, as expected.
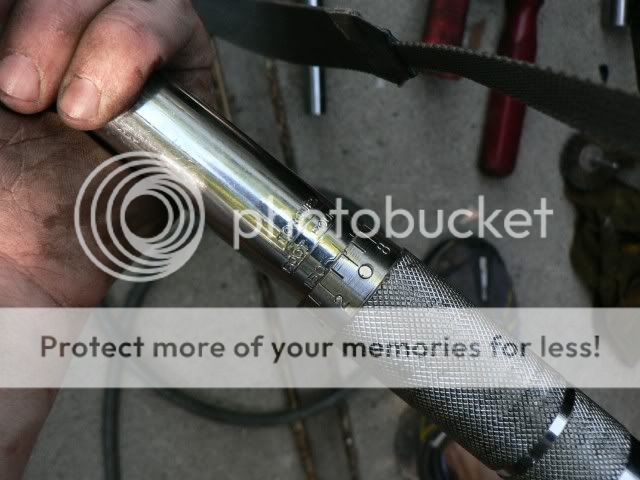
38. Got the 5'pipe out and gave a couple tweeks till it was lined up with its original divot and re-divot'd it.
39. Put the center cap on and take 'er for a spin. Noise is gone, smooth as butter, better mpg on the way.
on a side note, did you know that there are very few nerve endings in the skin between the knuckles? This didn't even hurt.

EDIT---------------------------
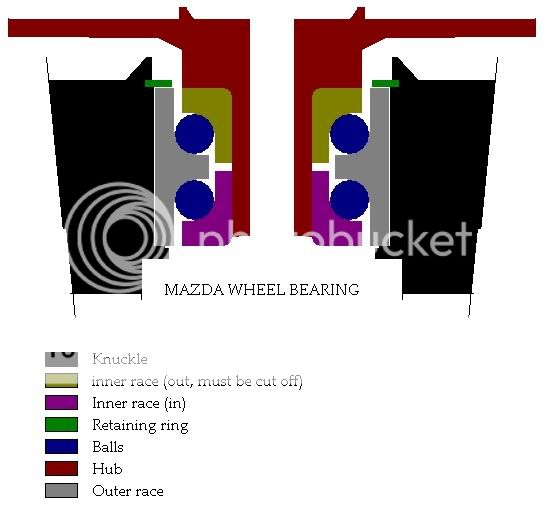
Created this after a request for some details. This may help show how the whole thing is setup and you can see why it is the way it is.
Items it would have sucked to not have:
-a good press
-a 3/4" socket set (a lot of use on the press)
-5' piece of 1" black pipe, the uber breaker bar.
-chisel and punch
-2lb ballpien, you need the oomph.
-torque wrench
-factory manual for torque specs
The rest is just usual tools like sockets, wrenches and pliers.
1. Jacked up the car. I chose the crossmember as I use jackstands on the side.
2. Removed the wheel and pushed out the center cap. This is to give acces for the axle nut using my breaker bar.
3. Used a punch to raise the divot on the axle nut.
4. Reinstalled the wheel, lowered it and used a breaker bar to loosen the nut.
5. Raised it up again, placed a jackstand and removed the wheel.
6. Pulled the brake hose clip
7. Took the caliper off, the top bolt is tricky, had to use an extension. The morons at Les Schwabb put red loktite on it (brake service before I bought the car).
8. Hung the caliper out of the way
9. Took the balljoint bolt out.
10. Used a soft hammer to break the rotor loose and remove
11. Took out the tierod cotter pin and nut. Once I straighten the bent sides, use the side cutters to "lever" the pin out, its the easiest way and if I sqeeze gentle enough the pin can be reused.
12. Using a 30" pry bar I pry up on the tie rod end and bang the knuckle (right by the tirerod) with a 2lb ballpein. Works every time, takes 5 to 15 blows with the hammer before it pops loose. Gotta brace myself when it gives I'll go flailing backward if I'm not ready
13. Use a puller and penetrating lube on the axle, I have never done this before and it worked like a champ on the right. Thanks to the member who suggested it on another thread. This axle didn't require the puller but I put it on for example.
14. Removed the strut bolts.
15. Put a large cold chisel in the balljoint slit to spread the knuckle and then lift the assembly off the balljoint.
** Here I it was very easy to feel and hear that the bearing was toast. A nice grinding feel and noise when spinning the hub.
16. Propped the knuckle tierod flange on a 2x6 and placed a socket that was slighly smaller in diameter than the HUB and gave it a few strong blows with the 2lb hammer till it fell out.
17. Used needlenose pliers to remove the retaining ring and sprayed penetrating lube all over the bearing.
18. Placed the knuckle on the press plates and selected a socket that fit the INNER RACE.
19. It wouldn't budge and I don't like loading up a 12 ton press with no movement. So I took the knuckle out and repeated what I did at step 16 for the hub on the inner race till I saw the bearing move a few thousandths. Then I knew the seizure was busted.
20. Set it back in the press and out it came
21. Used the dremel to cut the race left on the hub off. This is the manual recommended way and there is no other, trust me. If you mess up for some reason and have to press the hub out with the new bearings it won't affect it, just press the hub back in and it'll be fine. I did this on the right side as I pressed the bearing onto the hub before putting it in the knuckle; which makes it impossible to put the retaining ring back in....
22. Once cut, chiseled it at an angle till it popped and slid it off.
23. Cleaned up the parts
24. Notice there was NO WHEEL SEAL from the factory, which explains why these are a common fail. There is a wheel seal available and I would suggest using it. The bore for it was all rusted and nasty so I wire brushed it to shininess.
25. All clean, I "honed" it with scotchbrite and wire wheel followed by a wash with soapy water and blow dry. The bearing bore is so tight that you want it absolutely clean, any amount of dirt will cause the bearing to bind while pressing in and it'll be a @#!*% . Get it clean, period. Soapy water is the best method, oil and solvents will hold particles on the surface.
26. Gave it a spray of lube, lined everything up perfect and started to press. Went something like this pump pump pump POP, pump pump pump POP, each pop it would go down about 1mm.
27. Once it was flush with the knucke I used an old bearing to push it the rest of the way.
28. Pressing complete, the ring groove is fully exposed and put the ring in.
30. Now selected socket that fit the INNER RACE and another that held the hub square, then proceeded to press the hub in.
31. Wheel seal part number and installed it in the clean bore.
32. Notice the "drain" groove from the factory and how it defeats the seal I just installed. I filled it with high temp RTV.
33. The knuckle is complete. Since it never had an seal, the axle seal surface needed a good cleaning. 150grit and a wirewheel. Notice the anti-seize on the balljoint and axle splines.
34. See how the wheel seal is going to protect the bearing now. There's some talk of why there isn't a seal in subsequent posts.
35. I like to have my wheels mount as flush as possible so I bust all the rust off of the hub, rotor and wheel.
36. Button it all up and double check all that I took loose. Put the wheel on lowered the car.
37. Set the torque wrench to its max setting of 150 ft/lbs, and it didn't put the axle nut back to its original location, as expected.
38. Got the 5'pipe out and gave a couple tweeks till it was lined up with its original divot and re-divot'd it.
39. Put the center cap on and take 'er for a spin. Noise is gone, smooth as butter, better mpg on the way.
on a side note, did you know that there are very few nerve endings in the skin between the knuckles? This didn't even hurt.
EDIT---------------------------
Created this after a request for some details. This may help show how the whole thing is setup and you can see why it is the way it is.
Last edited:

")

 .
.