Kit includes:
Ballast -Morimoto 3Five
Bulbs - Morimoto XB35 H11B
Wire Harness - Morimoto HD Relay
Hardware - Ballast brackets
Misc - Alcohol bulb wipes, TRS Decal
Warranty - Five Years for 3Five kit

I have a 2013 Mazda 5 Touring. The kit I purchased can be found here:
http://www.theretrofitsource.com/hid-systems/morimoto-elite-hid-system-h11.html
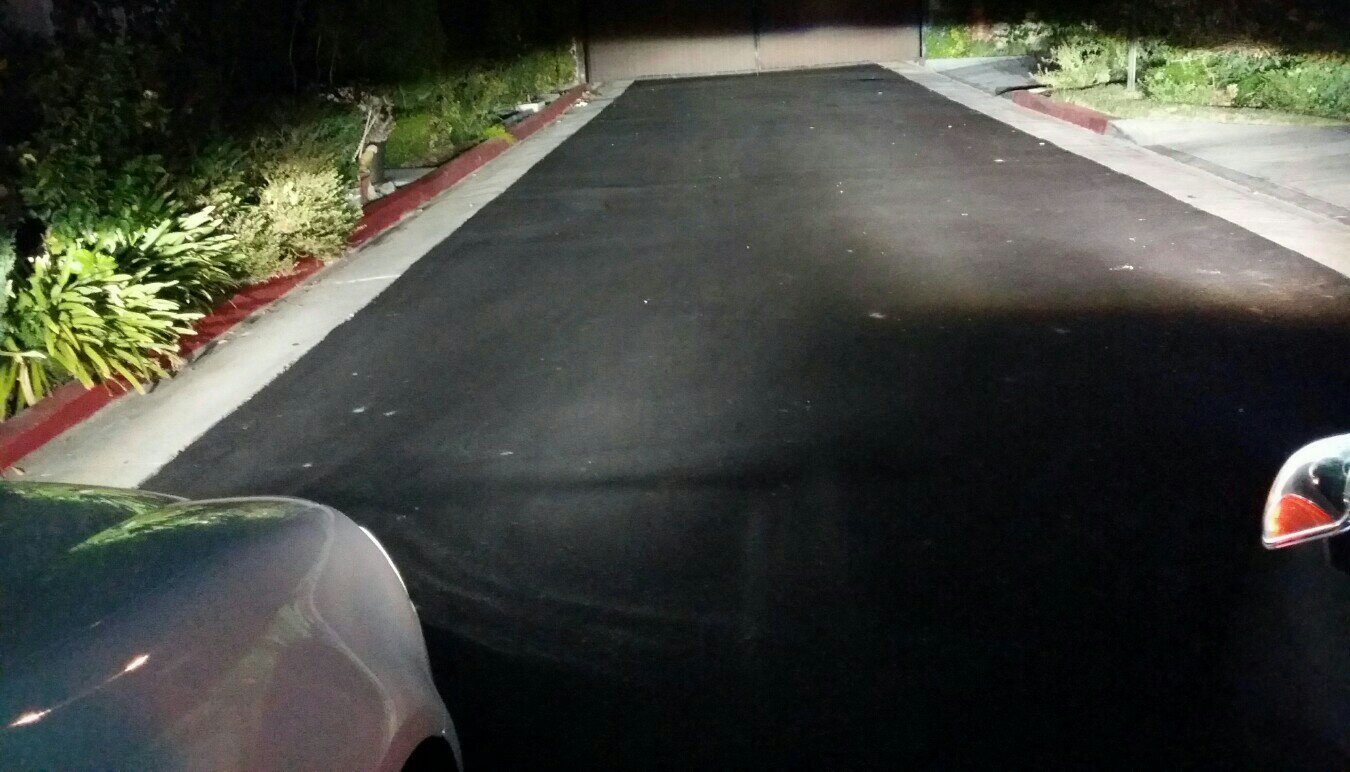
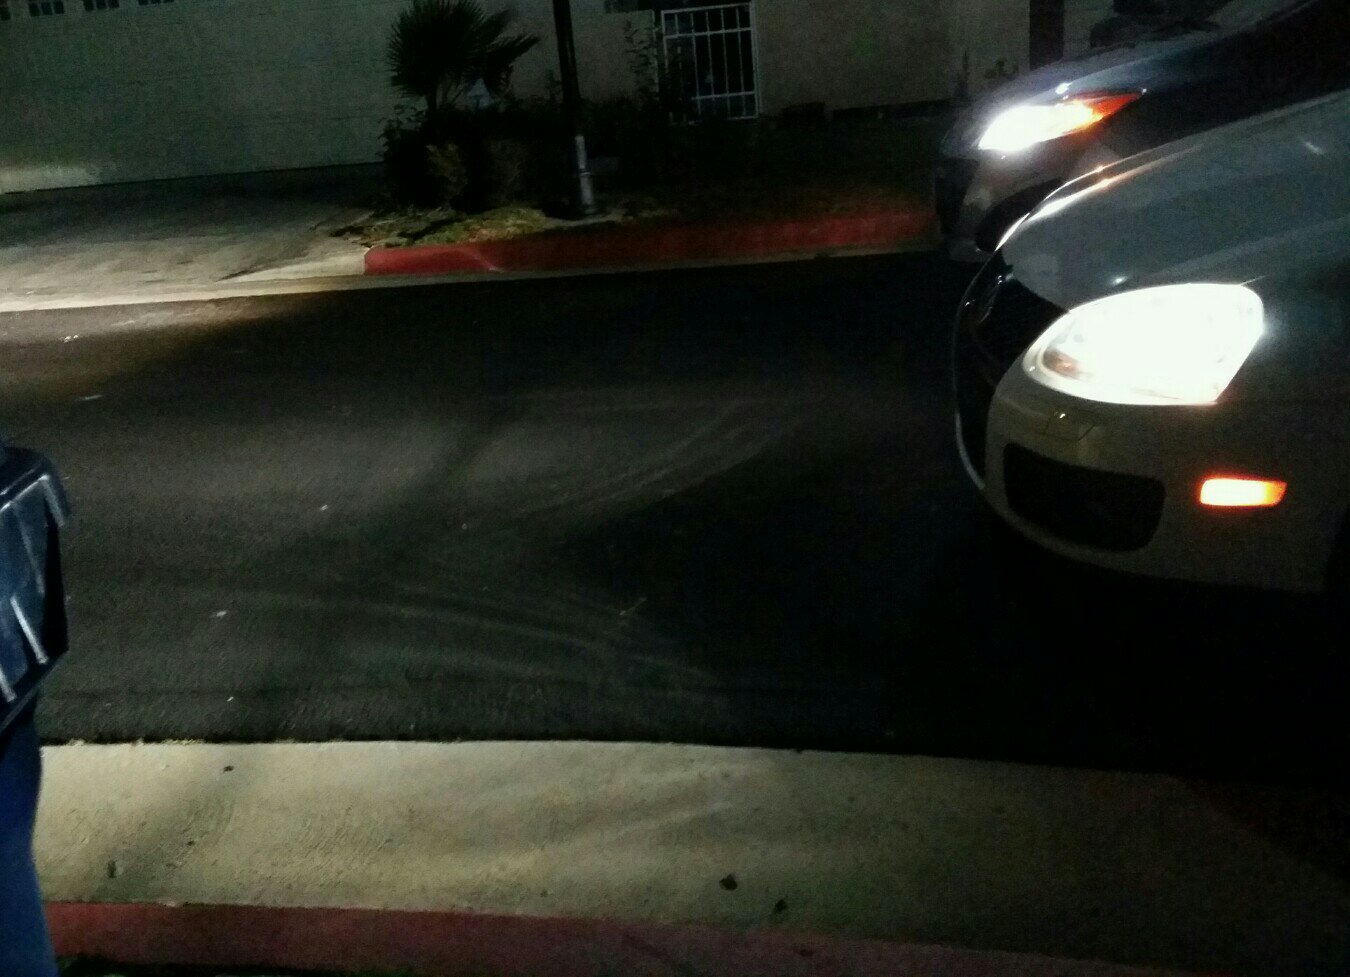
I chose the 4300k for stock like color, and the XB35 option so that I wouldn’t get the ground wire shadow. You can also choose 55W ballast if desired. Stock HIDs run 35W, and I was satisfied with that. I wanted to install the HID in a manner that would be easily removable, and I didn’t want to use double sided tape.
Installation is pretty straight forward:
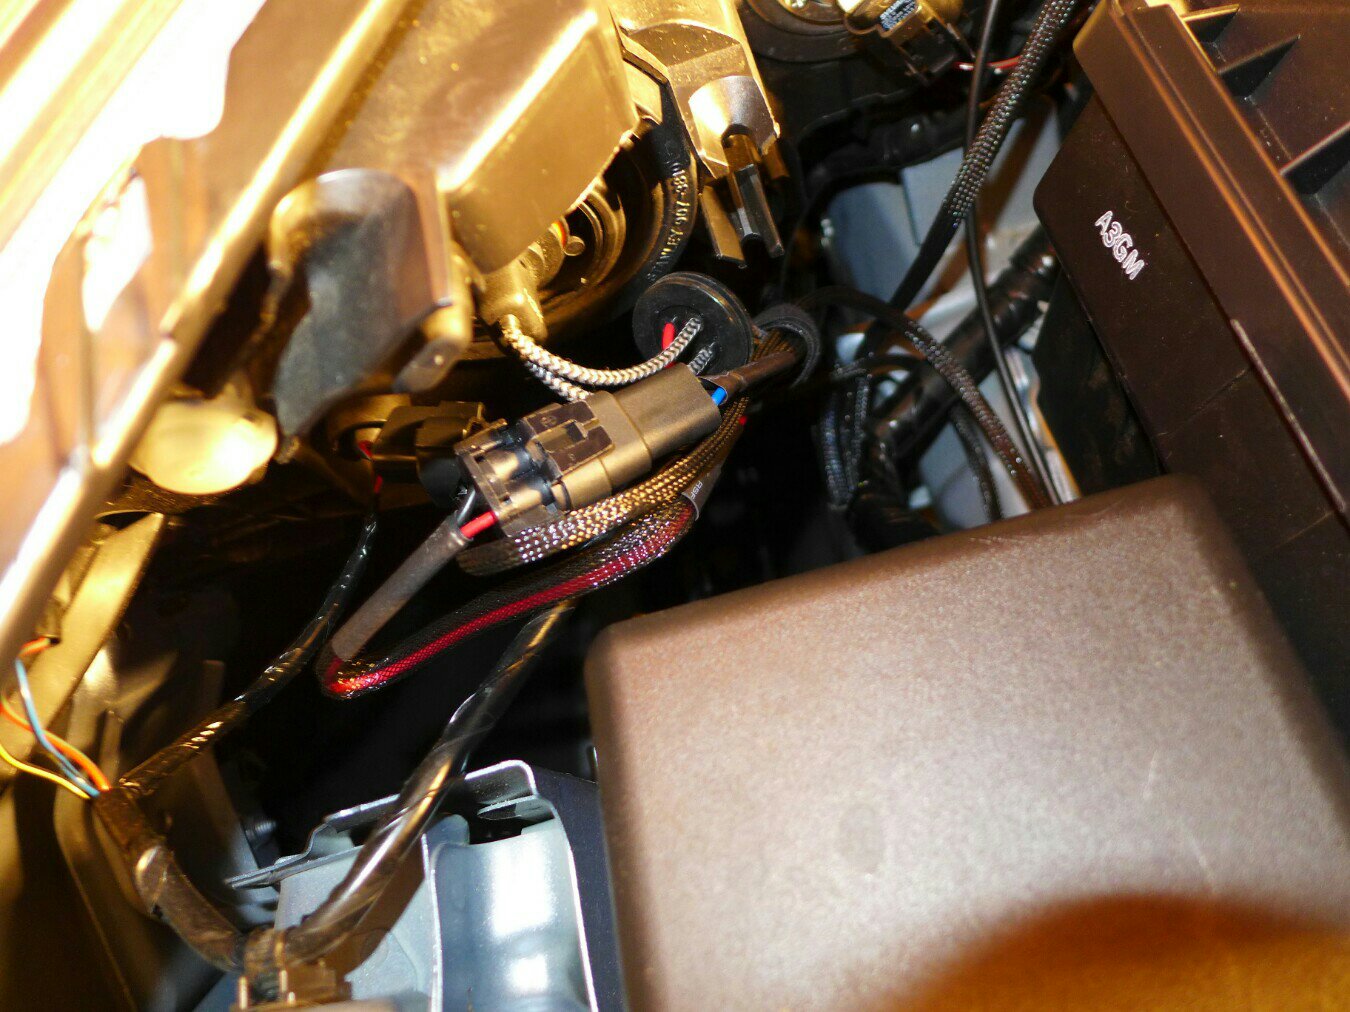
1.I mounted the HD relay and driver’s side ballast on the Driver’s side well, using the stock grounding points. This can also be used to ground the driver’s side ballast.

2.The passenger’s side was a little more difficult. The existing hole was a little too large, so I had to use a large washer, and 2 wrenches (option 1). There is another location further down (Option 2), however, that one strained the wires. You can use the stock grounding point here to ground the passenger’s side ballast.


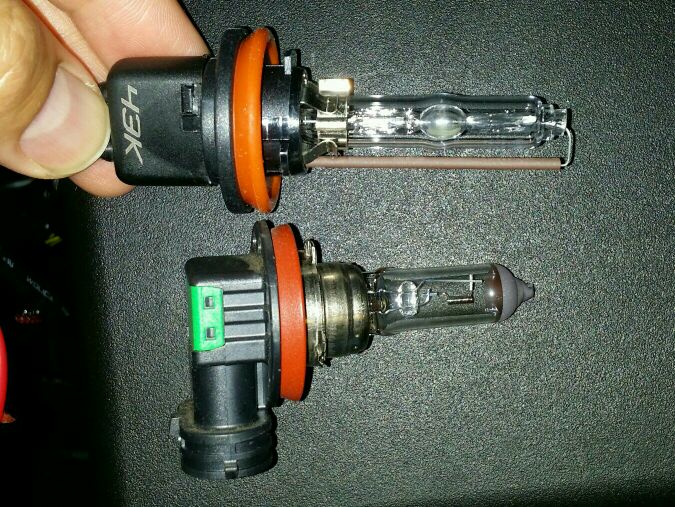
3.Twist to remove the stock bulb. Be sure to remove the low beam bulb, not the high beam. There are 3 tabs, line them up with the housing. The pic below shows the position which the bulb slides in. Twist clockwise to lock.
4.Wire it according to the wiring diagram. For the input from car, I had to use the adapter cable.


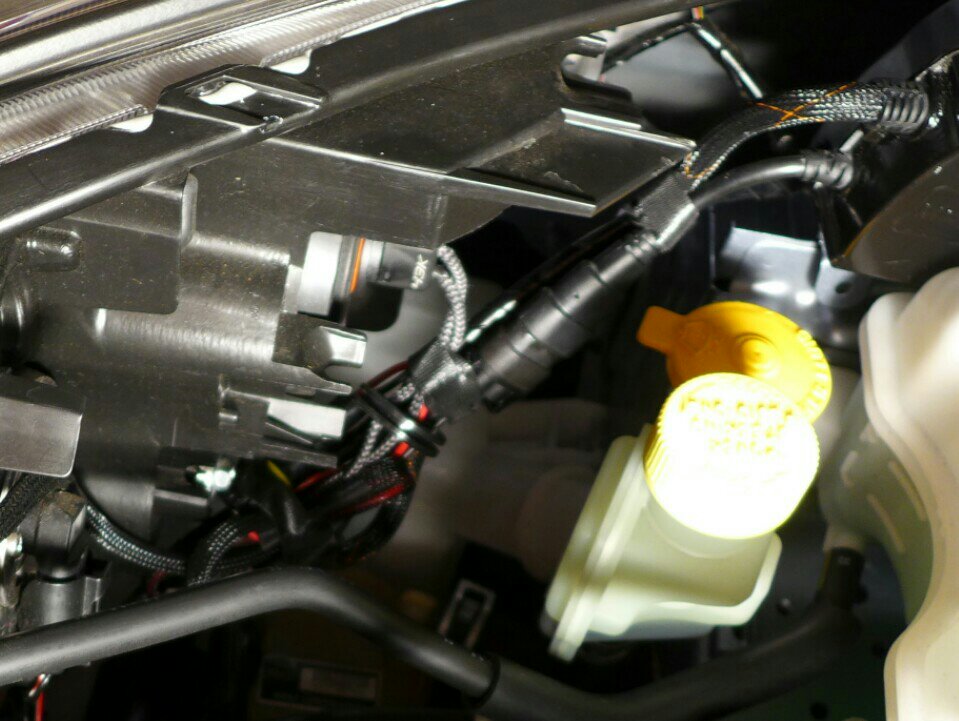
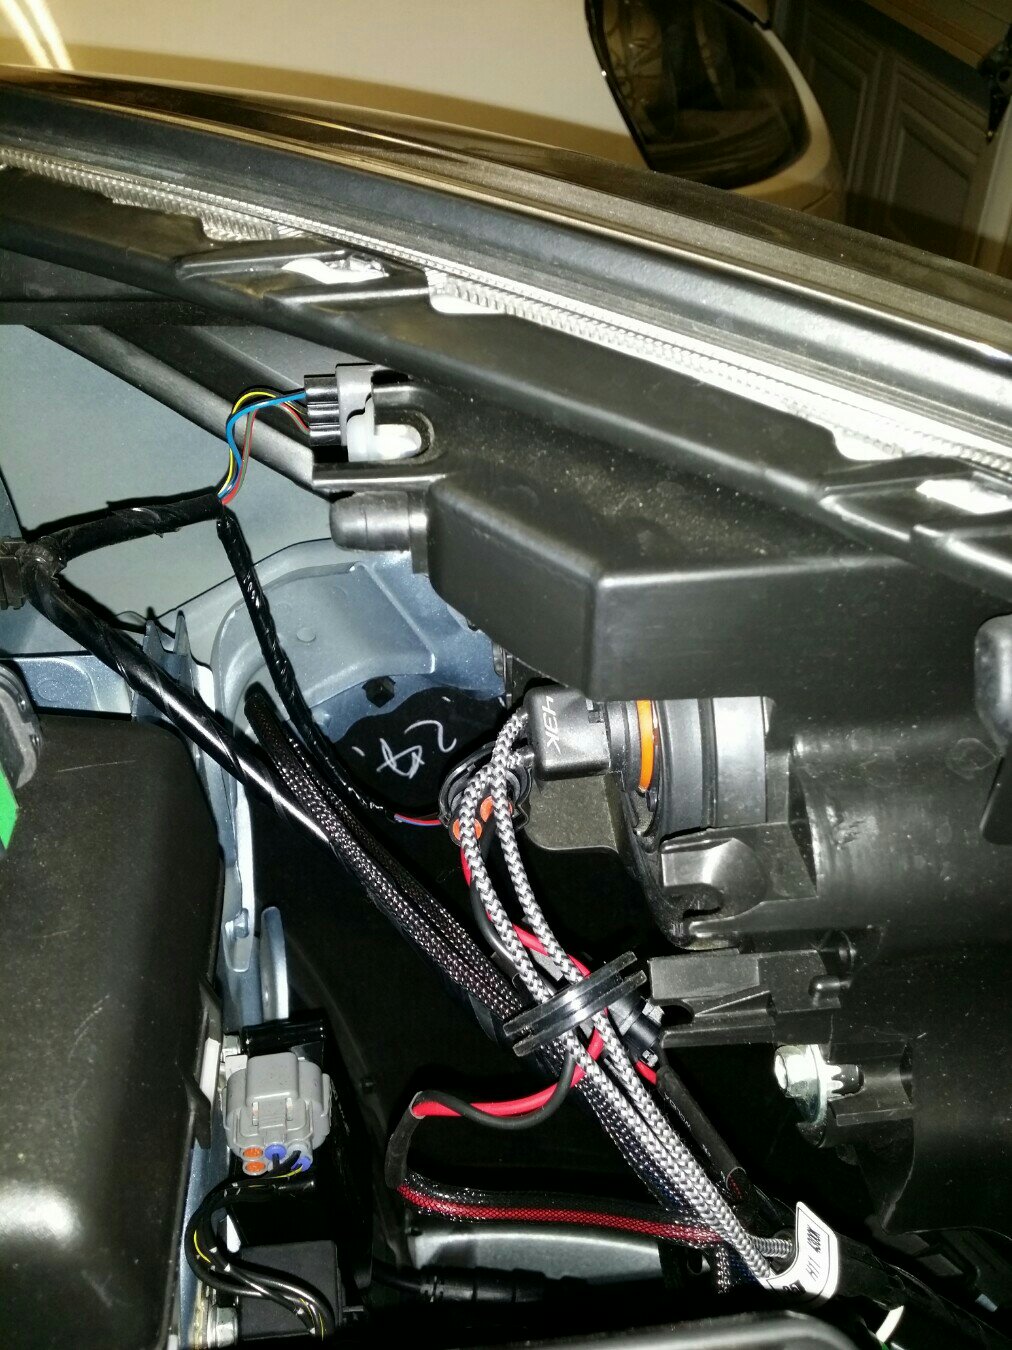
5.For cable management, I used Velcro cable ties. I made sure not to touch the coolant line or any other line.


Ballast -Morimoto 3Five
Bulbs - Morimoto XB35 H11B
Wire Harness - Morimoto HD Relay
Hardware - Ballast brackets
Misc - Alcohol bulb wipes, TRS Decal
Warranty - Five Years for 3Five kit
I have a 2013 Mazda 5 Touring. The kit I purchased can be found here:
http://www.theretrofitsource.com/hid-systems/morimoto-elite-hid-system-h11.html
I chose the 4300k for stock like color, and the XB35 option so that I wouldn’t get the ground wire shadow. You can also choose 55W ballast if desired. Stock HIDs run 35W, and I was satisfied with that. I wanted to install the HID in a manner that would be easily removable, and I didn’t want to use double sided tape.
Installation is pretty straight forward:
1.I mounted the HD relay and driver’s side ballast on the Driver’s side well, using the stock grounding points. This can also be used to ground the driver’s side ballast.
2.The passenger’s side was a little more difficult. The existing hole was a little too large, so I had to use a large washer, and 2 wrenches (option 1). There is another location further down (Option 2), however, that one strained the wires. You can use the stock grounding point here to ground the passenger’s side ballast.
3.Twist to remove the stock bulb. Be sure to remove the low beam bulb, not the high beam. There are 3 tabs, line them up with the housing. The pic below shows the position which the bulb slides in. Twist clockwise to lock.
4.Wire it according to the wiring diagram. For the input from car, I had to use the adapter cable.
5.For cable management, I used Velcro cable ties. I made sure not to touch the coolant line or any other line.
Last edited: