
After changing my engine last weekend I had vacuum leak that I had some trouble finding. I had odd idle behavior (severe loping after resetting ECU, eventually calmed down. Still had occasional hiccups) and an occasional P0171 code.
I grabbed a can of brake cleaner and went to town. When I shot some at the base of each injector the idle speed would slow down. Leak found. Any volatile solvent works well for this, but brake parts cleaner and carburetor cleaner are preferable because they don't leave a residue behind. Just keep in mind that it's highly flammable, and you're working around a running engine.
Required supplies:
12mm socket, ratchet.
Dental pick
Shop Vac
Flashlight
Compressed air preferable
Injector seal kits, see below photo. I had to order these from Rockauto, around 3 bucks each plus shipping. You'll need four of them, one for each injector.

Here are the steps to remove the fuel rail.
1. Relieve fuel pressure (remove fuel pump relay, start engine. Engine will die, turn off key and begin)
2. Remove the 4 injector plugs, and unplug the rest of that harness. Remove tie-downs, and lay it over the front of the engine, out of the way.
3. Blow out the injector pockets with compressed air before removing the fuel rail.
4. Carefully remove the fuel rail. Grab the 4 plastic spacers and set them aside, they are very easy to drop and lose. The plastic fuel lines are pliable enough that you don't need to remove them.
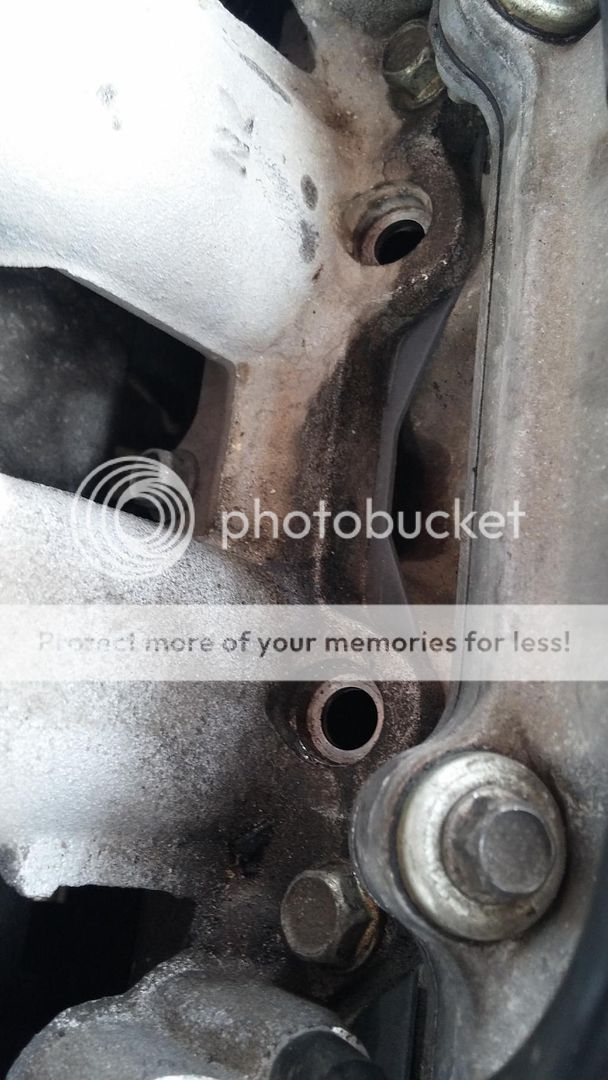
Here is what you should have:

Now, you need to take the shop vac and vacuum up any junk that may be sitting in the injector ports. This is crucial for a good seal. I scratched it loose with the pick, and vacuumed it out until the ports looked like this. Try not to knock any dirt inside, it will end up in the engine.
Next, pull one injector at a time and bring them to your work bench. Using your pick, remove the O-ring on the rail-end of the injector, and slide off the rubber seal just below it. Lube a new seal with engine oil and install, then lube and slip on the new O-ring. Remove and discard the rubber seal on the intake-end of the injector. Do this for each injector. If your injector has a lot of carbon built up on the tip, it would be wise to brush it off with a brush and good solvent. Mine were clean so I didn't worry about it.
Lubricate and place each intake seal in the intake pockets. Move the fuel rail into position, carefully inserting each injector into the intake seals. Once in place, carefully install the 4 plastic spacers. Put the 4 bolts on, and tighten down.
Put the harness back in place, and plug everything back in. The fuel rail has alignment tabs that interlock with the injector plugs, so you'll need to rotate the injectors to line these up. Reinstall fuel pump relay.
Hop in, and cycle the key on and off and couple times to prime the fuel system. Start engine. Give the injectors another shot of brake cleaner to test your work. The idle speed shouldn't change no matter how much you soak them.
Enjoy a smooth, stable idle.
I grabbed a can of brake cleaner and went to town. When I shot some at the base of each injector the idle speed would slow down. Leak found. Any volatile solvent works well for this, but brake parts cleaner and carburetor cleaner are preferable because they don't leave a residue behind. Just keep in mind that it's highly flammable, and you're working around a running engine.
Required supplies:
12mm socket, ratchet.
Dental pick
Shop Vac
Flashlight
Compressed air preferable
Injector seal kits, see below photo. I had to order these from Rockauto, around 3 bucks each plus shipping. You'll need four of them, one for each injector.

Here are the steps to remove the fuel rail.
1. Relieve fuel pressure (remove fuel pump relay, start engine. Engine will die, turn off key and begin)
2. Remove the 4 injector plugs, and unplug the rest of that harness. Remove tie-downs, and lay it over the front of the engine, out of the way.
3. Blow out the injector pockets with compressed air before removing the fuel rail.
4. Carefully remove the fuel rail. Grab the 4 plastic spacers and set them aside, they are very easy to drop and lose. The plastic fuel lines are pliable enough that you don't need to remove them.
Here is what you should have:

Now, you need to take the shop vac and vacuum up any junk that may be sitting in the injector ports. This is crucial for a good seal. I scratched it loose with the pick, and vacuumed it out until the ports looked like this. Try not to knock any dirt inside, it will end up in the engine.

Next, pull one injector at a time and bring them to your work bench. Using your pick, remove the O-ring on the rail-end of the injector, and slide off the rubber seal just below it. Lube a new seal with engine oil and install, then lube and slip on the new O-ring. Remove and discard the rubber seal on the intake-end of the injector. Do this for each injector. If your injector has a lot of carbon built up on the tip, it would be wise to brush it off with a brush and good solvent. Mine were clean so I didn't worry about it.
Lubricate and place each intake seal in the intake pockets. Move the fuel rail into position, carefully inserting each injector into the intake seals. Once in place, carefully install the 4 plastic spacers. Put the 4 bolts on, and tighten down.
Put the harness back in place, and plug everything back in. The fuel rail has alignment tabs that interlock with the injector plugs, so you'll need to rotate the injectors to line these up. Reinstall fuel pump relay.
Hop in, and cycle the key on and off and couple times to prime the fuel system. Start engine. Give the injectors another shot of brake cleaner to test your work. The idle speed shouldn't change no matter how much you soak them.
Enjoy a smooth, stable idle.
Last edited:


