
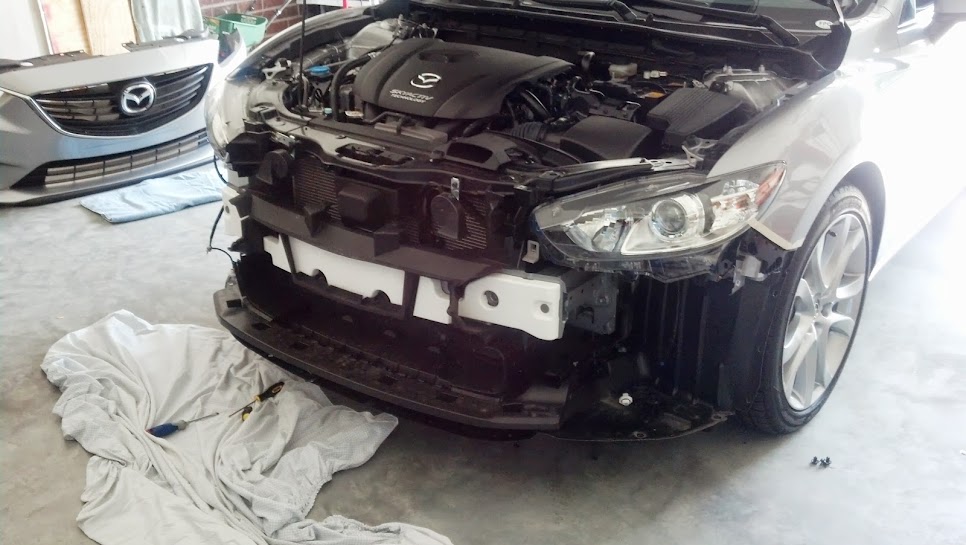
I am one of those people that refuses to be forced to look at wires and ballasts when I install my HIDs. So I remove my front bumper so I have open access to everything and can hide the ballasts. Good thing about a 3rd gen 6 is that taking the front bumper off is just about identical to removing a 2nd gen's. I also refuse to do a "plug and play" HID kit. I always use a relay harness, no ifs ands, or buts...but the set I installed last weekend has been installed in every car I have had since 2007...my 2007 Mazda3, My 2007 Silverado, My 2010 6, and now my 2014 6. They are a DDM tuning kit and have never given me a lick of trouble. So for those of you that say this was a waste of time...no it wasn't. It only takes about 10 minutes to get the front bumper off, so why not. Here we go.
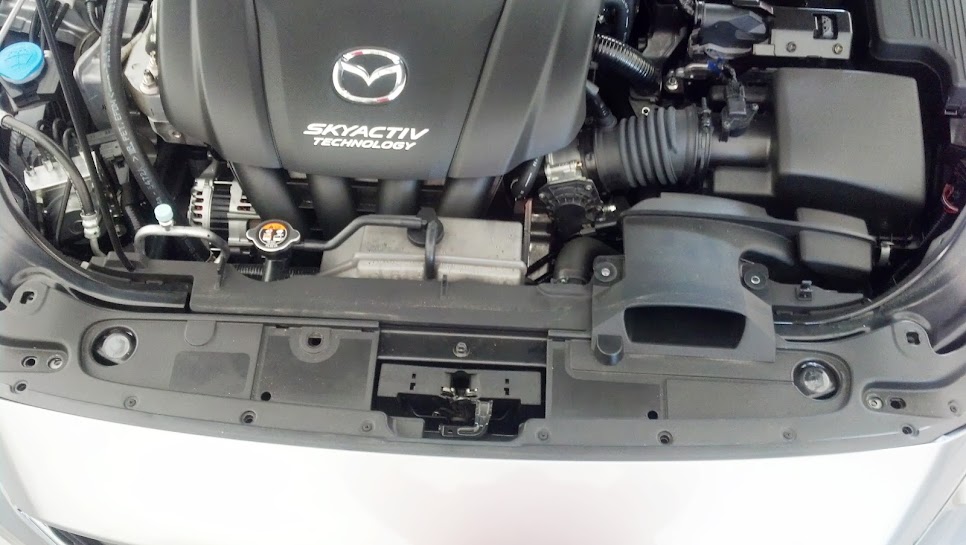
1. Remove all the philips screws and push pins from above the grill, under the hood. You can tell which ones need to go...in this pic, they are already gone. There is also one under the little intake snorkle that has to come out from the left side as seen in the 2nd picture.
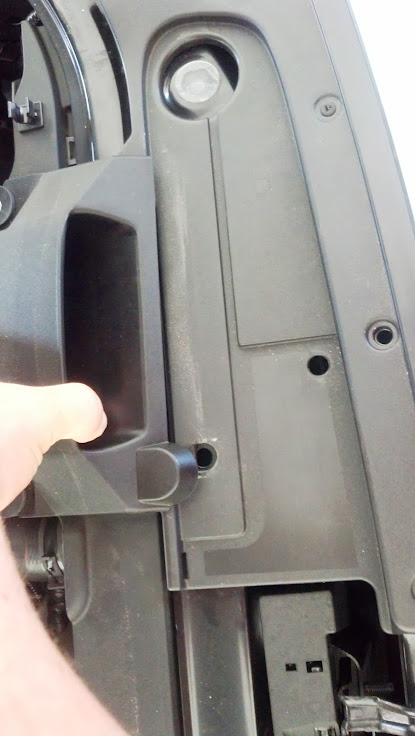
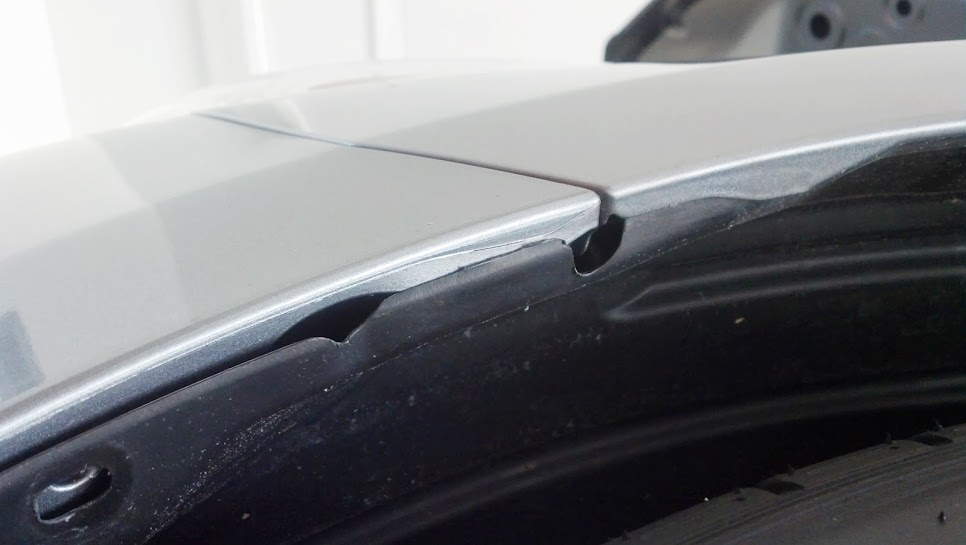
2. Next, remove the 3 push pins in either fenderwell, then the 4 philips screws under the front edge of the bumper that hold the fender liner to the bumper. Then get all the push pins along the front edge of the under body liner as well as a couple of screws No picture of that part...sorry.
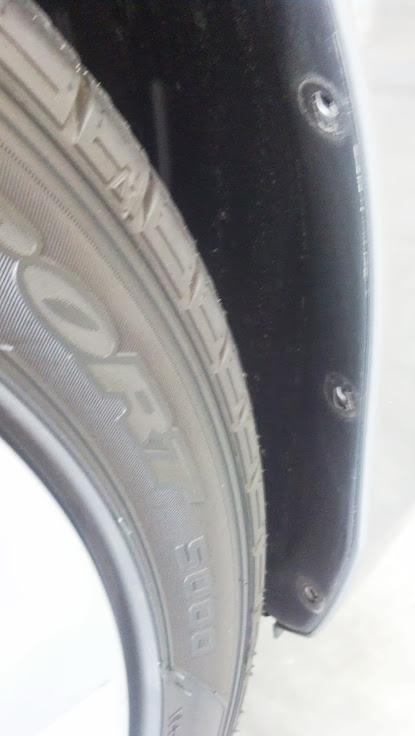
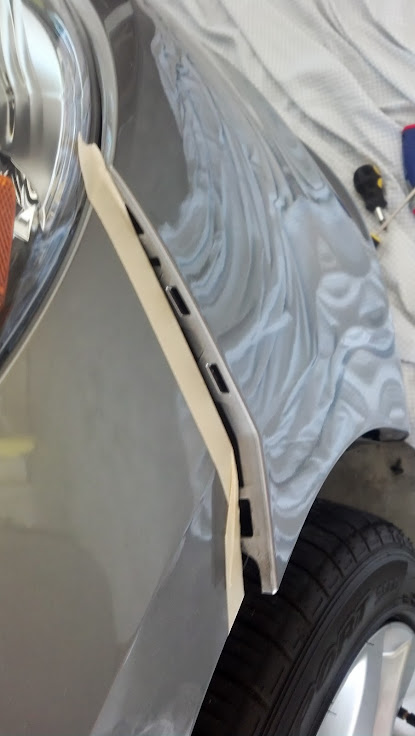
3. Pull the fender liner back at the joint of the bumper and the fender, there is a philips screw with the head facing down. The bumper is actually cut out to fit a screwdriver...that was nice of Mazda. In the picture, which is sideways, the hole on the right is where the screw resides but the little semi-circle on the left is where you insert your screwdriver. This is a pic of the driver's side for reference.
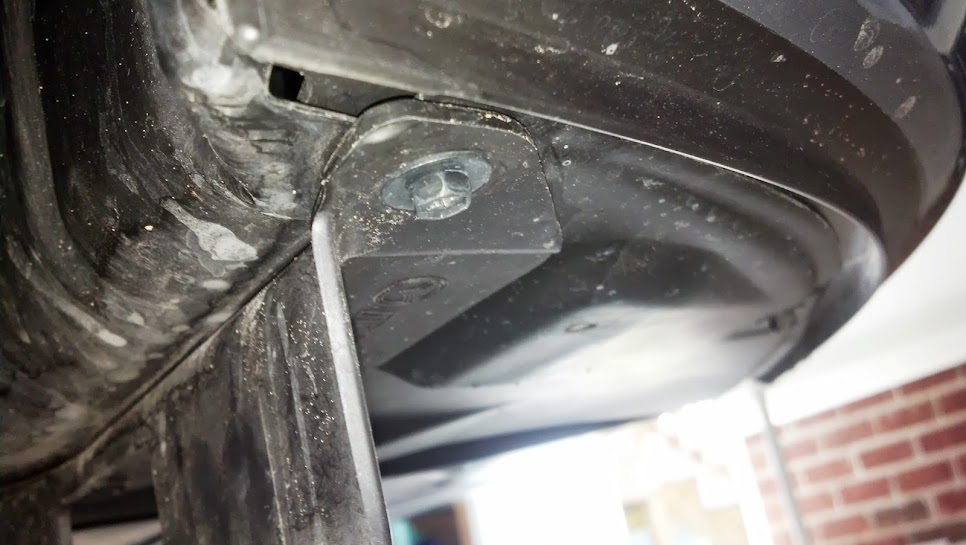
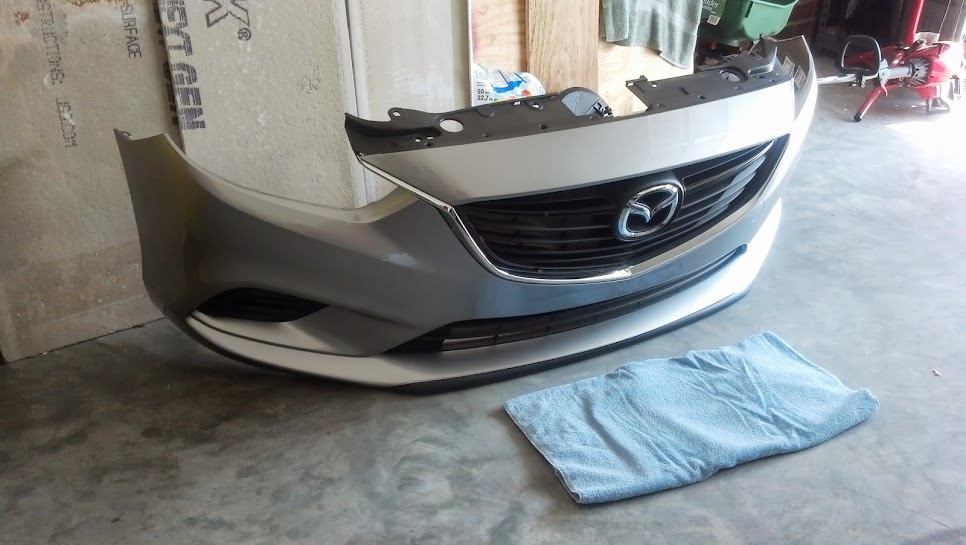
4. Before you go any further, run a little masking tape along the edge of the fender where it meets the bumper. If you are new to this, run it up a few inches to protect the fender paint from the edge of the bumper. Next, pull the bumper out to release the clips.
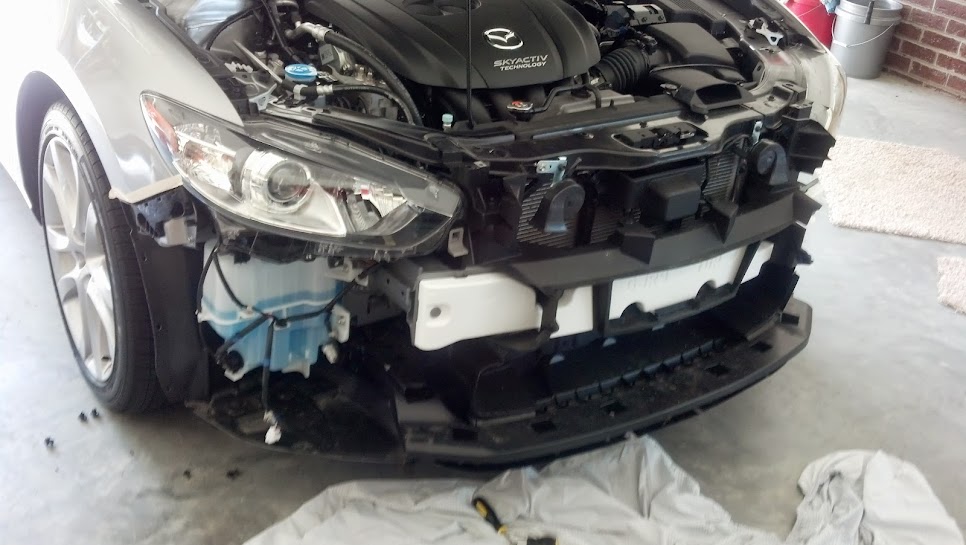
5. When you release the clips, pull the bumper straight forward, unplug the foglight harnesses, either from your foglights or the back of the filler panel. No, these do not work unless you get the stalk with the switch that comes with the factory foglight kit...and here what you have.
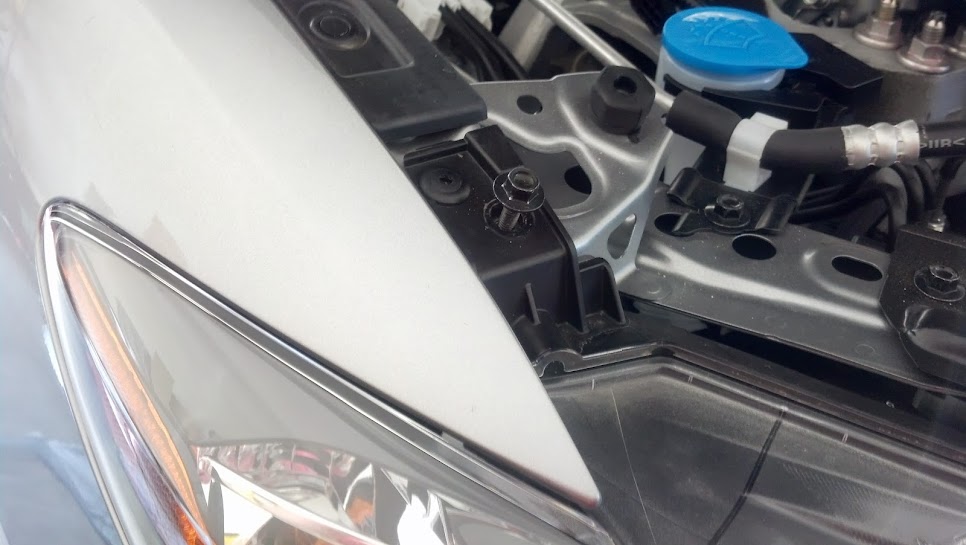
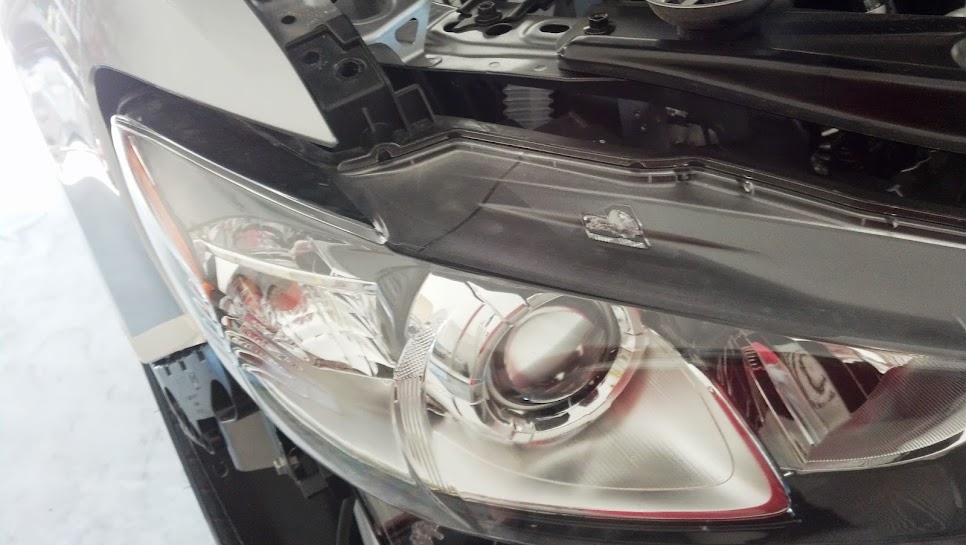
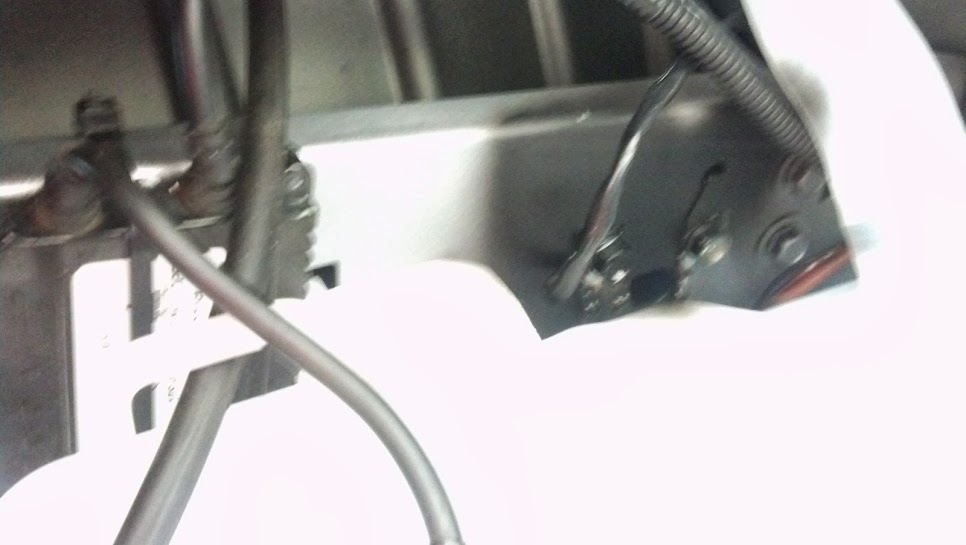
6. Now, remove the 10mm bolt and the screw-down push pin on the top of the headlight at the fender
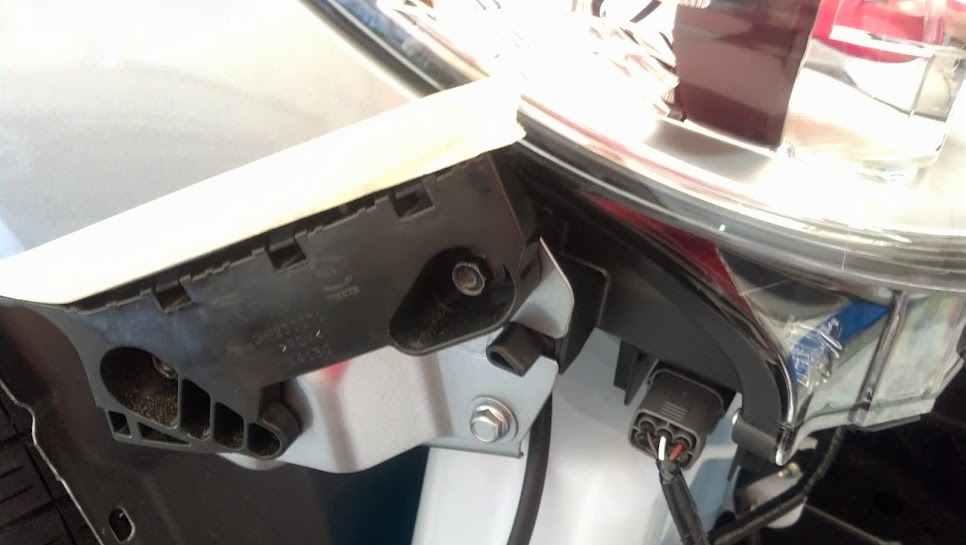
7. Then remove the bolt on the side closest to the lens. Also, go ahead and unplug the harness that connects the headlight to the car.
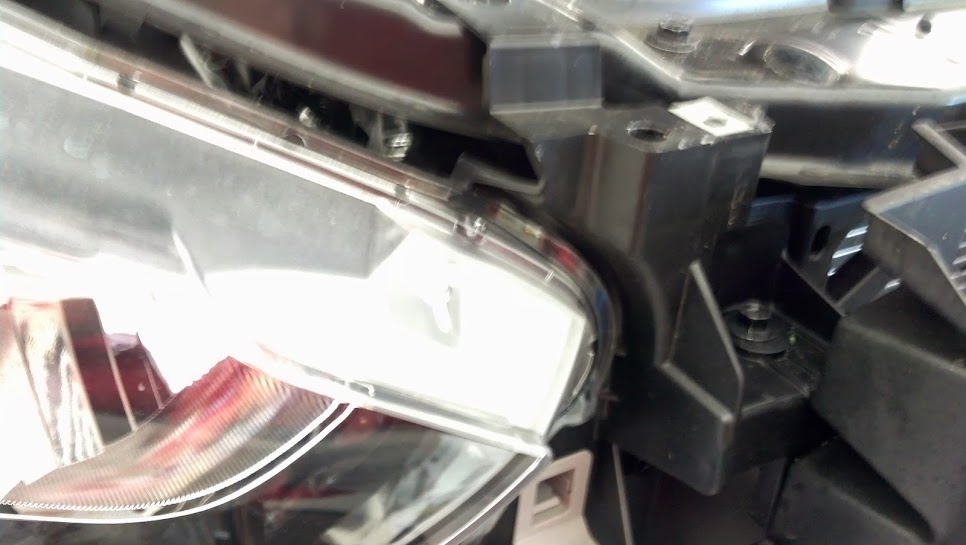
8. Now remove the bolt at the inside tip of the headlight, as well as a forward facing push pin on the other side of the plastic. It took me a minute to see it, but it's plain as day when you look at it from the center.
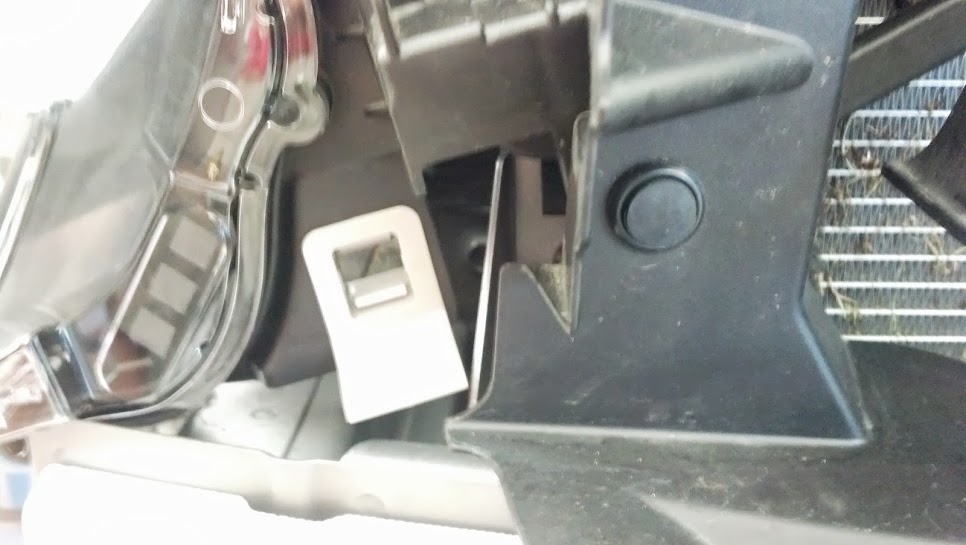
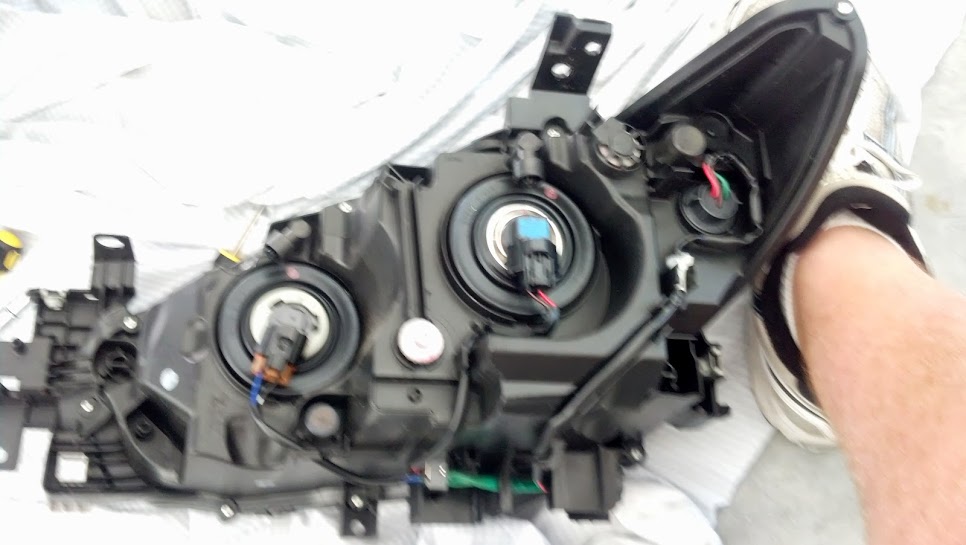
9. Pull forward and it's free.
I will apologize about the blurriness of the next pictures...not sure what happened but I am going to show the wiring and headlight harness.
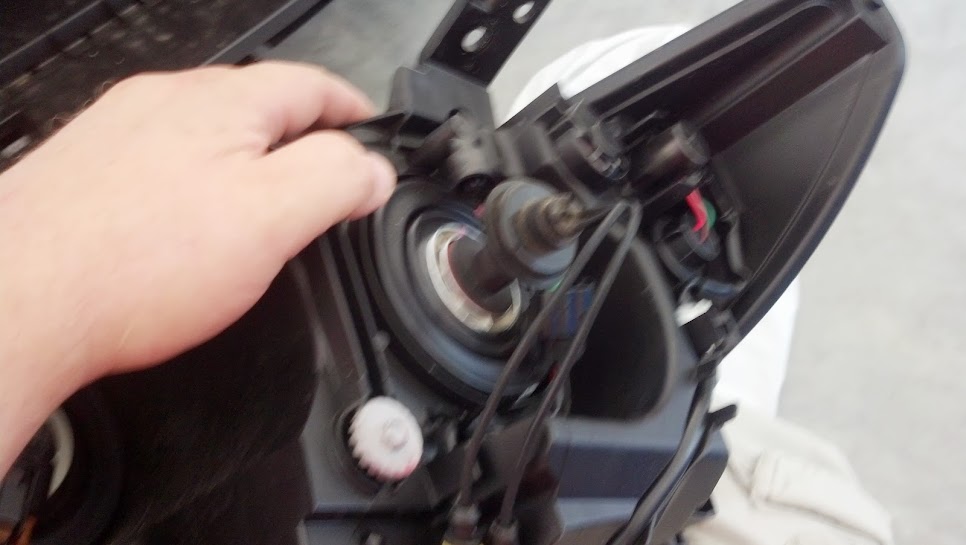
H11 bulb goes right in. (Blurry)
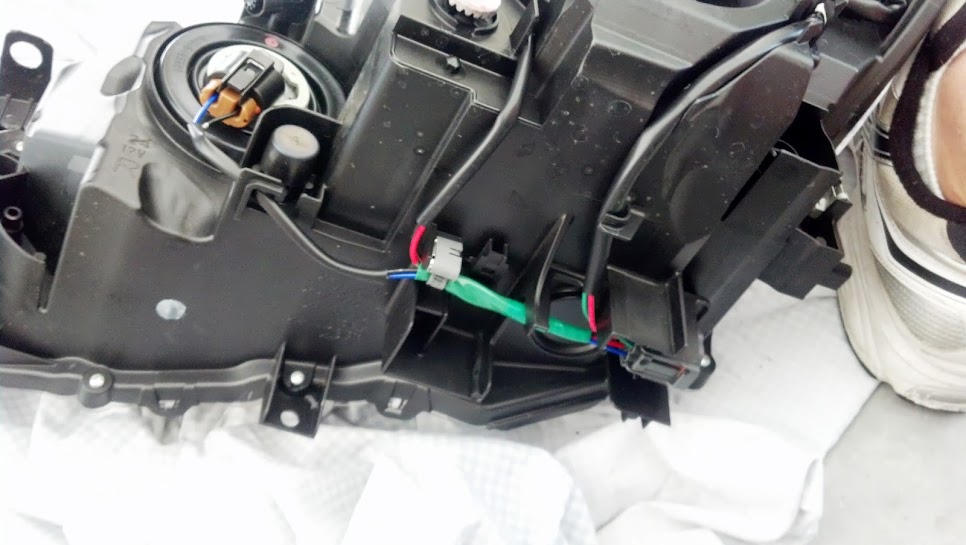
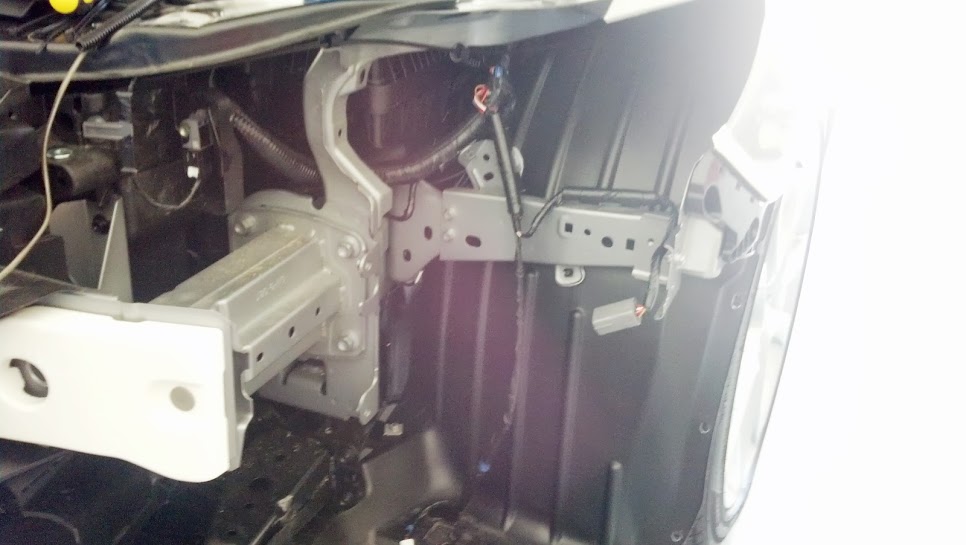
I strapped the ballast to the horizontal brace behind the headlight, right next to the fender liner. I grounded everything using the factory grounding points, but I removed them, sanded them down to bare metal, and painted them after installing to prevent rust.
Driver's side
Now for a short explanation of what happened next since I apparently got excited and forgot to take pictures.
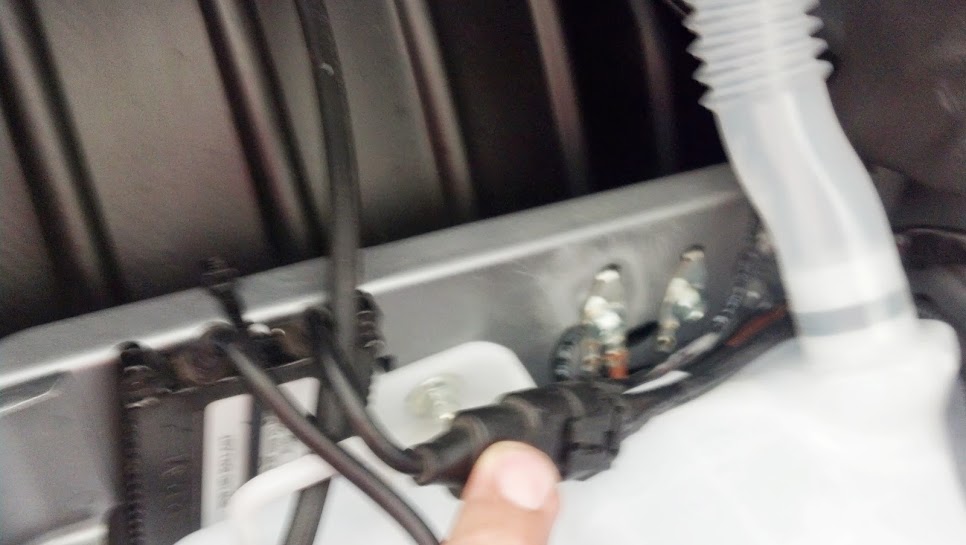
The relay harness has a main power lead that runs to the battery. I used one of the empty studs on the terminal (i just happened to have a nut for it). I used a MAXI fuseholder with a 20A fuse which is tucked next to the battery.
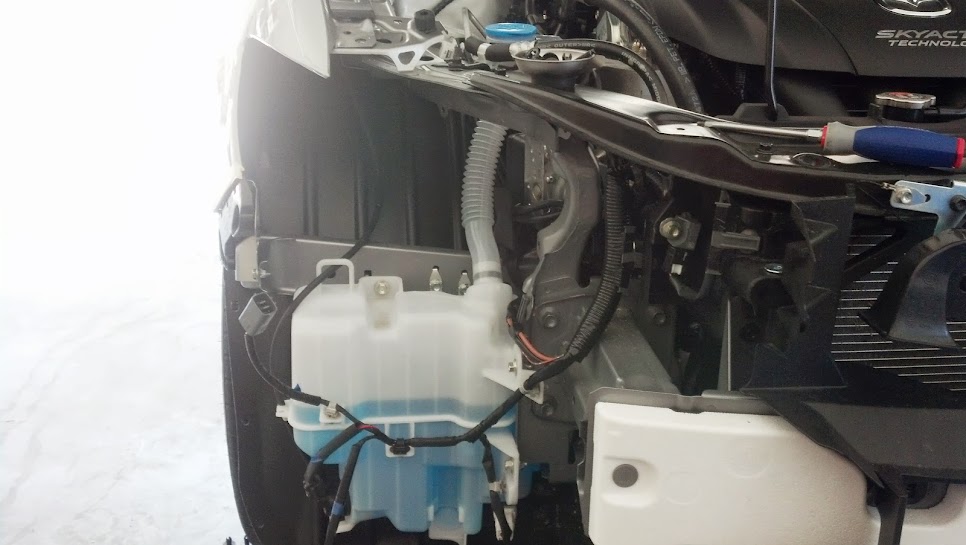
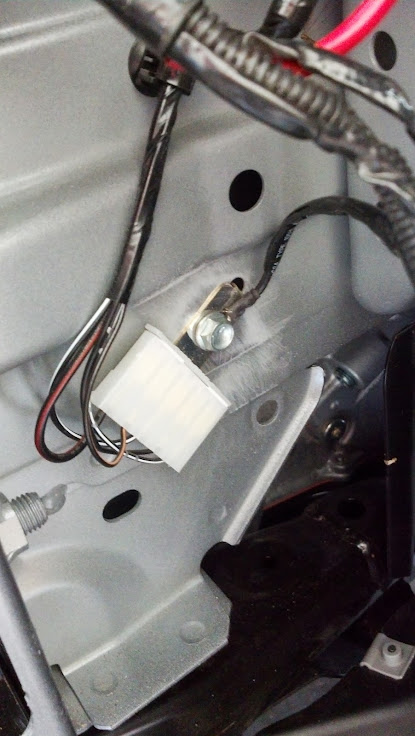
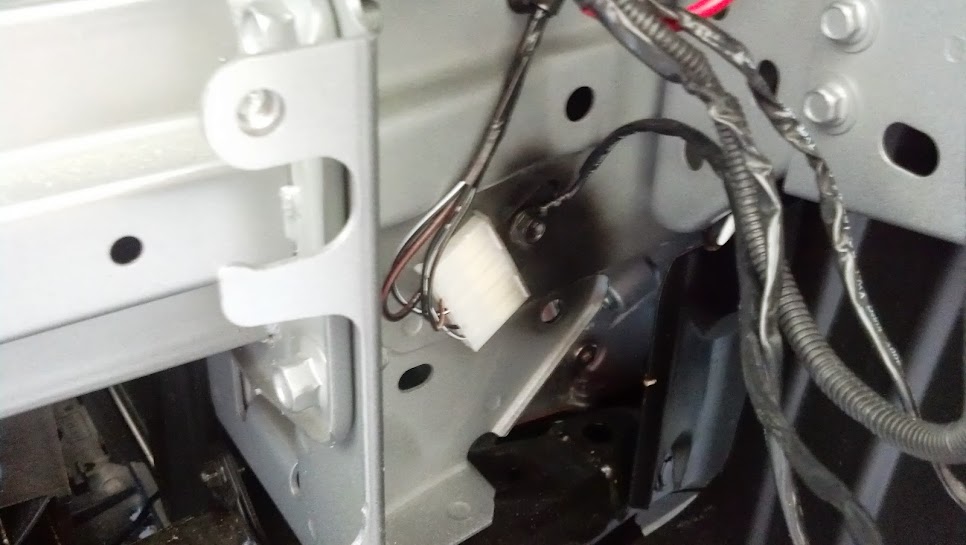
The grounds got put to the factory grounds in the pictures above. The trigger for the relay came from the red wire under the headlight going to the low beam. I used a t-tap and di-electric grease for a good connection. The rest plugs together to the ballasts. I ran my passenger side wire along a main harness in front of the top of the radiator and fastened with lots of zip straps. I wrapped my un-used headlight plugs in electrical tape to keep them dry until I get rid of the car. Put the car back to together, install the fuse, and you are good to go. I also aimed the headlights up a little bit. For this, you need a long #2 philips screwdriver to turn the adjustments screws.
Again...I'm sorry for the lack of pictures but I hope this helps.
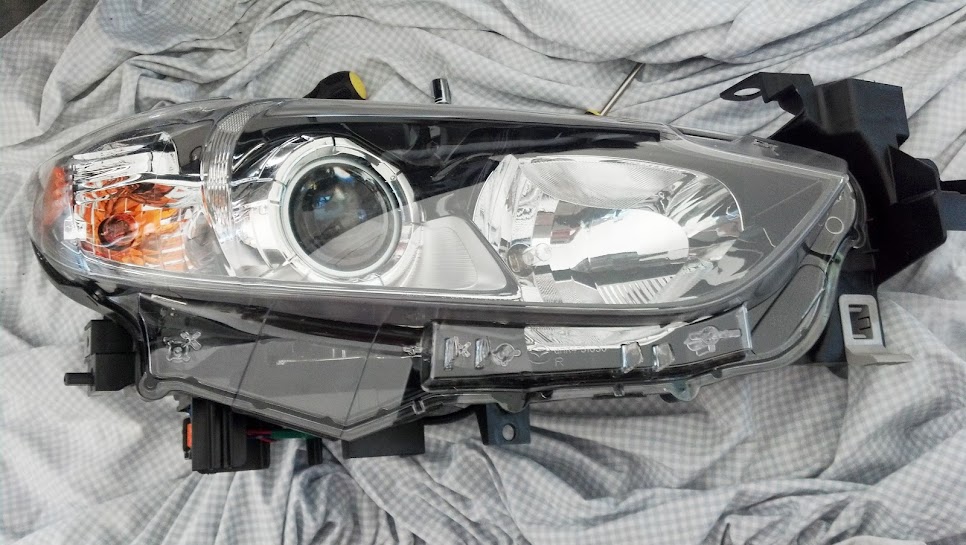
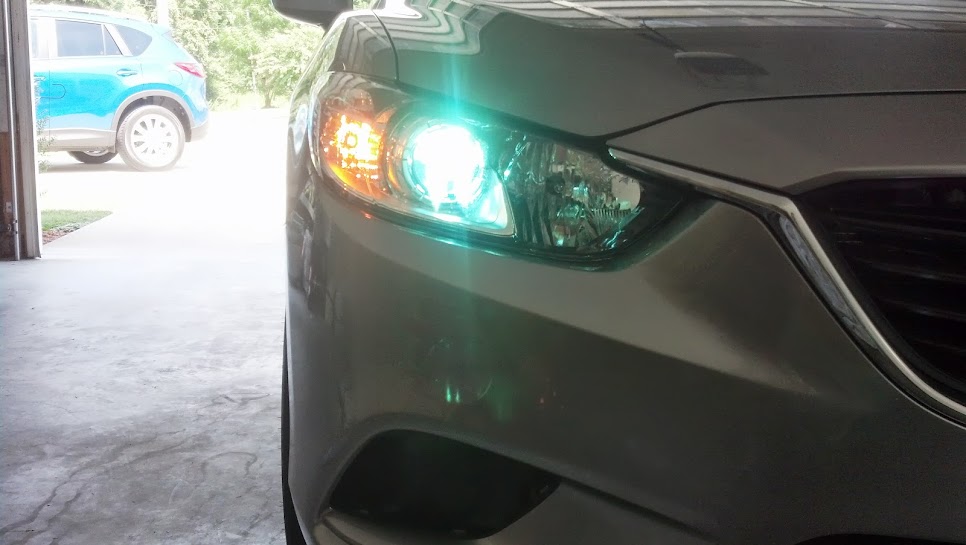
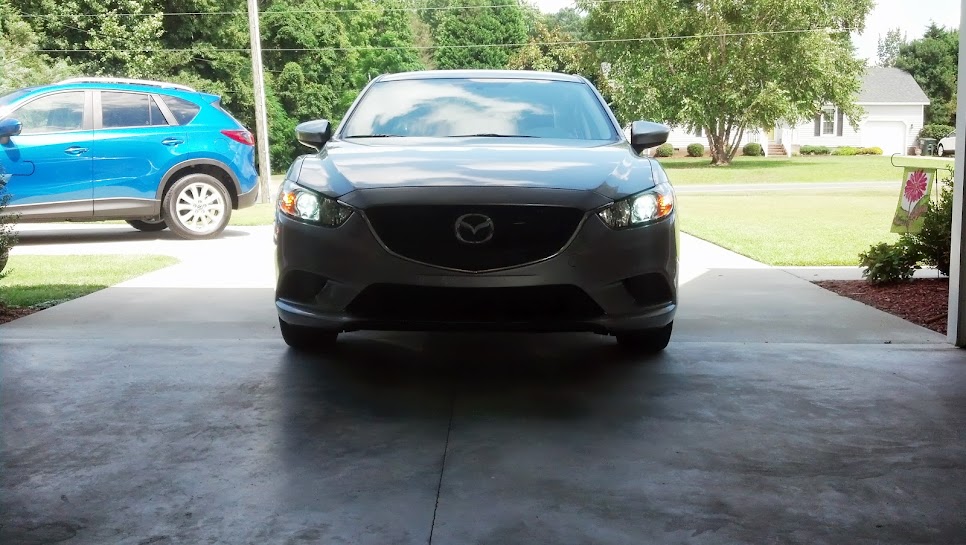
Finished product:
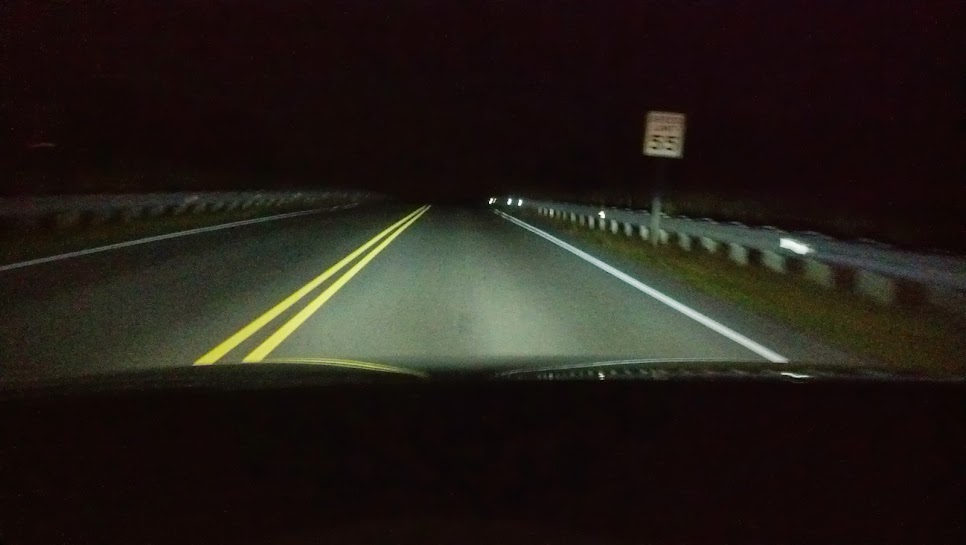
Driving shot
1. Remove all the philips screws and push pins from above the grill, under the hood. You can tell which ones need to go...in this pic, they are already gone. There is also one under the little intake snorkle that has to come out from the left side as seen in the 2nd picture.
2. Next, remove the 3 push pins in either fenderwell, then the 4 philips screws under the front edge of the bumper that hold the fender liner to the bumper. Then get all the push pins along the front edge of the under body liner as well as a couple of screws No picture of that part...sorry.
3. Pull the fender liner back at the joint of the bumper and the fender, there is a philips screw with the head facing down. The bumper is actually cut out to fit a screwdriver...that was nice of Mazda. In the picture, which is sideways, the hole on the right is where the screw resides but the little semi-circle on the left is where you insert your screwdriver. This is a pic of the driver's side for reference.
4. Before you go any further, run a little masking tape along the edge of the fender where it meets the bumper. If you are new to this, run it up a few inches to protect the fender paint from the edge of the bumper. Next, pull the bumper out to release the clips.
5. When you release the clips, pull the bumper straight forward, unplug the foglight harnesses, either from your foglights or the back of the filler panel. No, these do not work unless you get the stalk with the switch that comes with the factory foglight kit...and here what you have.
6. Now, remove the 10mm bolt and the screw-down push pin on the top of the headlight at the fender
7. Then remove the bolt on the side closest to the lens. Also, go ahead and unplug the harness that connects the headlight to the car.
8. Now remove the bolt at the inside tip of the headlight, as well as a forward facing push pin on the other side of the plastic. It took me a minute to see it, but it's plain as day when you look at it from the center.
9. Pull forward and it's free.
I will apologize about the blurriness of the next pictures...not sure what happened but I am going to show the wiring and headlight harness.
H11 bulb goes right in. (Blurry)
I strapped the ballast to the horizontal brace behind the headlight, right next to the fender liner. I grounded everything using the factory grounding points, but I removed them, sanded them down to bare metal, and painted them after installing to prevent rust.
Driver's side
Now for a short explanation of what happened next since I apparently got excited and forgot to take pictures.
The relay harness has a main power lead that runs to the battery. I used one of the empty studs on the terminal (i just happened to have a nut for it). I used a MAXI fuseholder with a 20A fuse which is tucked next to the battery.
The grounds got put to the factory grounds in the pictures above. The trigger for the relay came from the red wire under the headlight going to the low beam. I used a t-tap and di-electric grease for a good connection. The rest plugs together to the ballasts. I ran my passenger side wire along a main harness in front of the top of the radiator and fastened with lots of zip straps. I wrapped my un-used headlight plugs in electrical tape to keep them dry until I get rid of the car. Put the car back to together, install the fuse, and you are good to go. I also aimed the headlights up a little bit. For this, you need a long #2 philips screwdriver to turn the adjustments screws.
Again...I'm sorry for the lack of pictures but I hope this helps.
Finished product:
Driving shot
")


