You guys are probably wondering, why would I even replace any of these items? Well, it's only necessary if you meet the following criteria:
Belt Tensioner/Serpentine/Water Pump PDF Guide
OEM/Part #'s:
Tools Required:
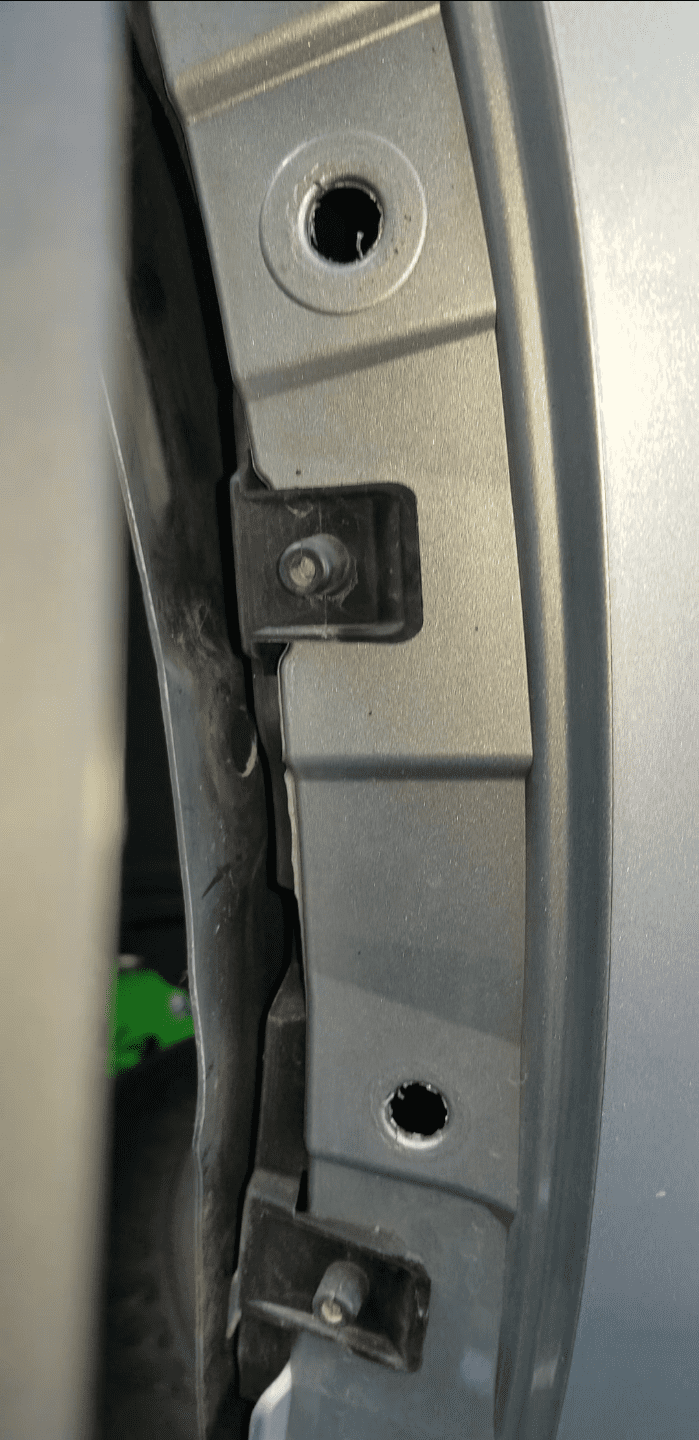
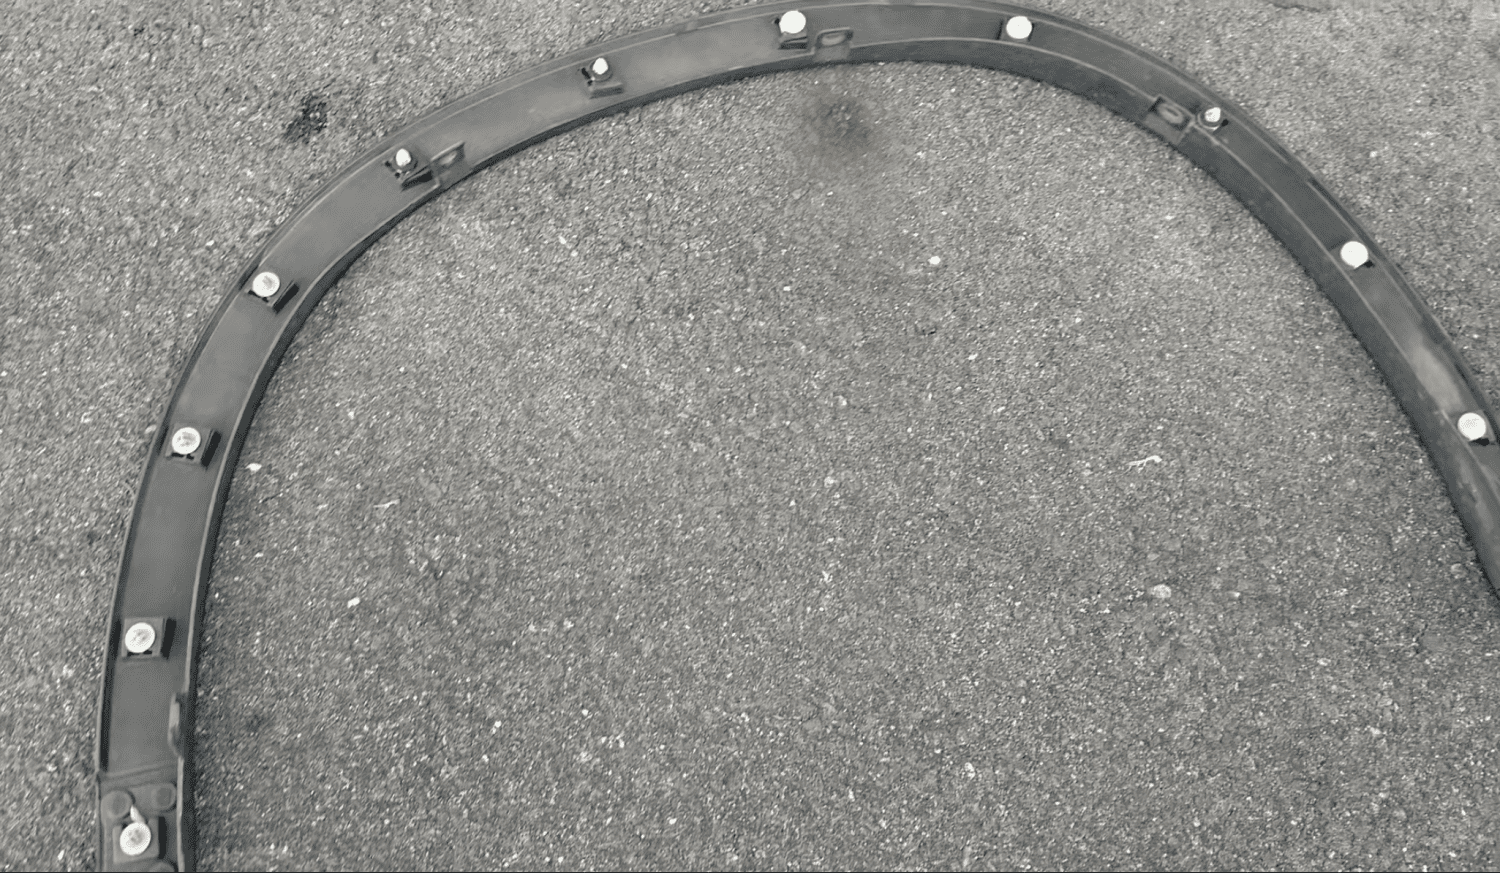
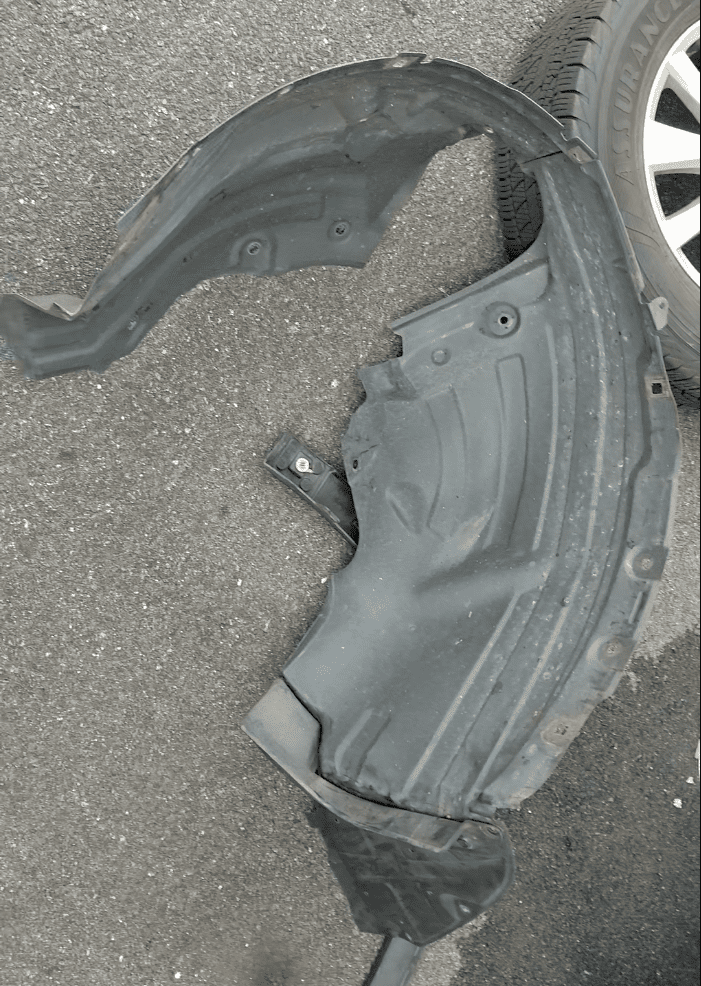
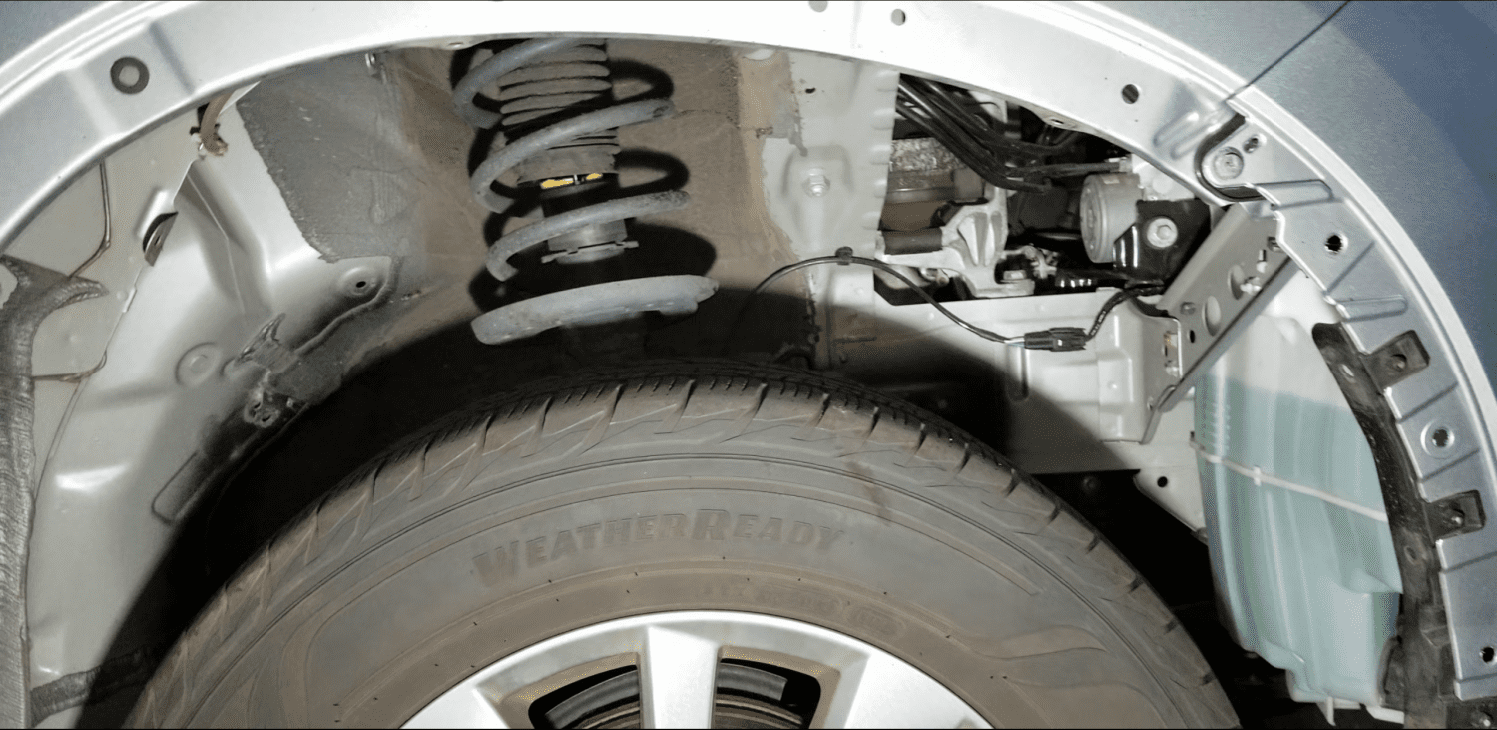
Outer wheel splash shield
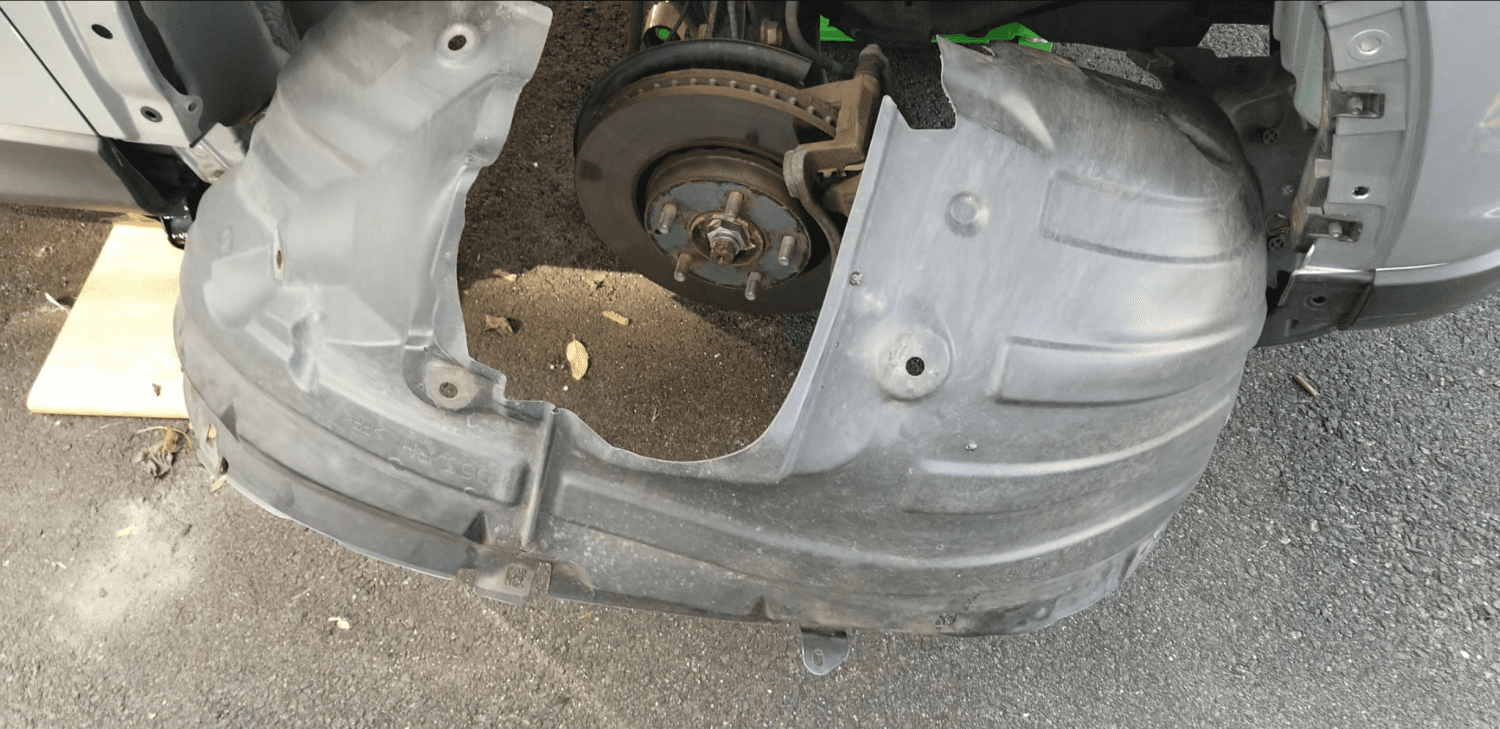
Wheel splash shield
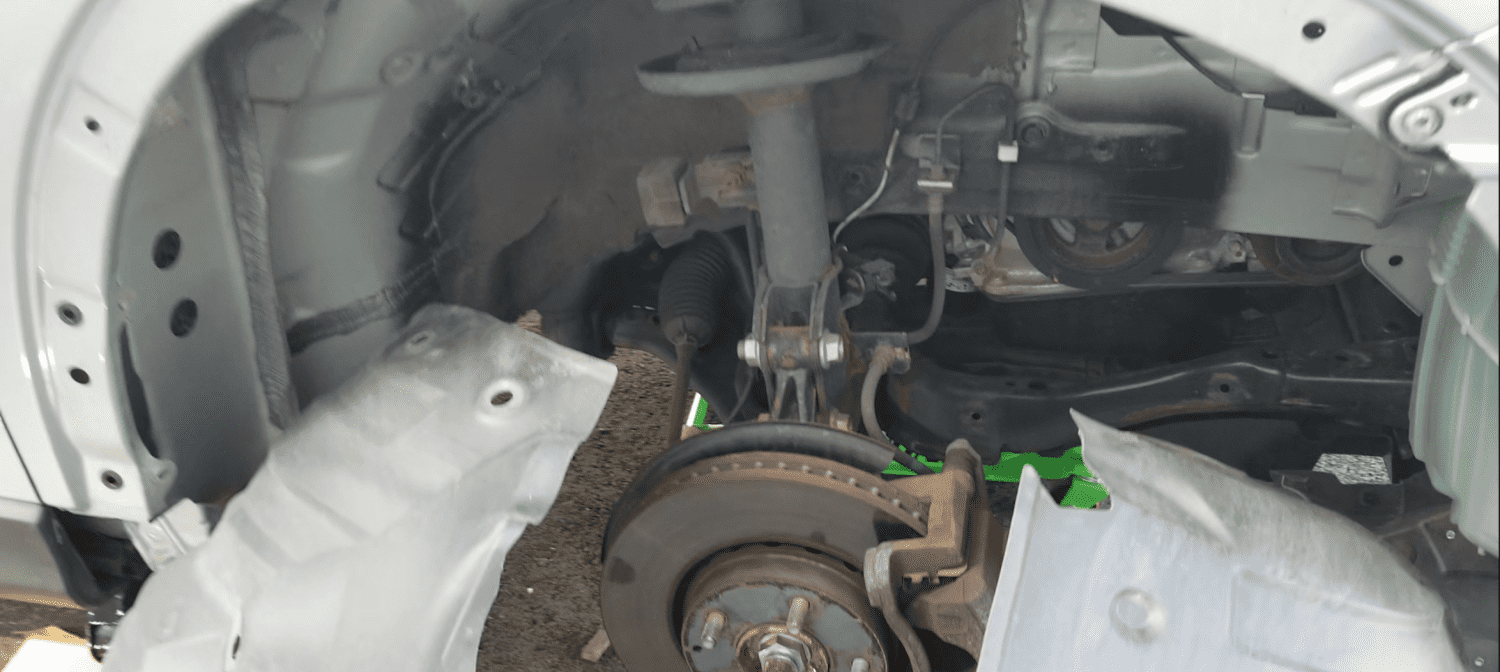
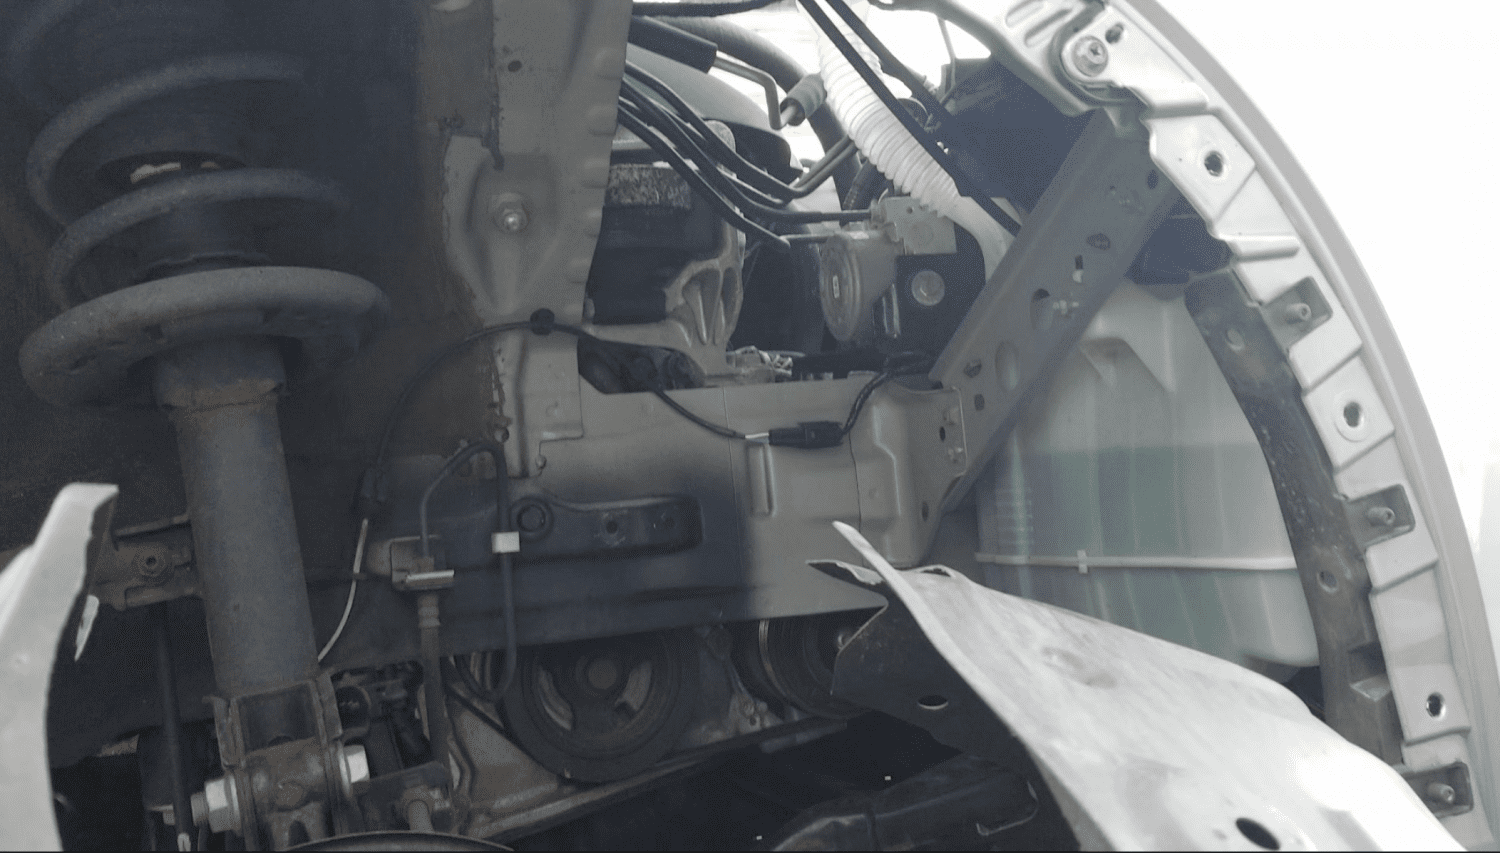
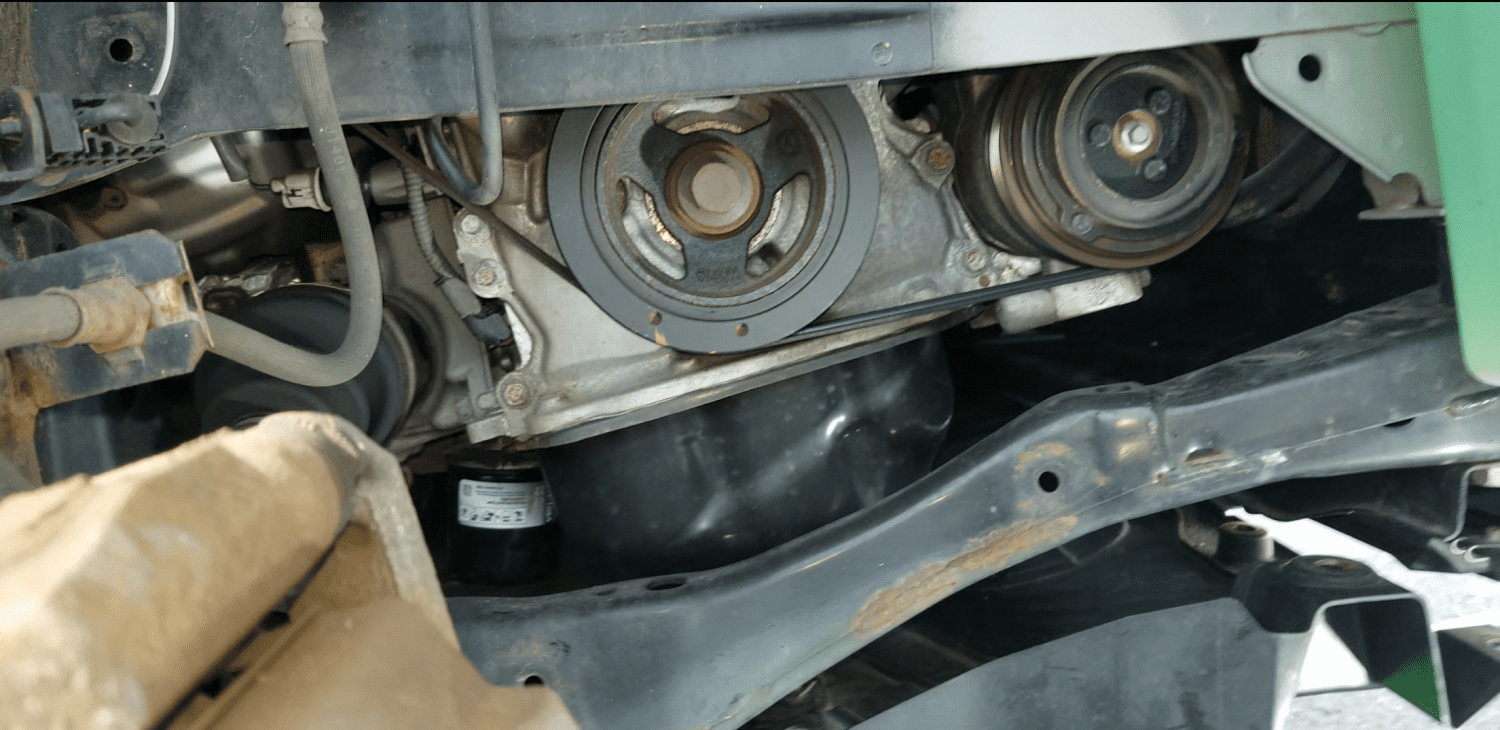
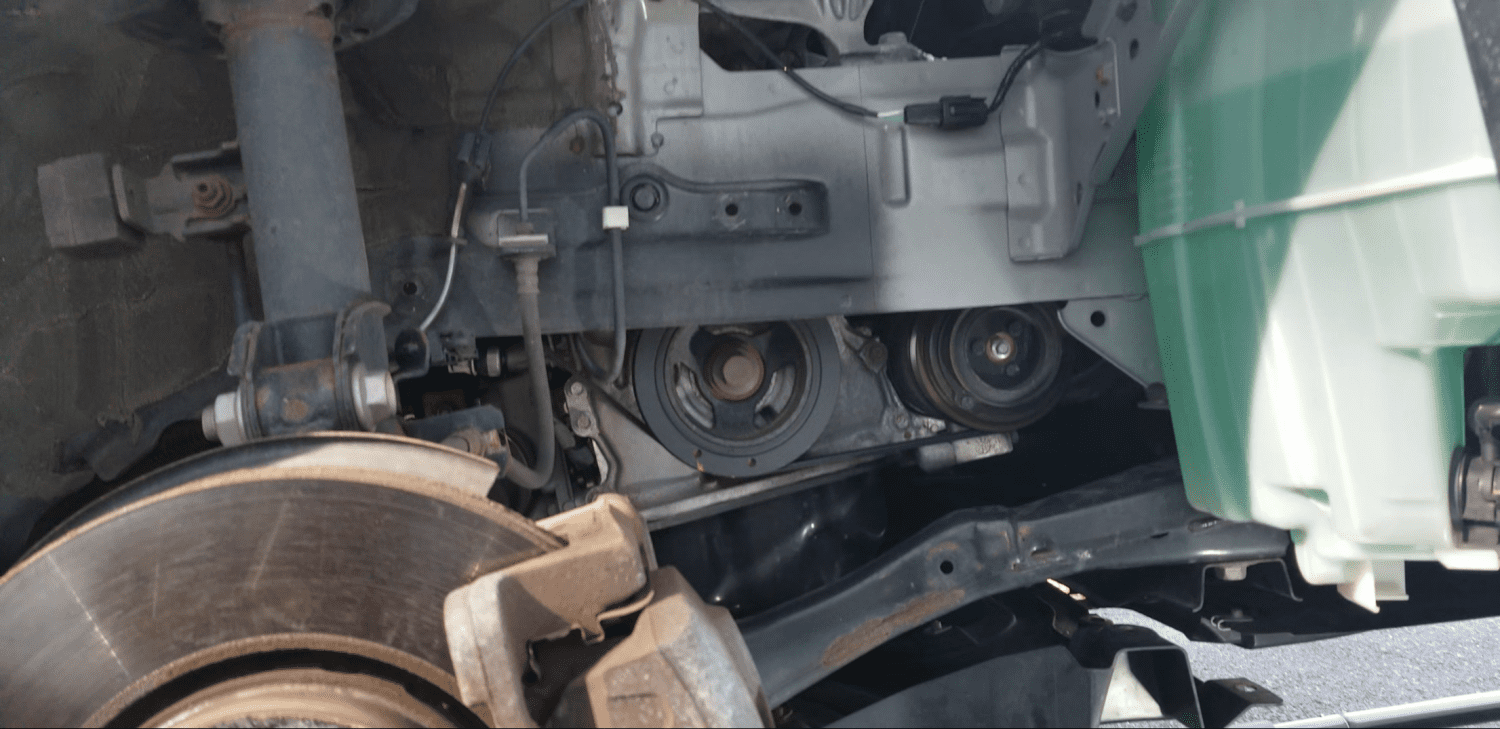
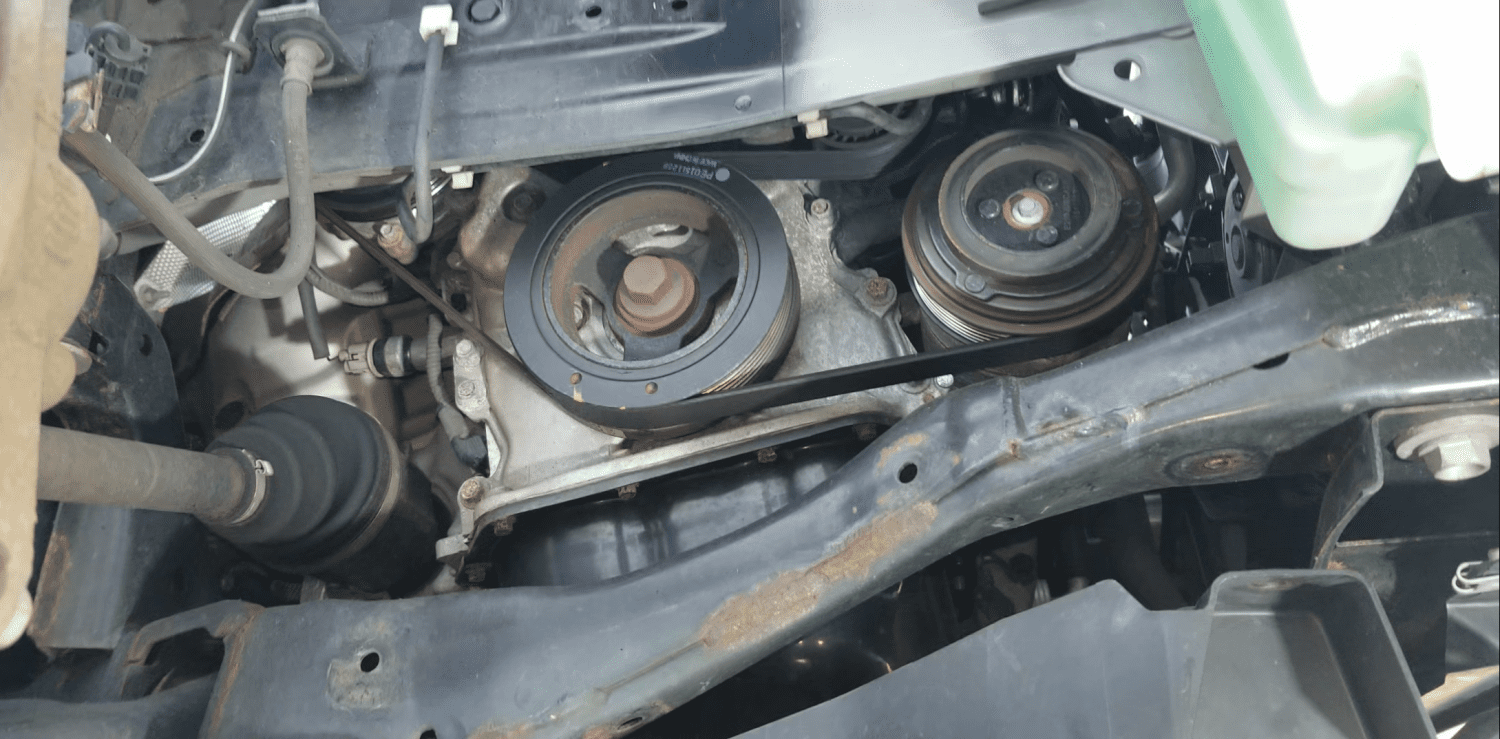
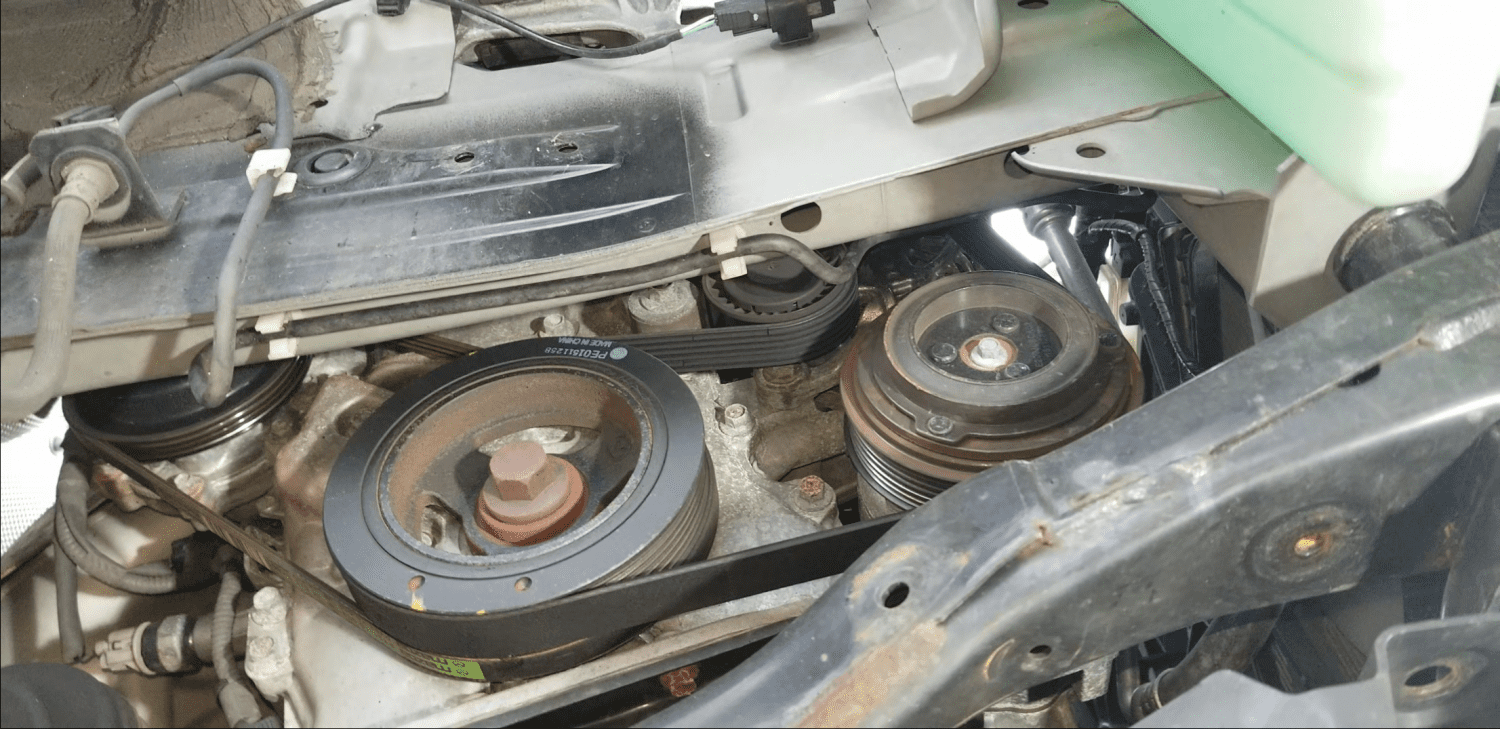
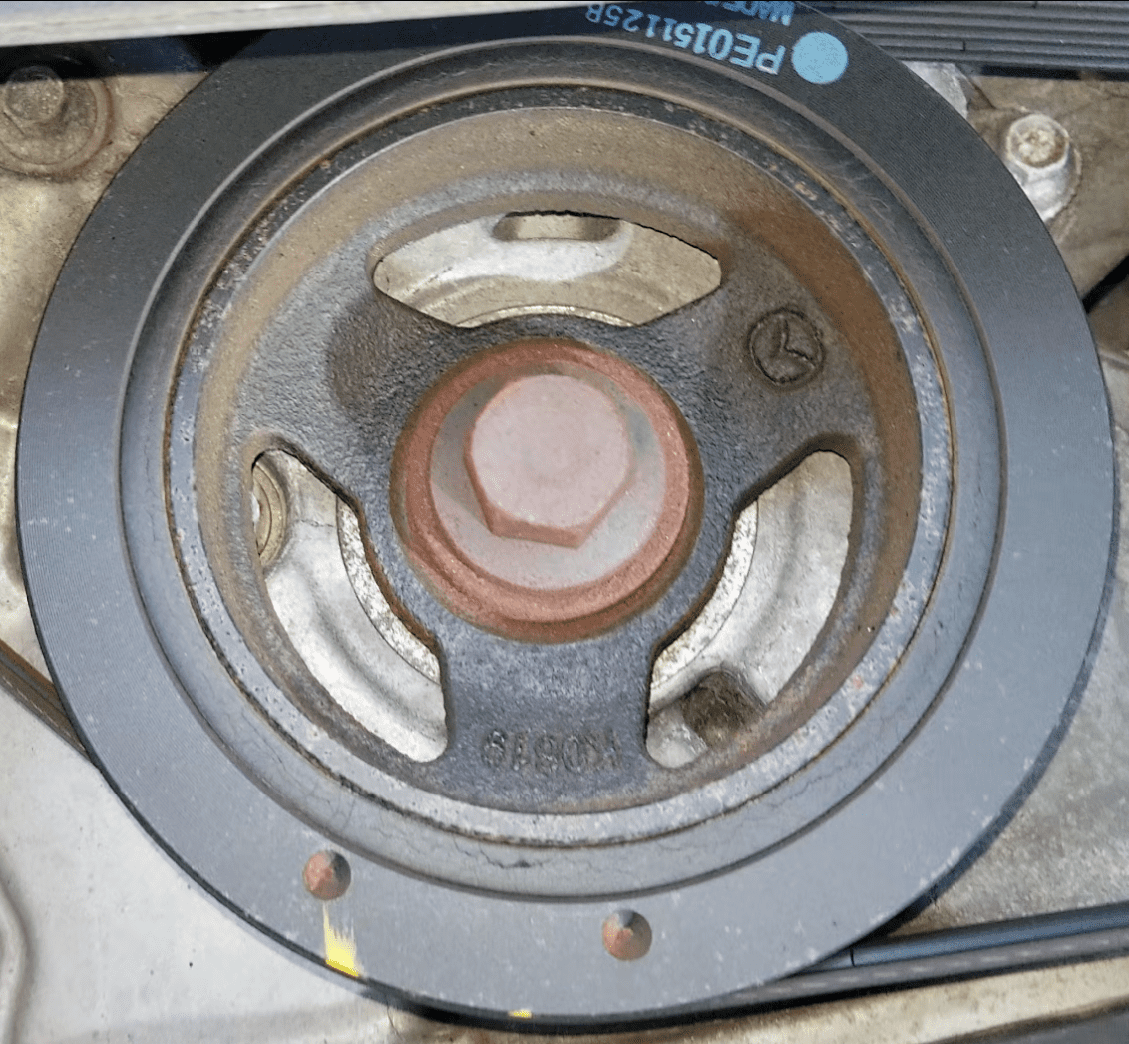
Crankshaft with cracks
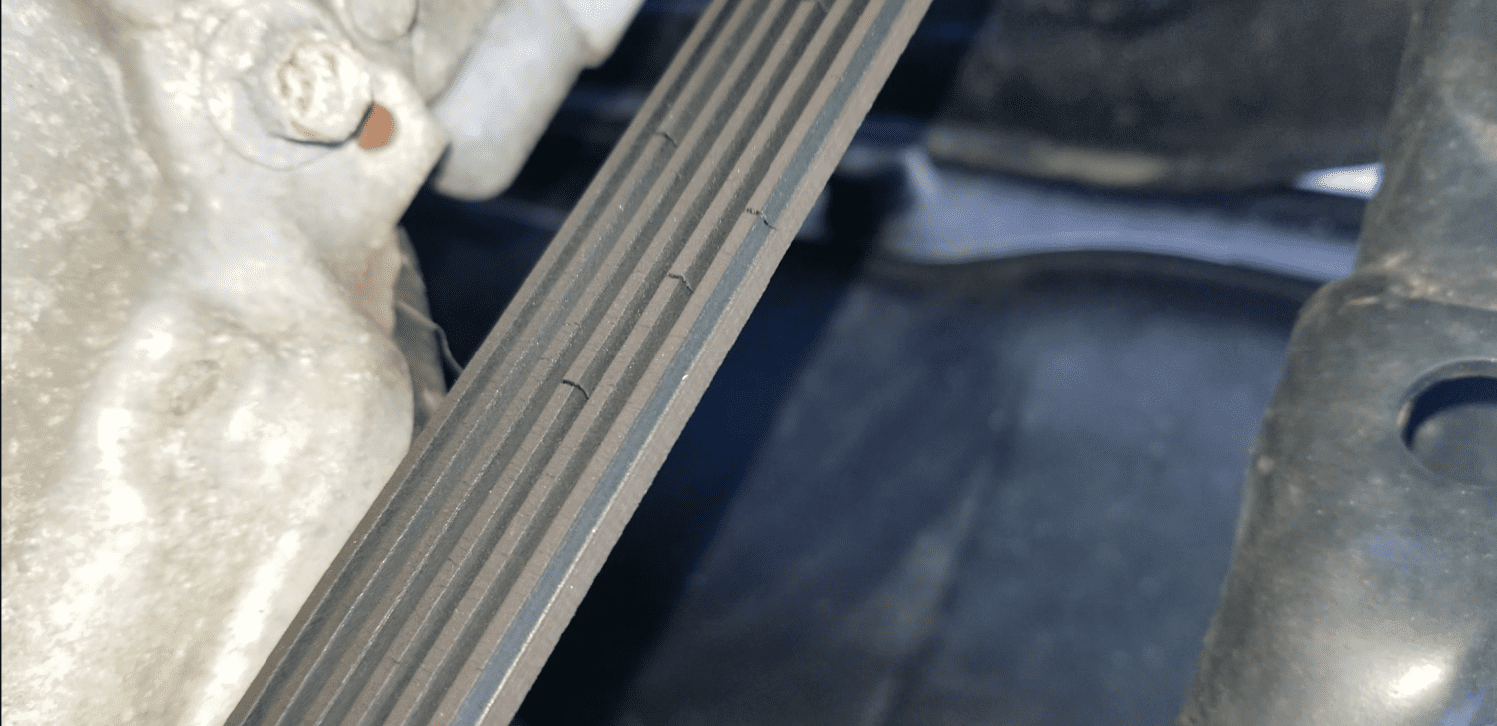
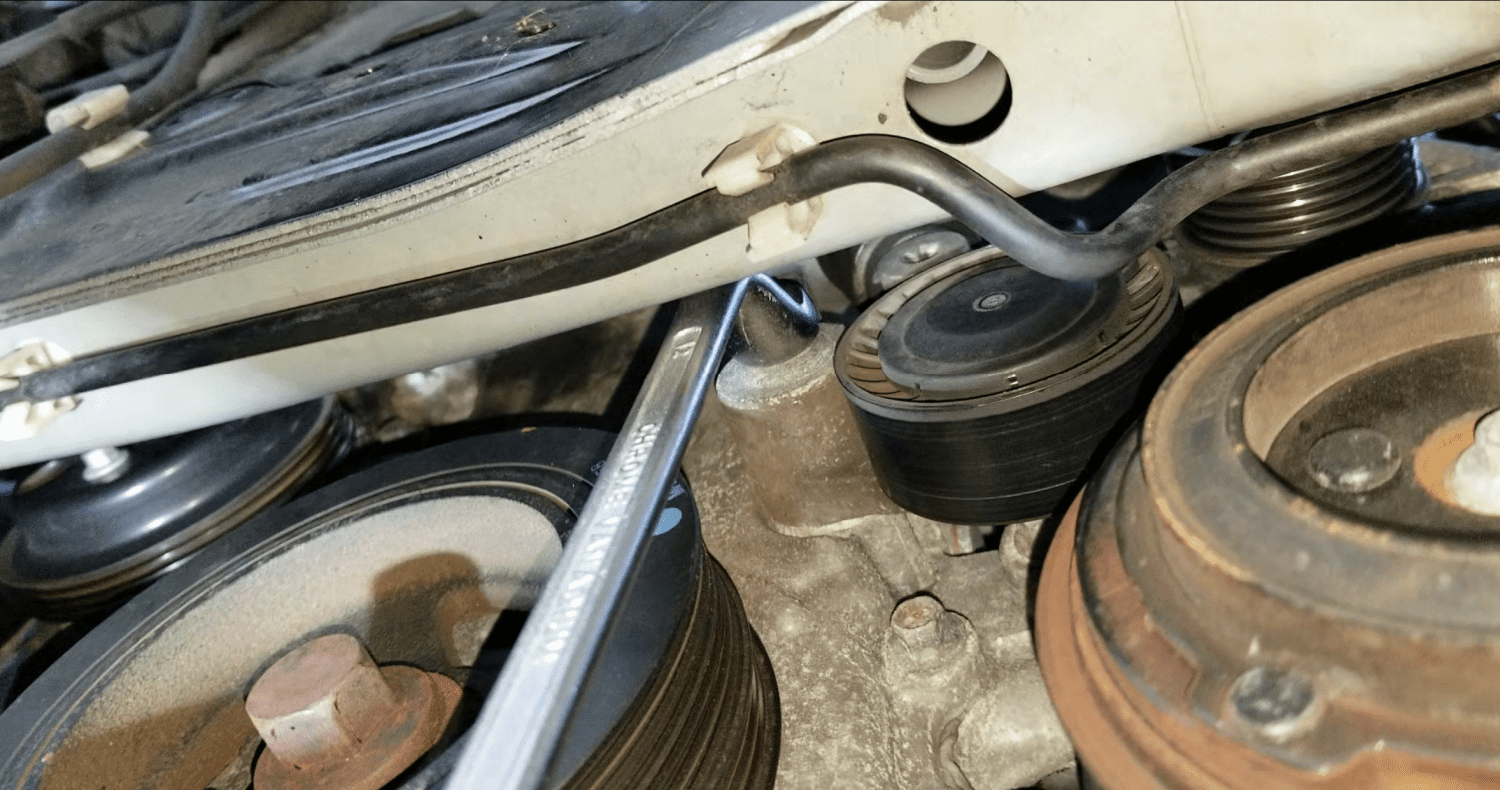
Using my primary ratchet + flare nut crow foot to remove the serpentine belt.
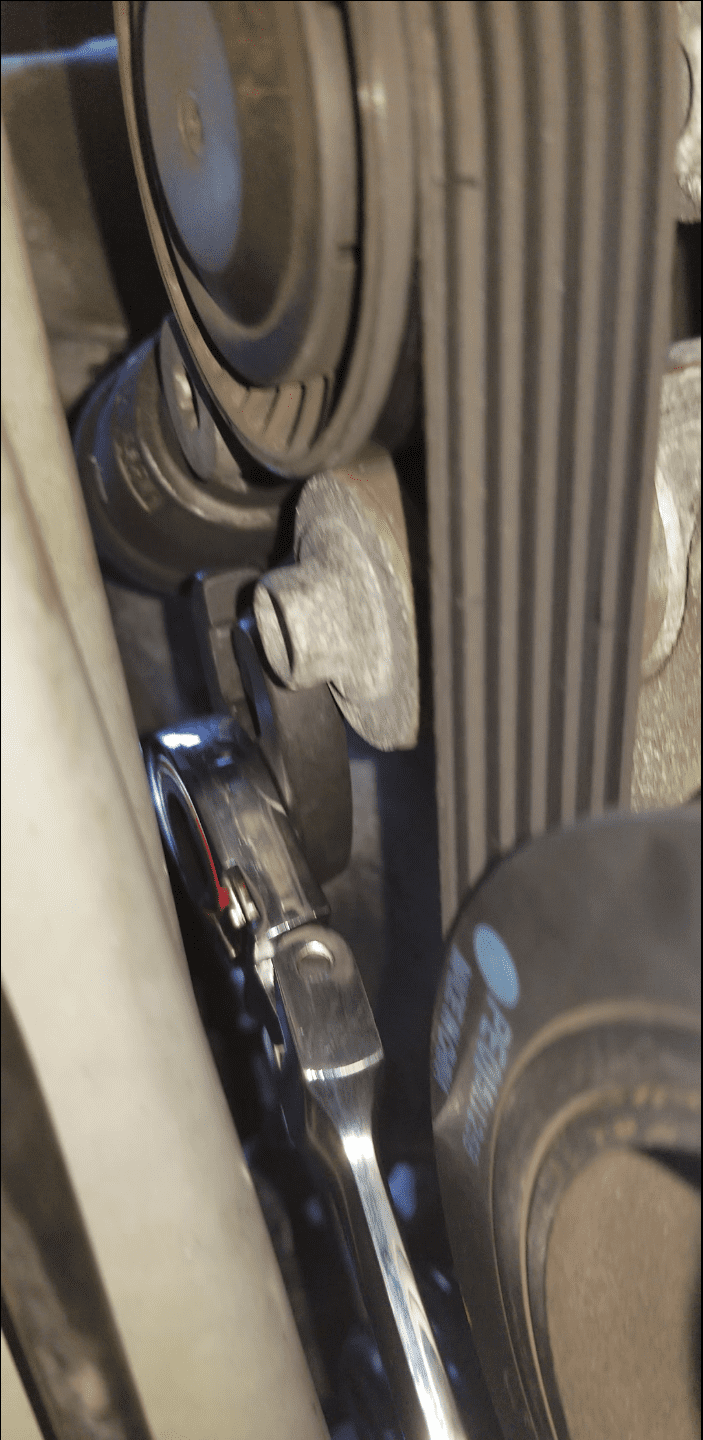
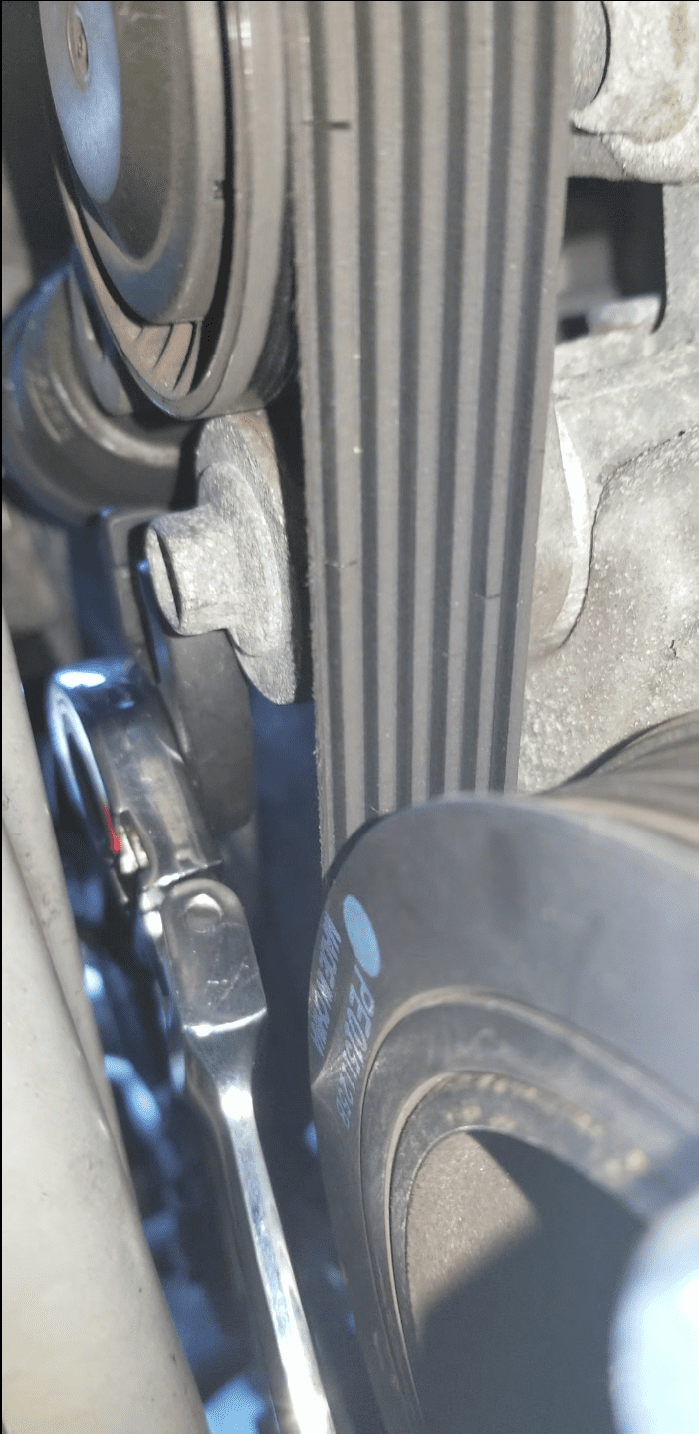
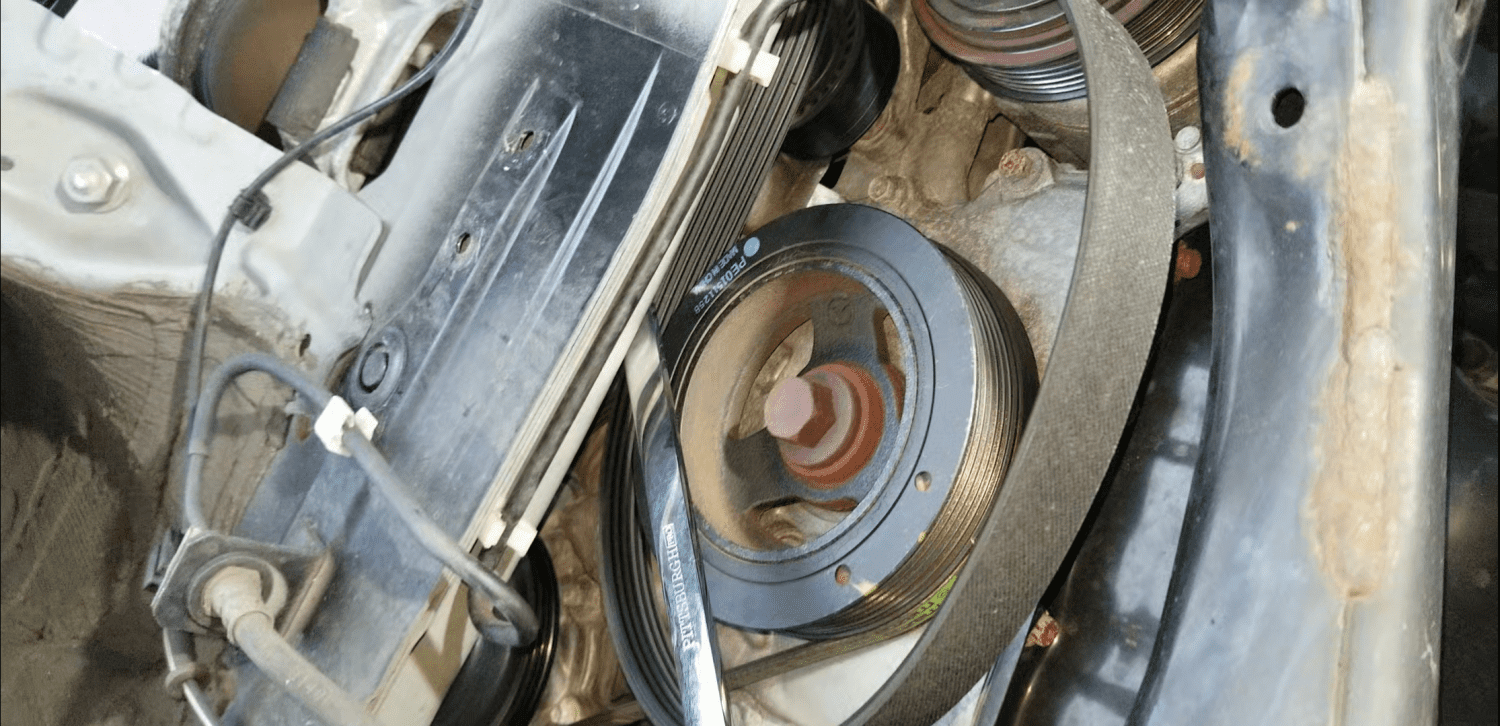
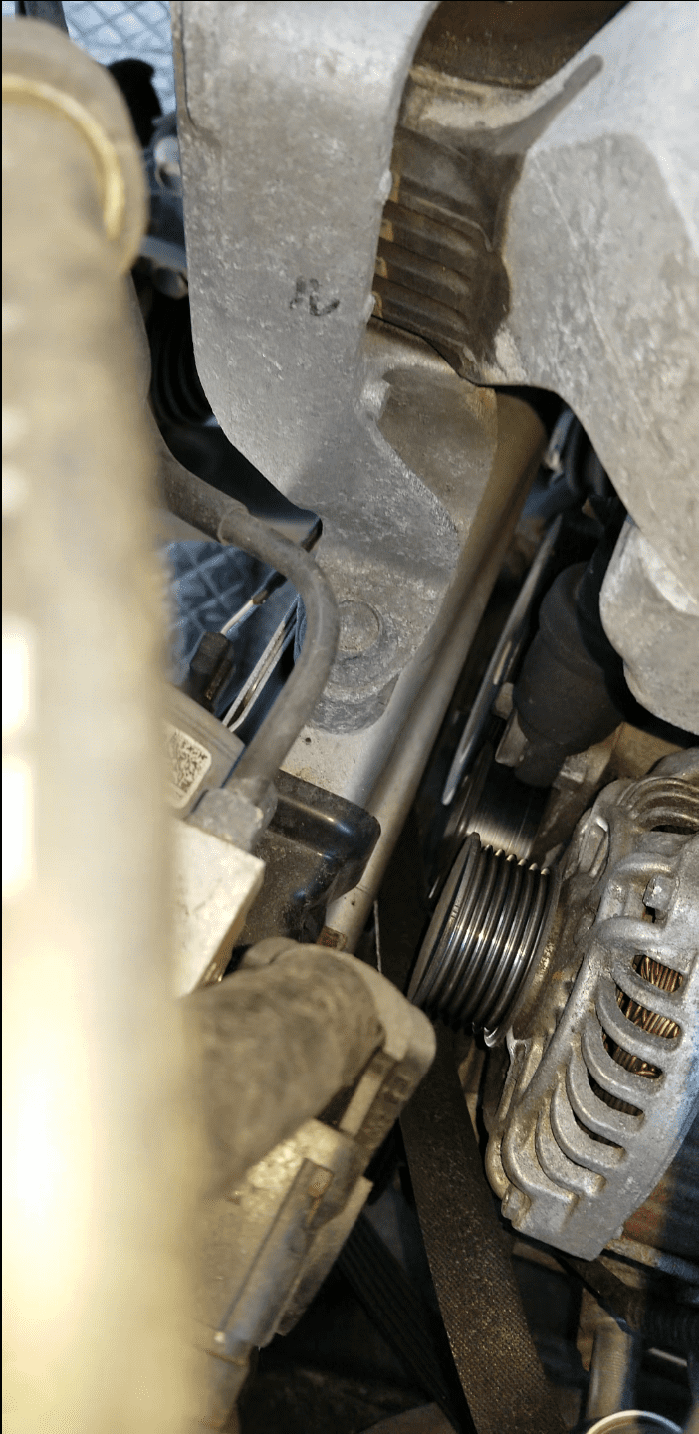
Serpentine Belt Removed
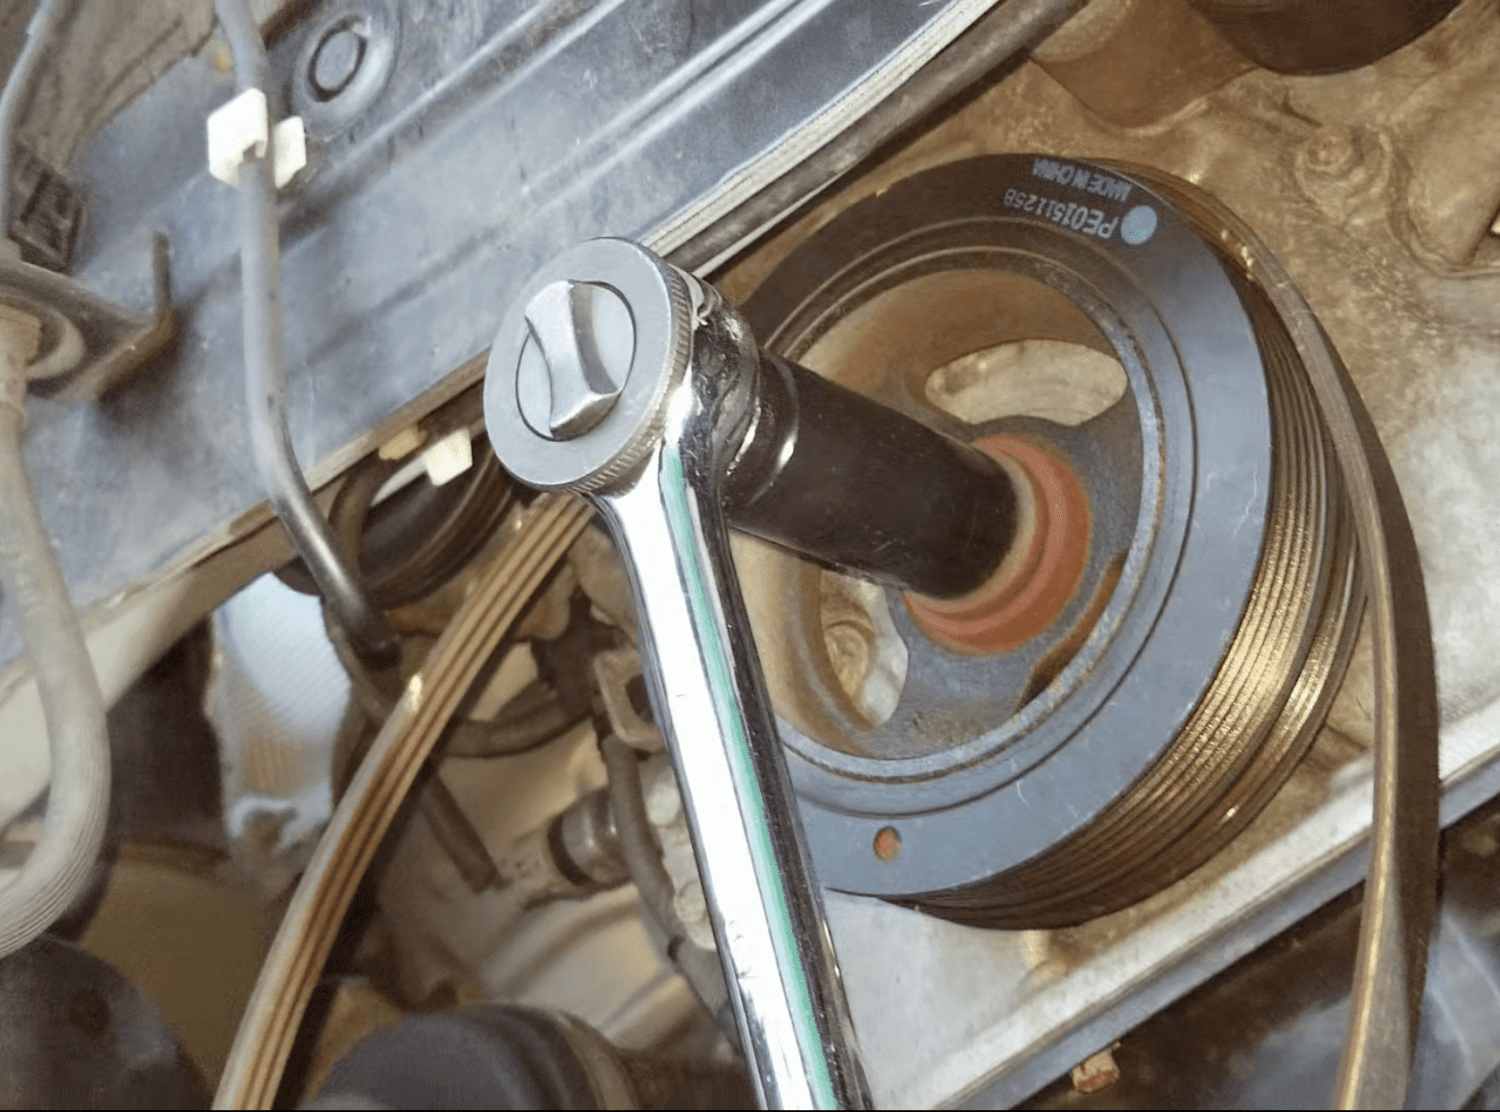
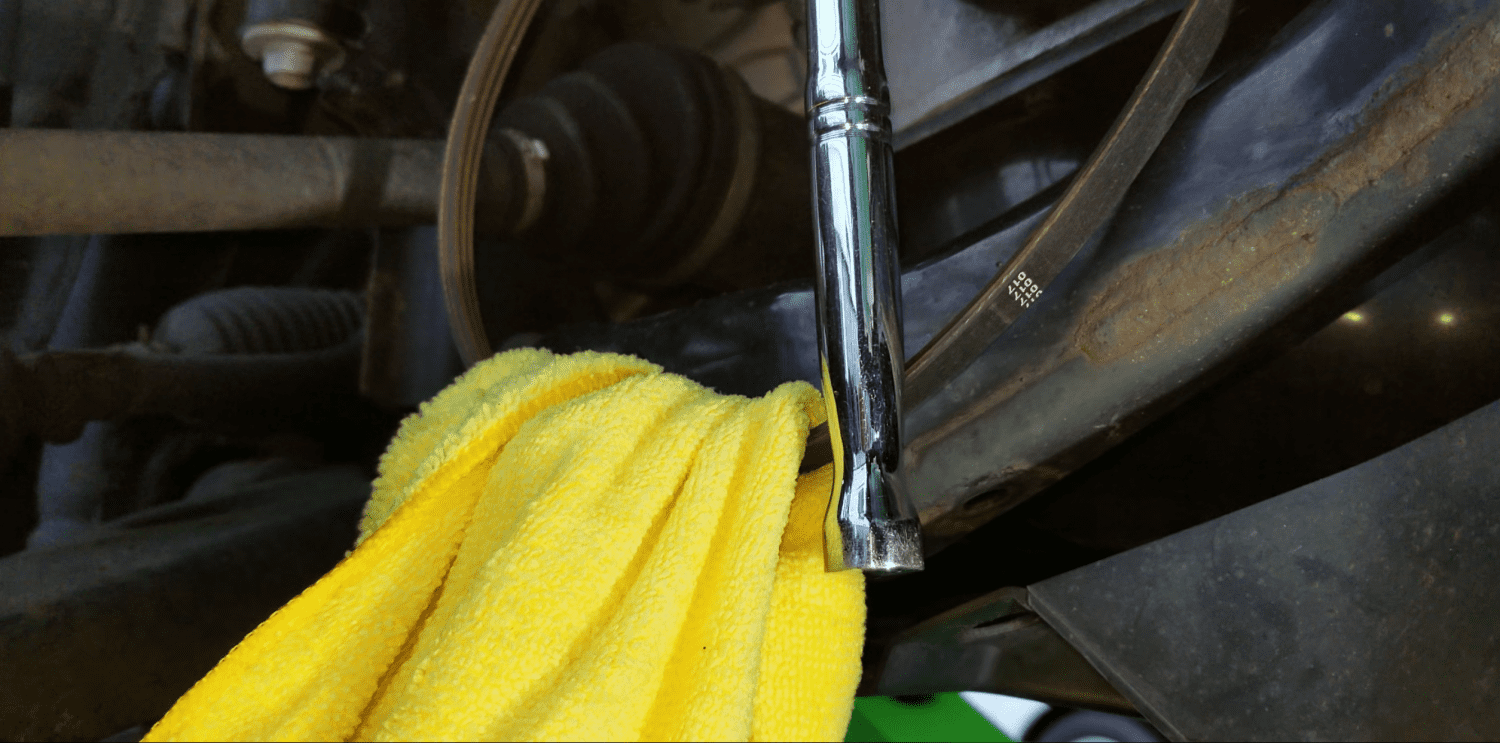
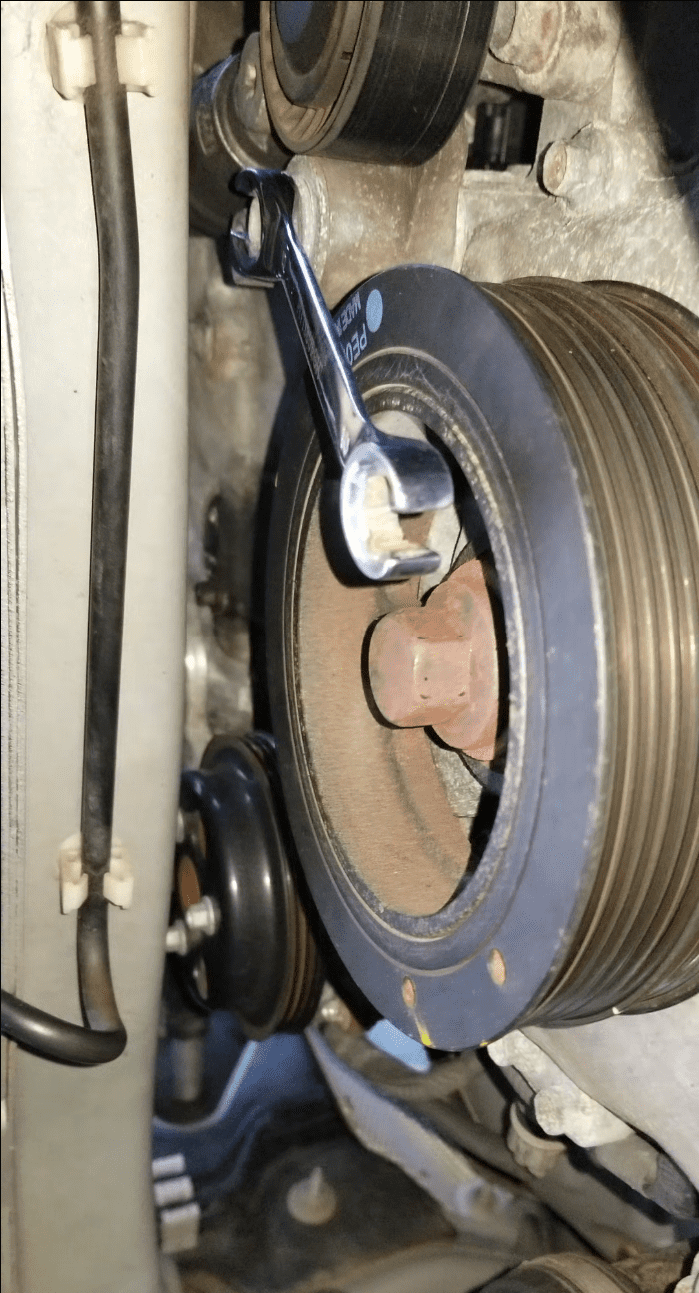
1/2 Ratchet + 21 mm socket: Water pump belt removal via Crankshaft Pulley + Towel
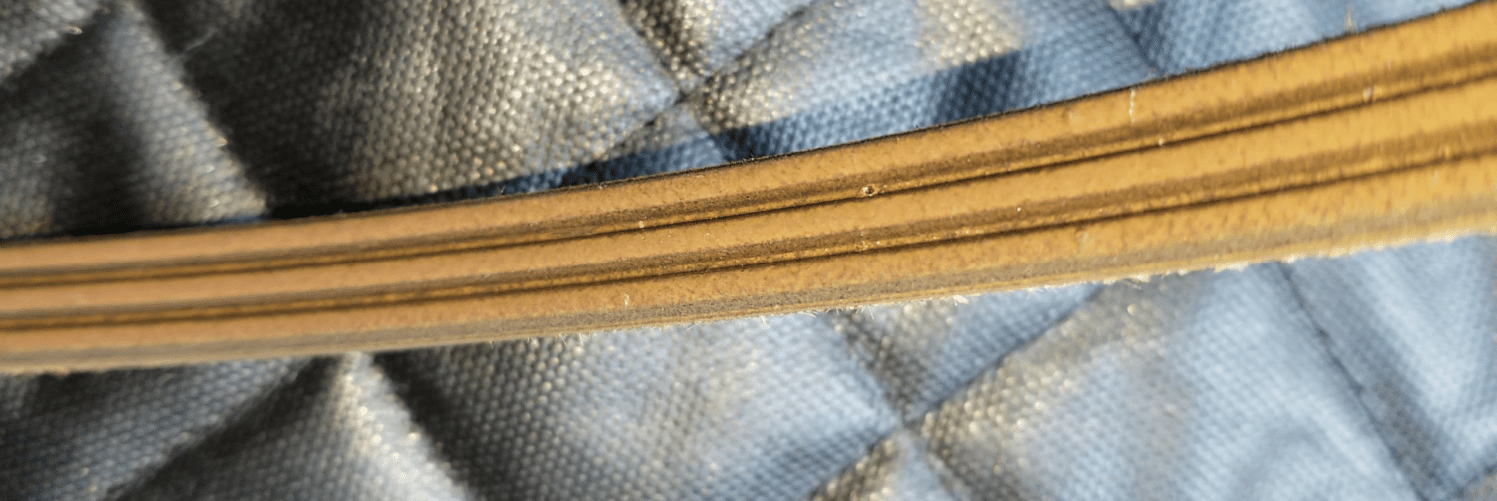
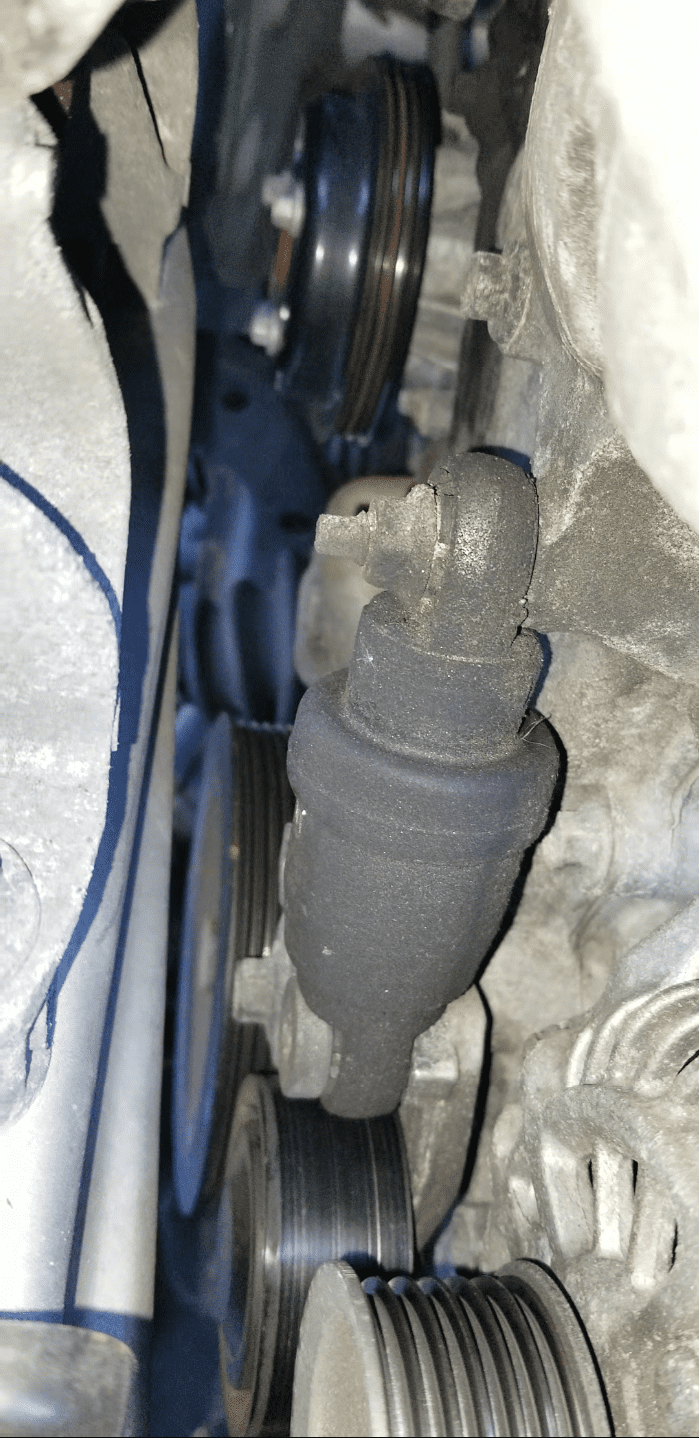
Belt Tensioner/No belts installed
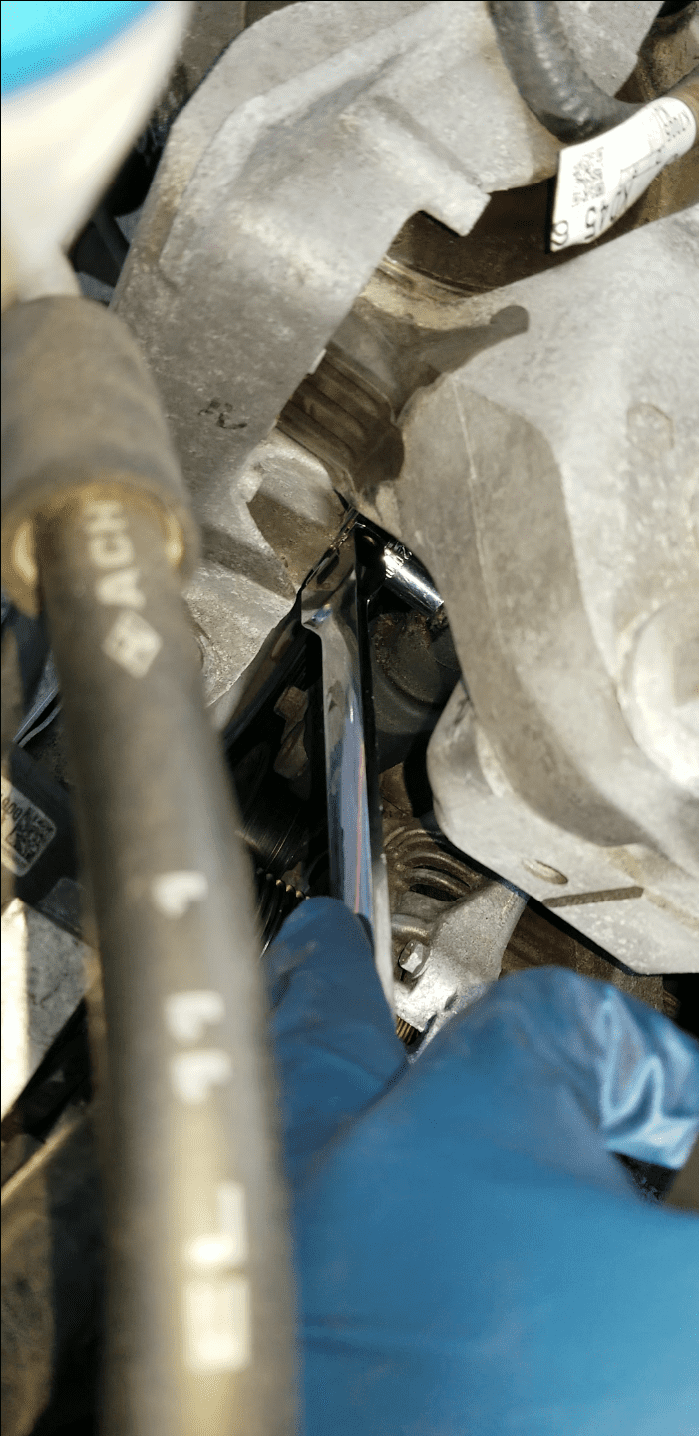
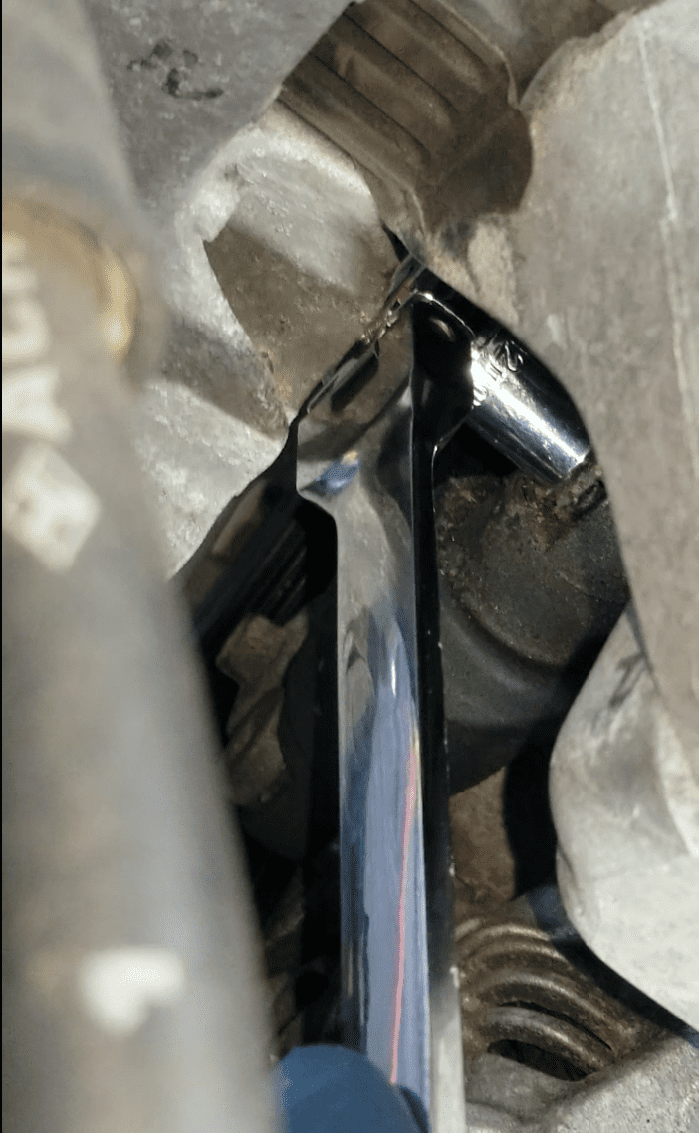
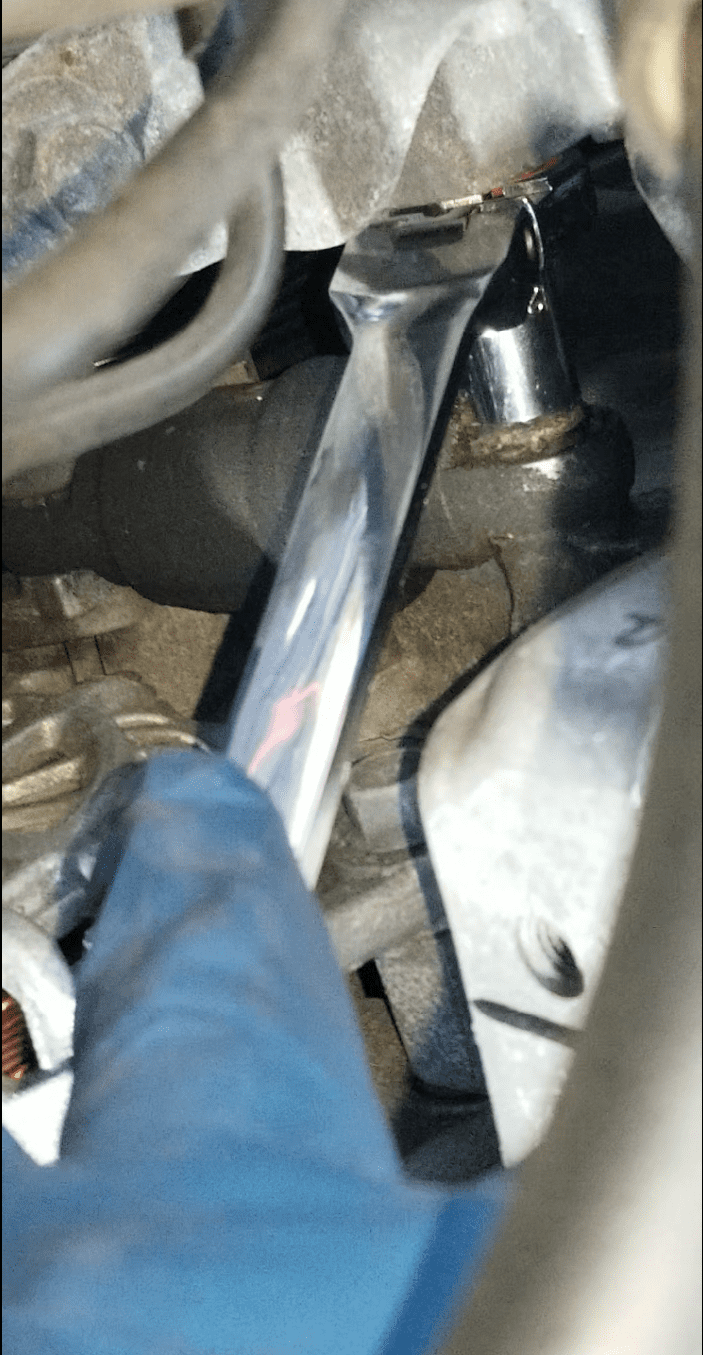
Engine bay 12 mm socket with ratchet
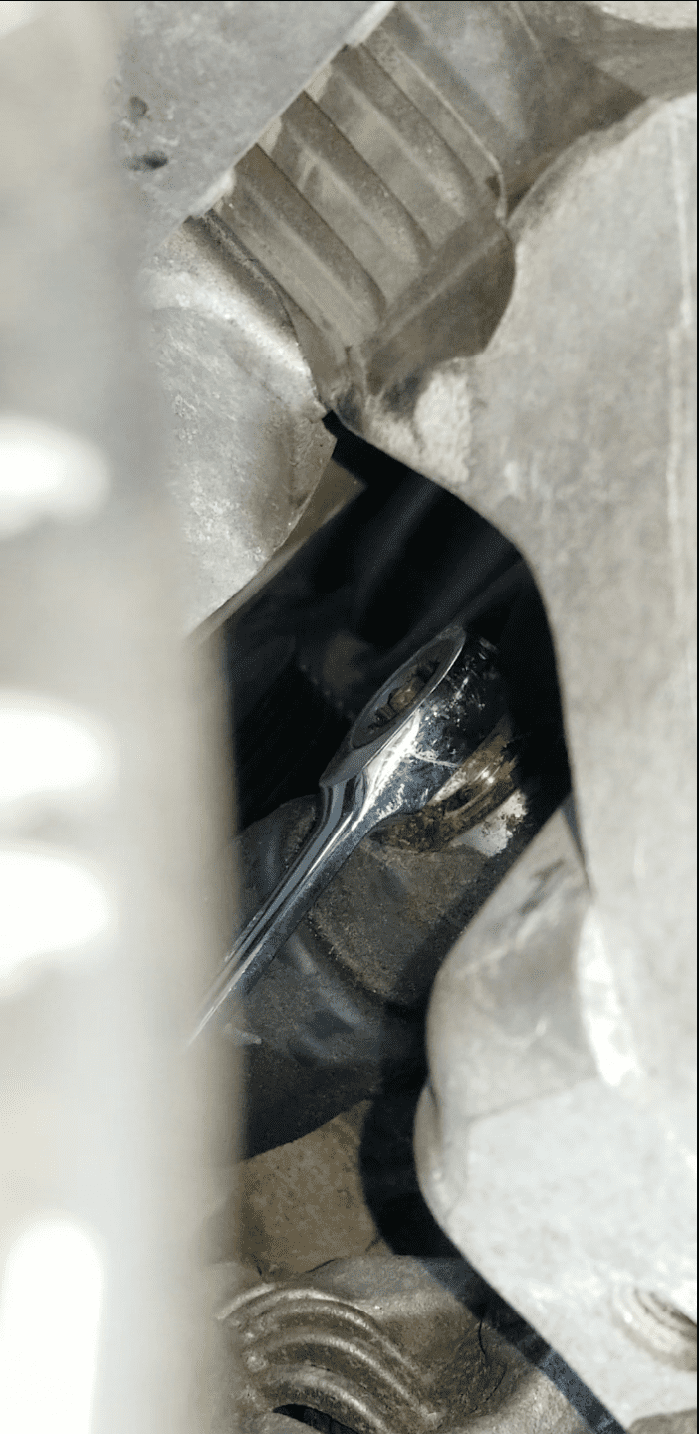
12 mm ratcheting wrench
12 mm flare nut wrench
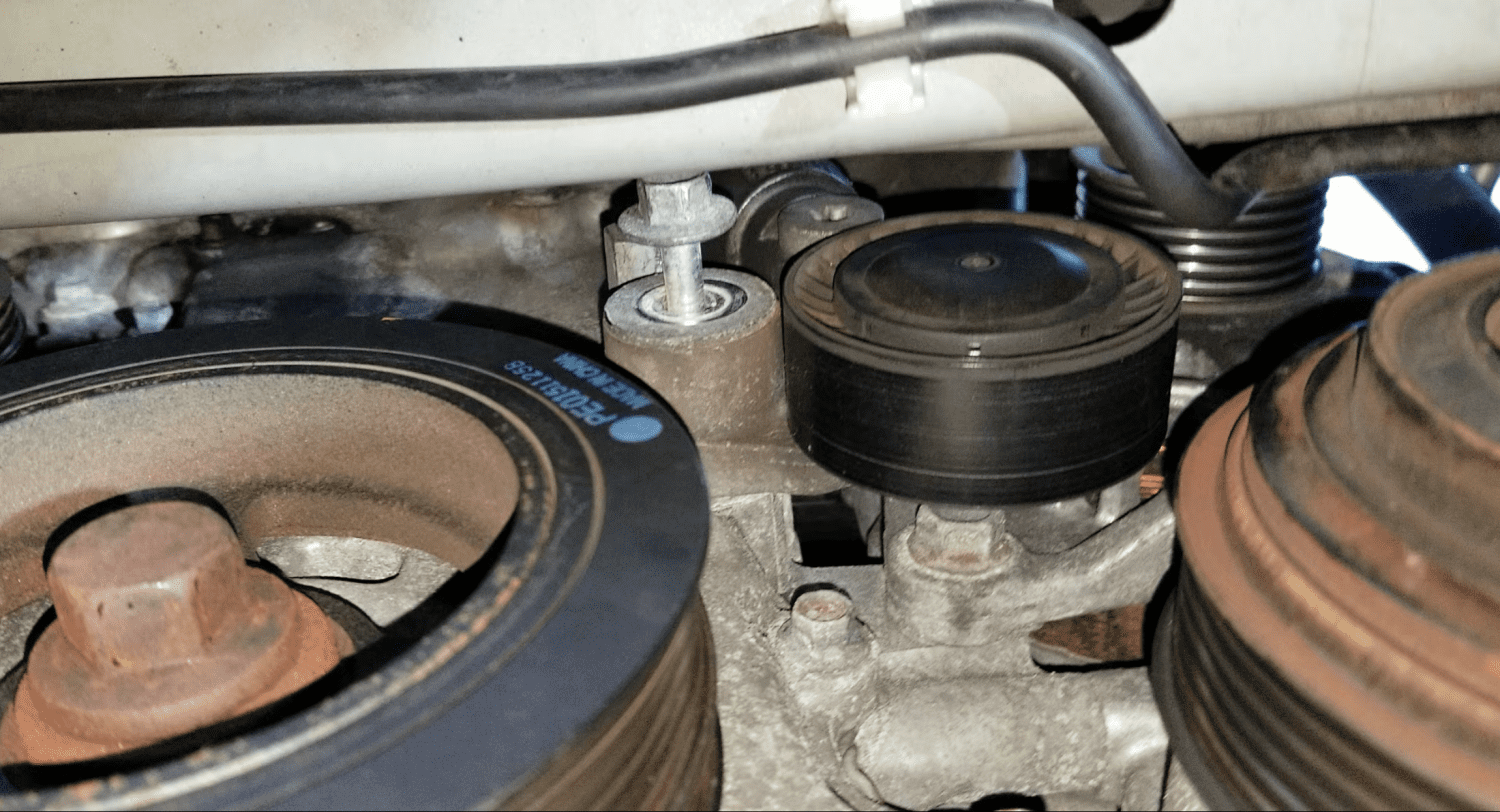
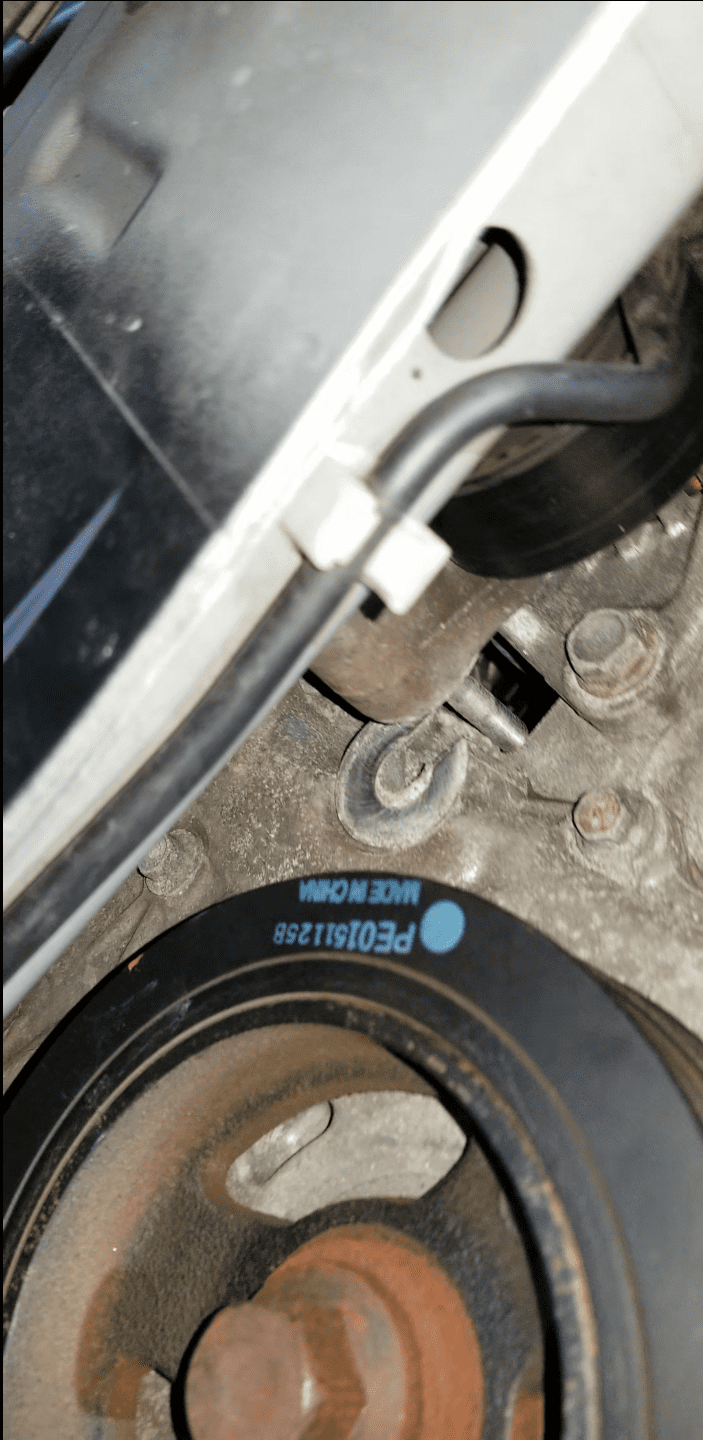
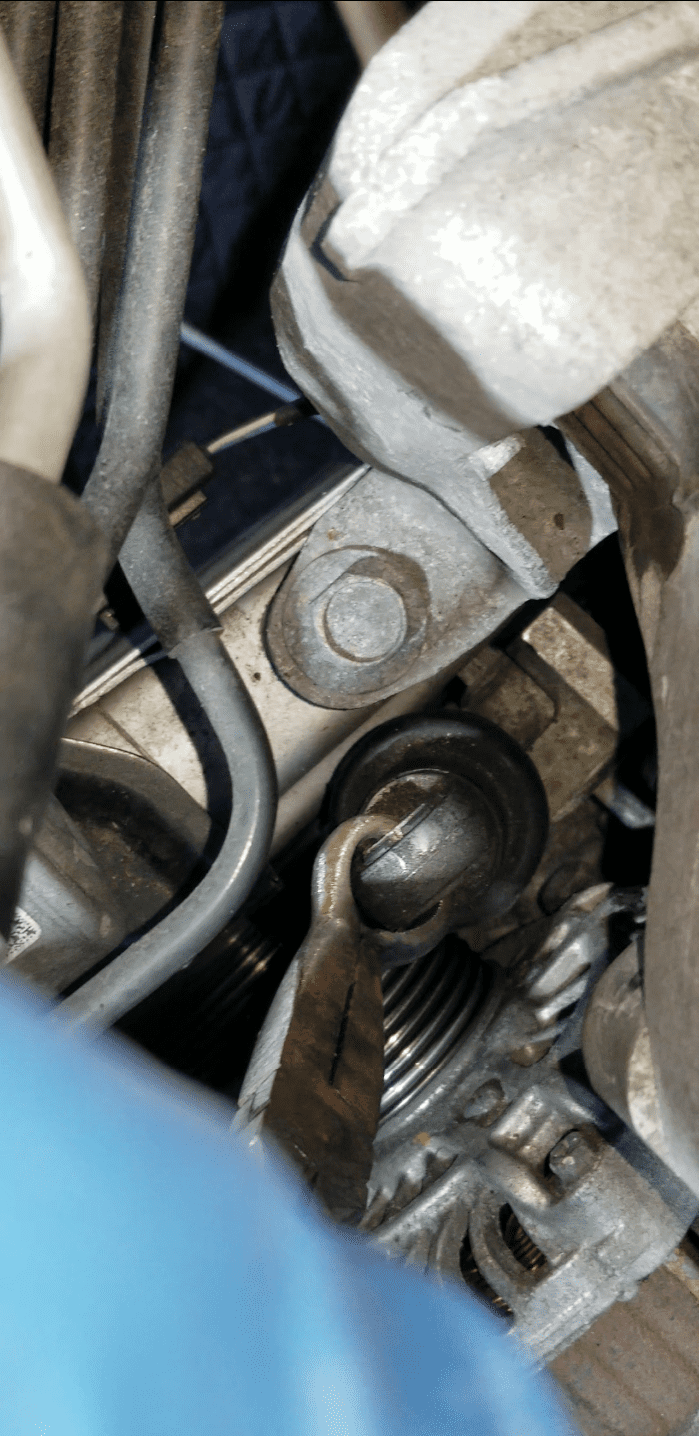
Belt Tensioner Extraction via engine bay area with long reach hose pliers
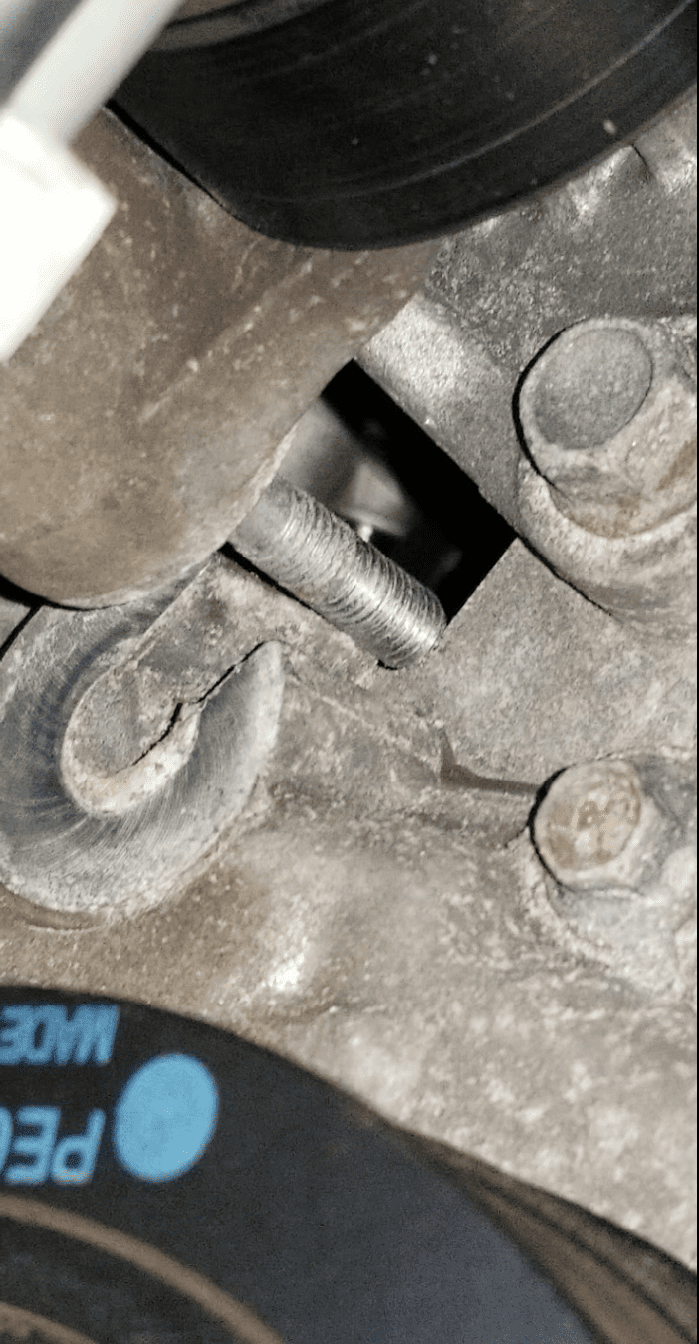
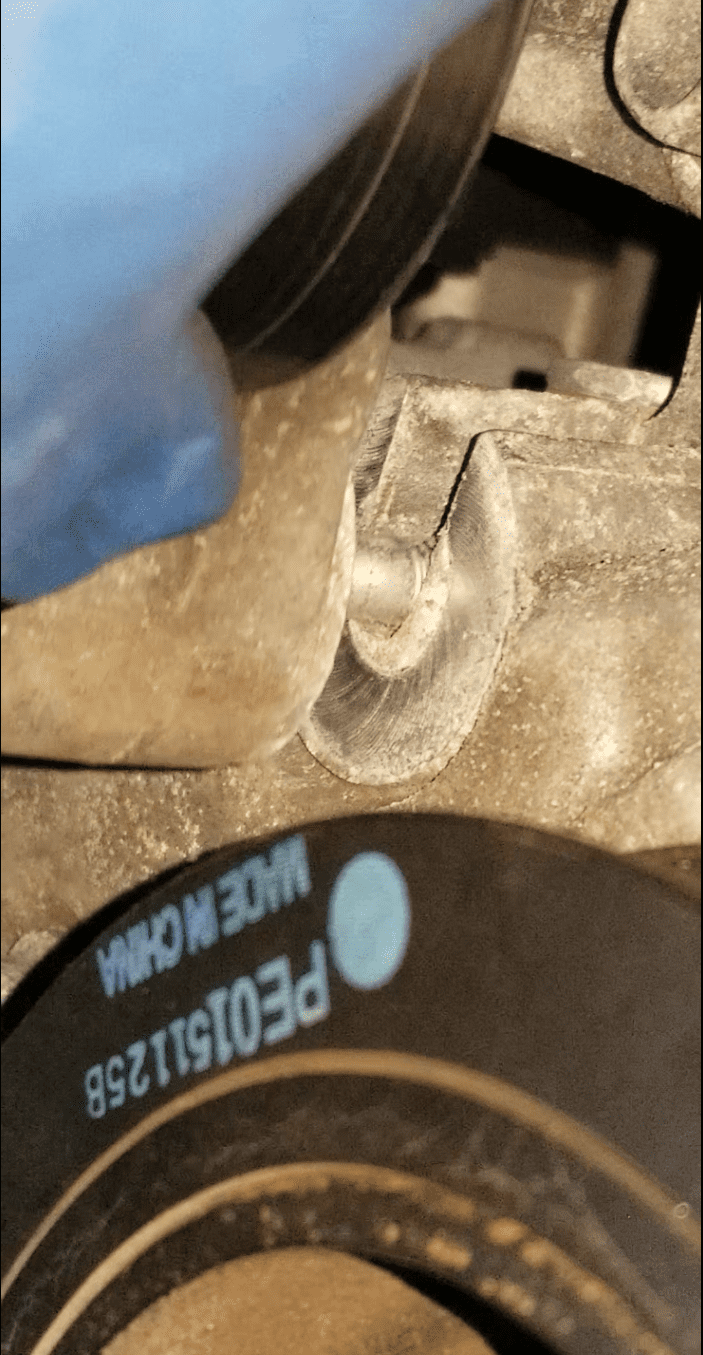
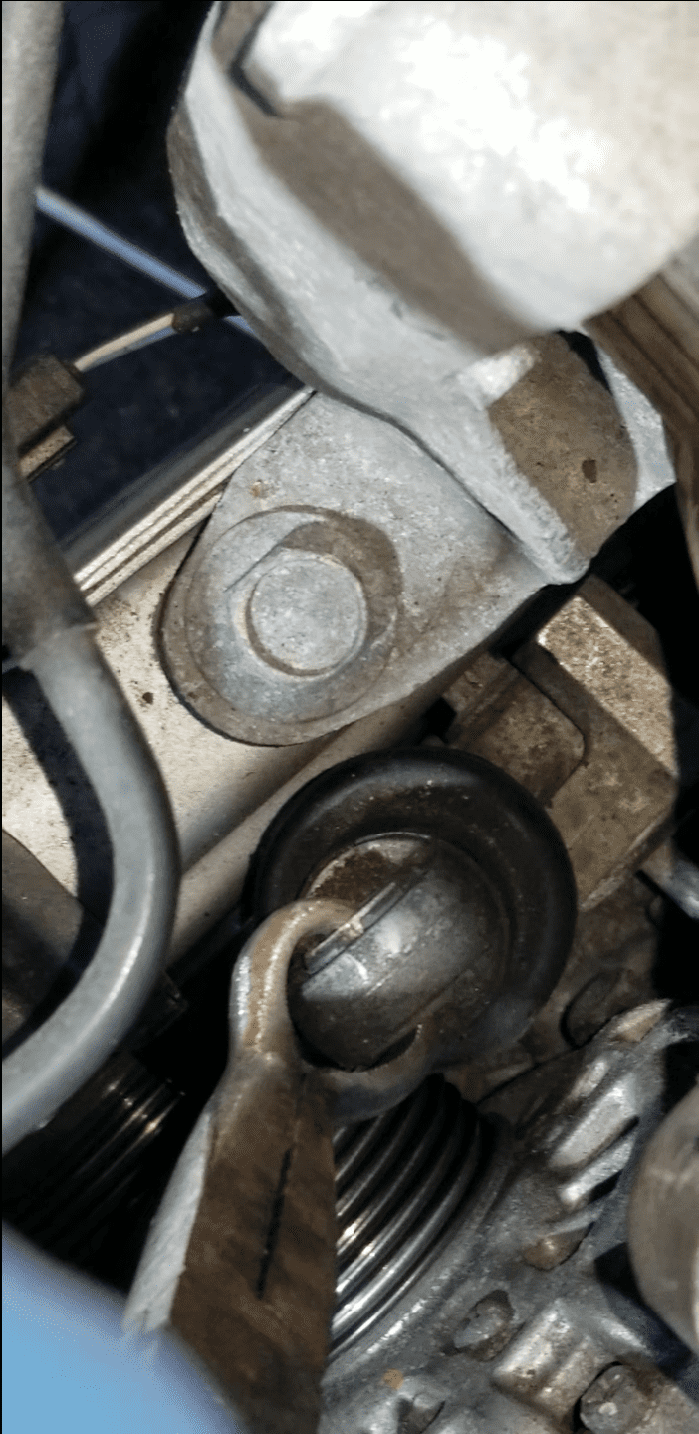
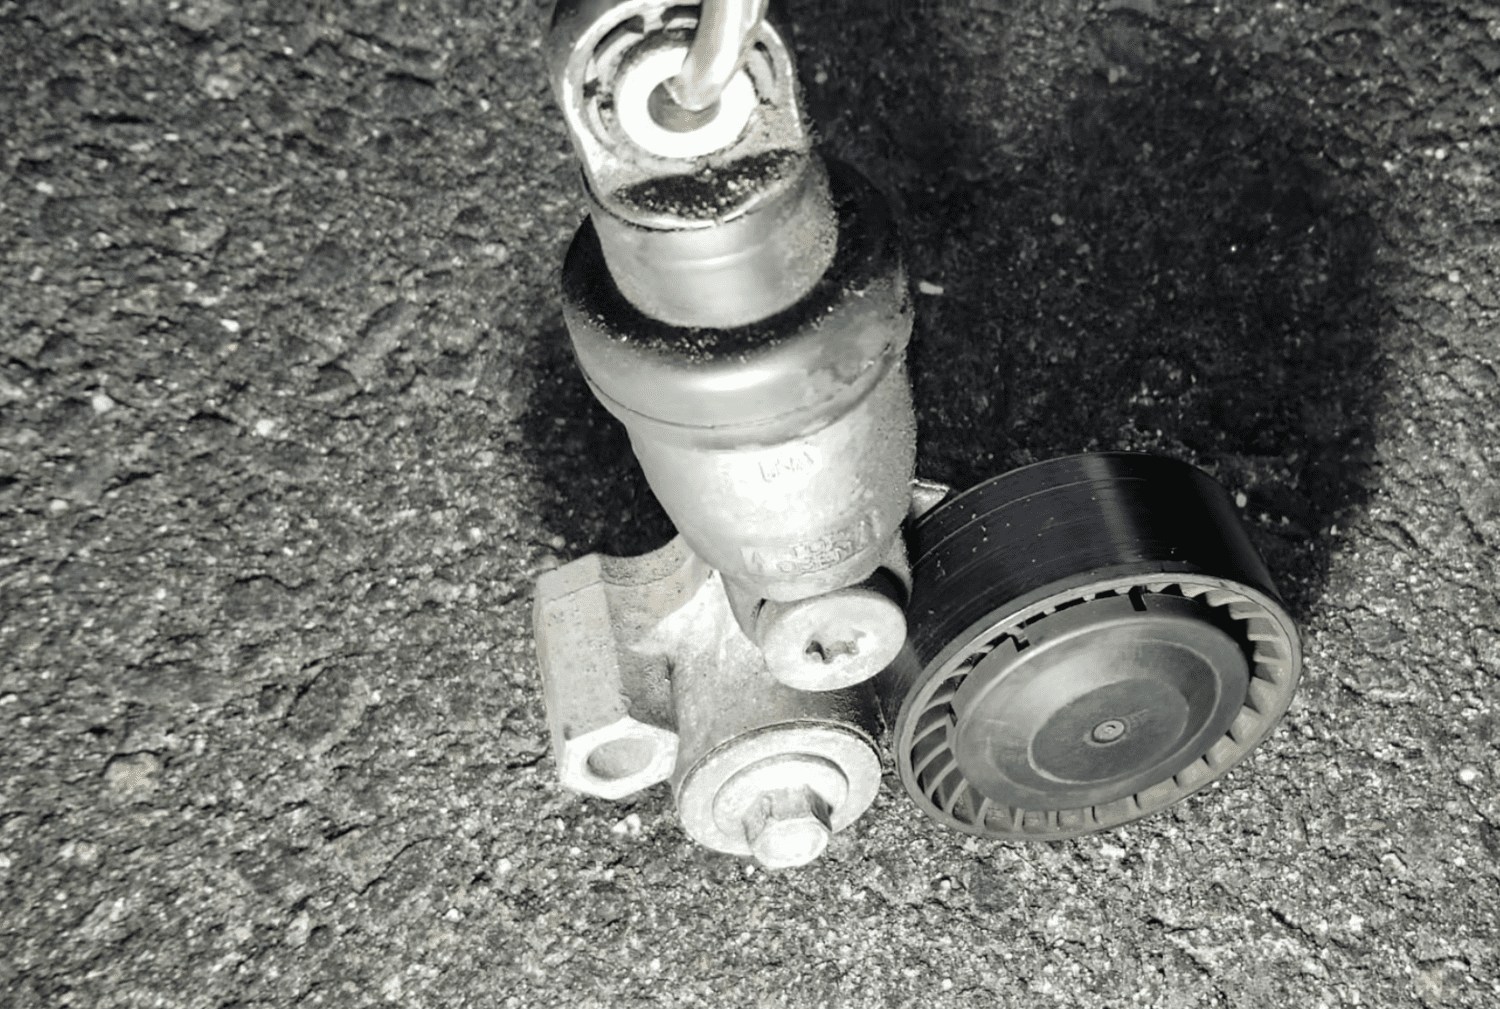
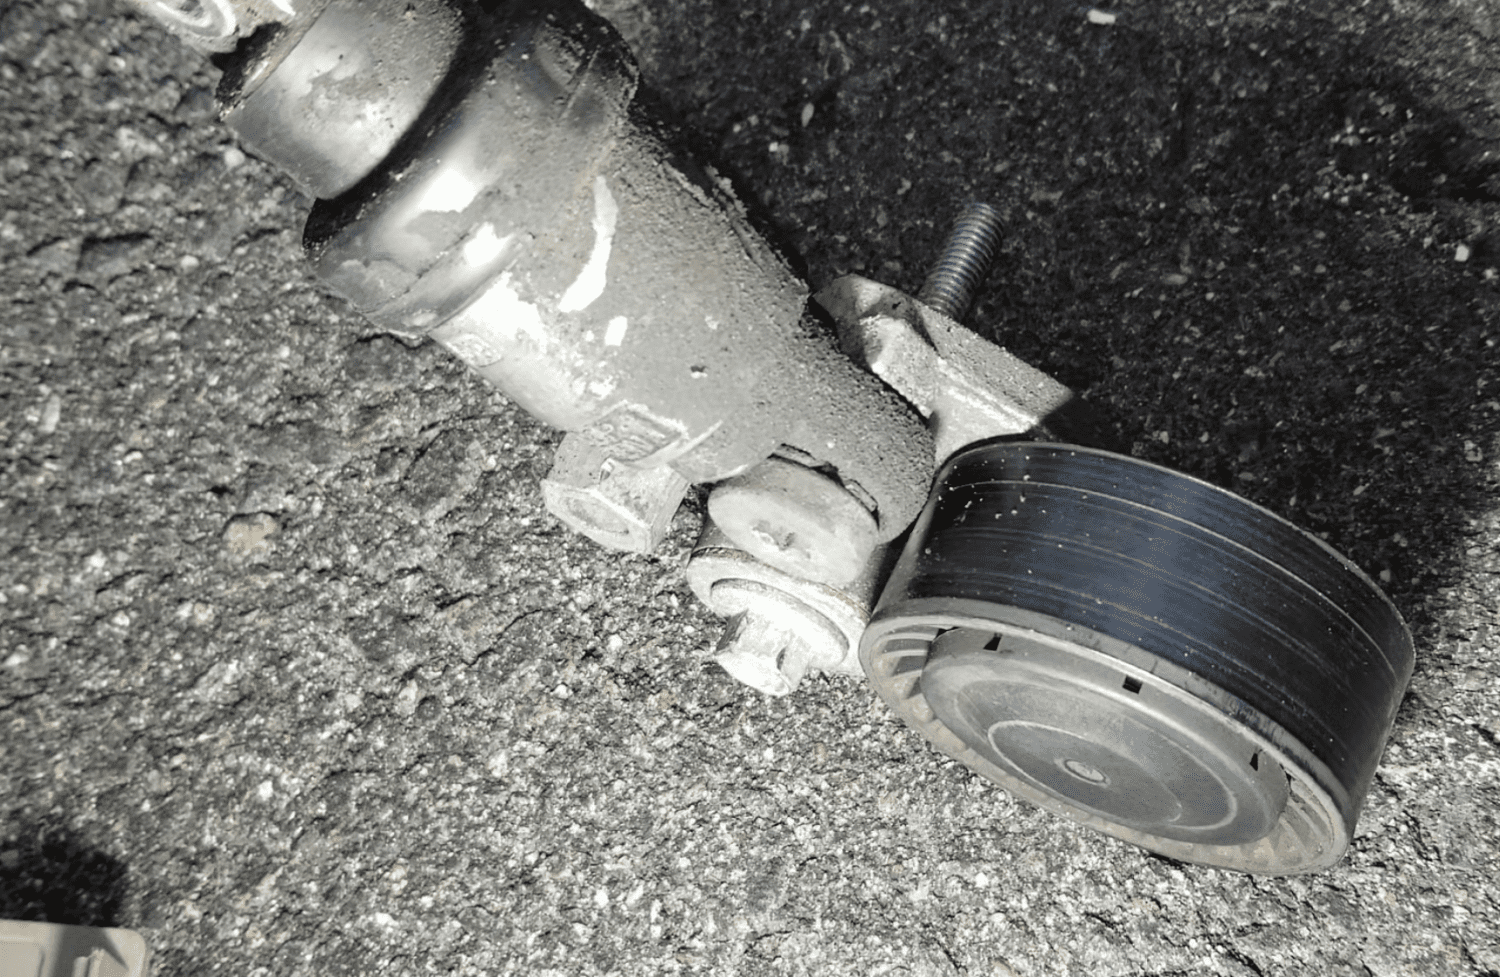
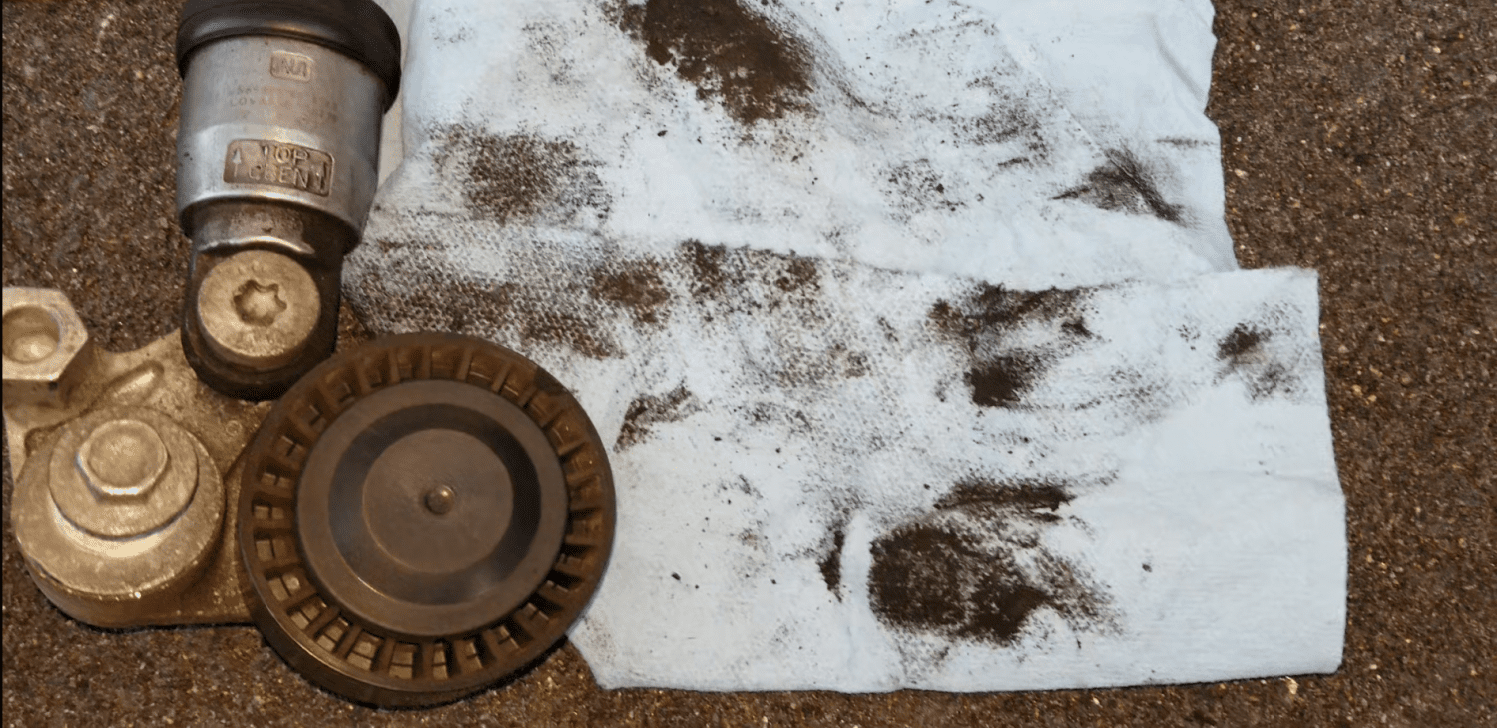
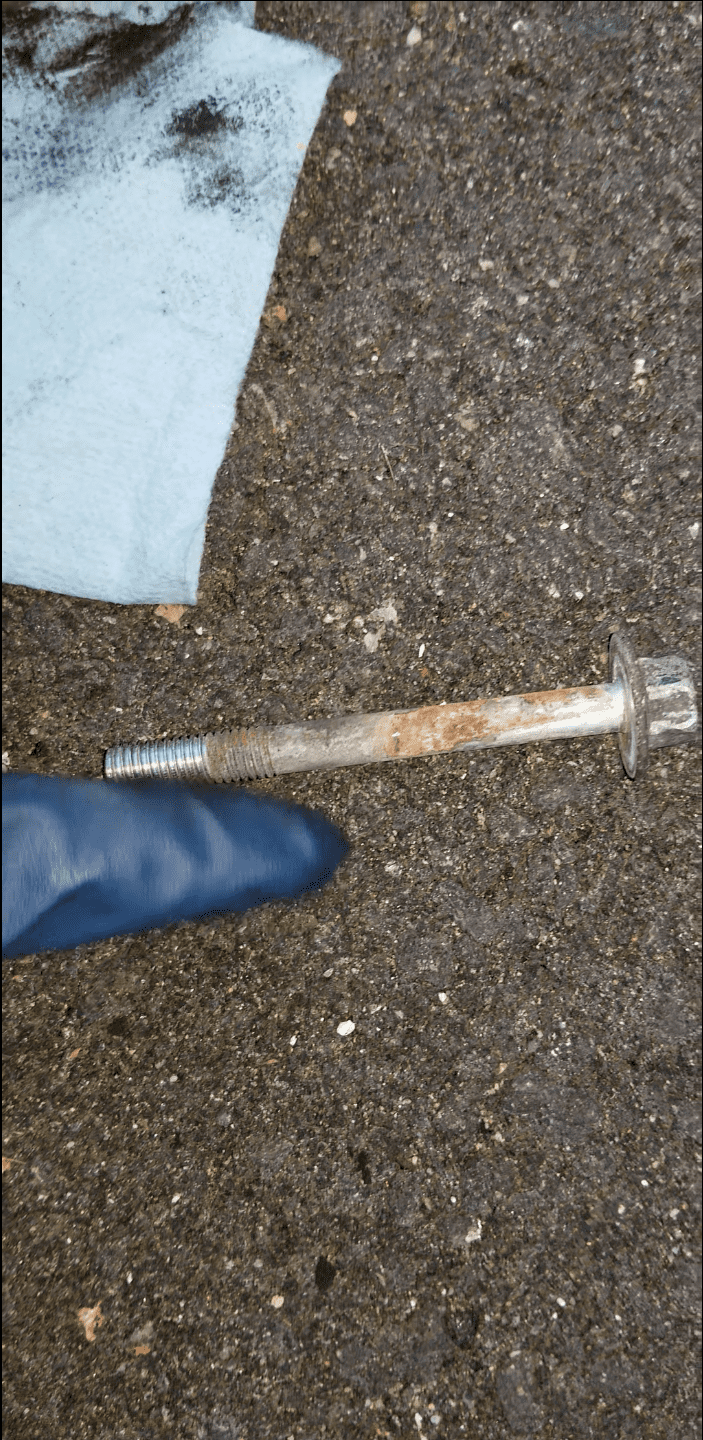
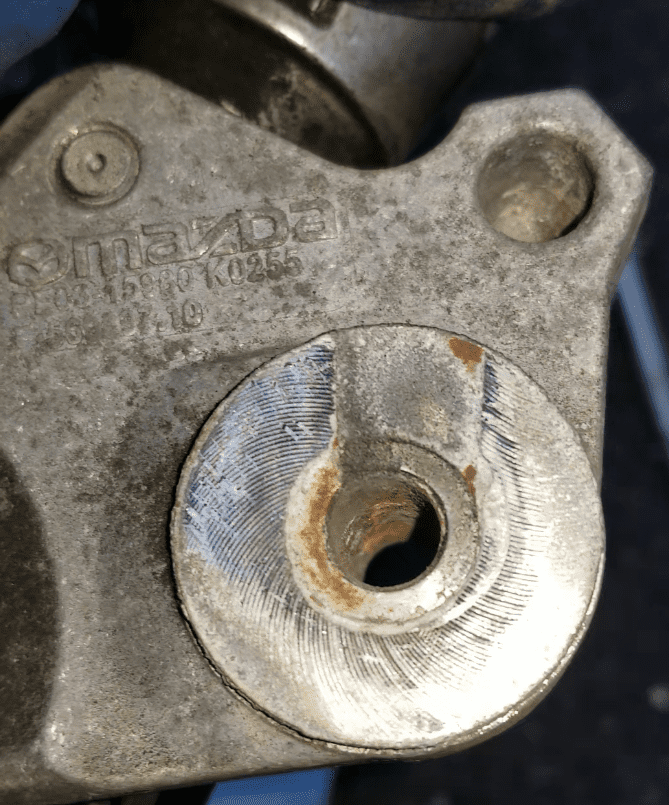
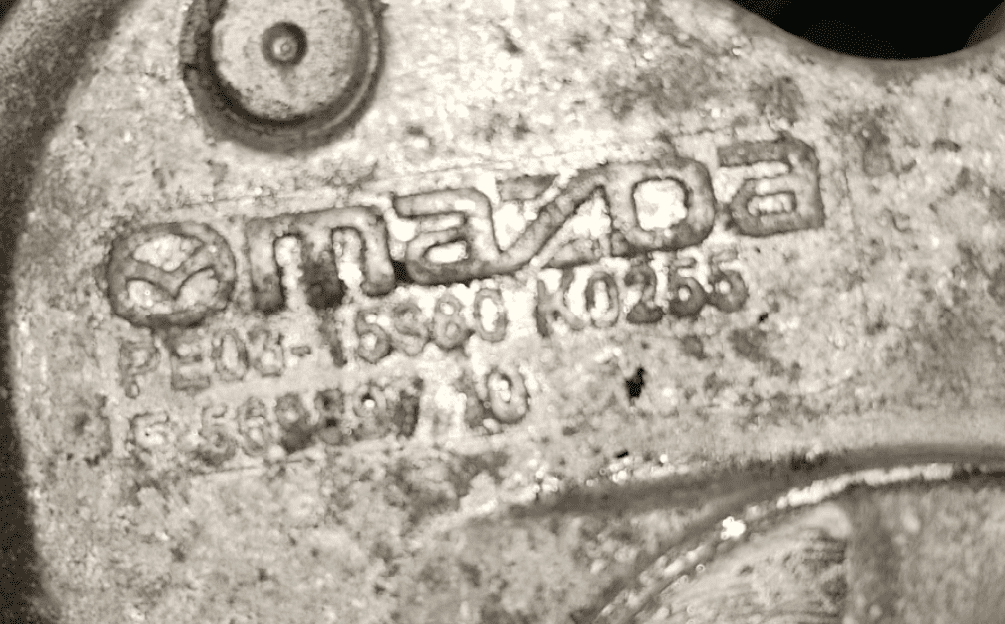
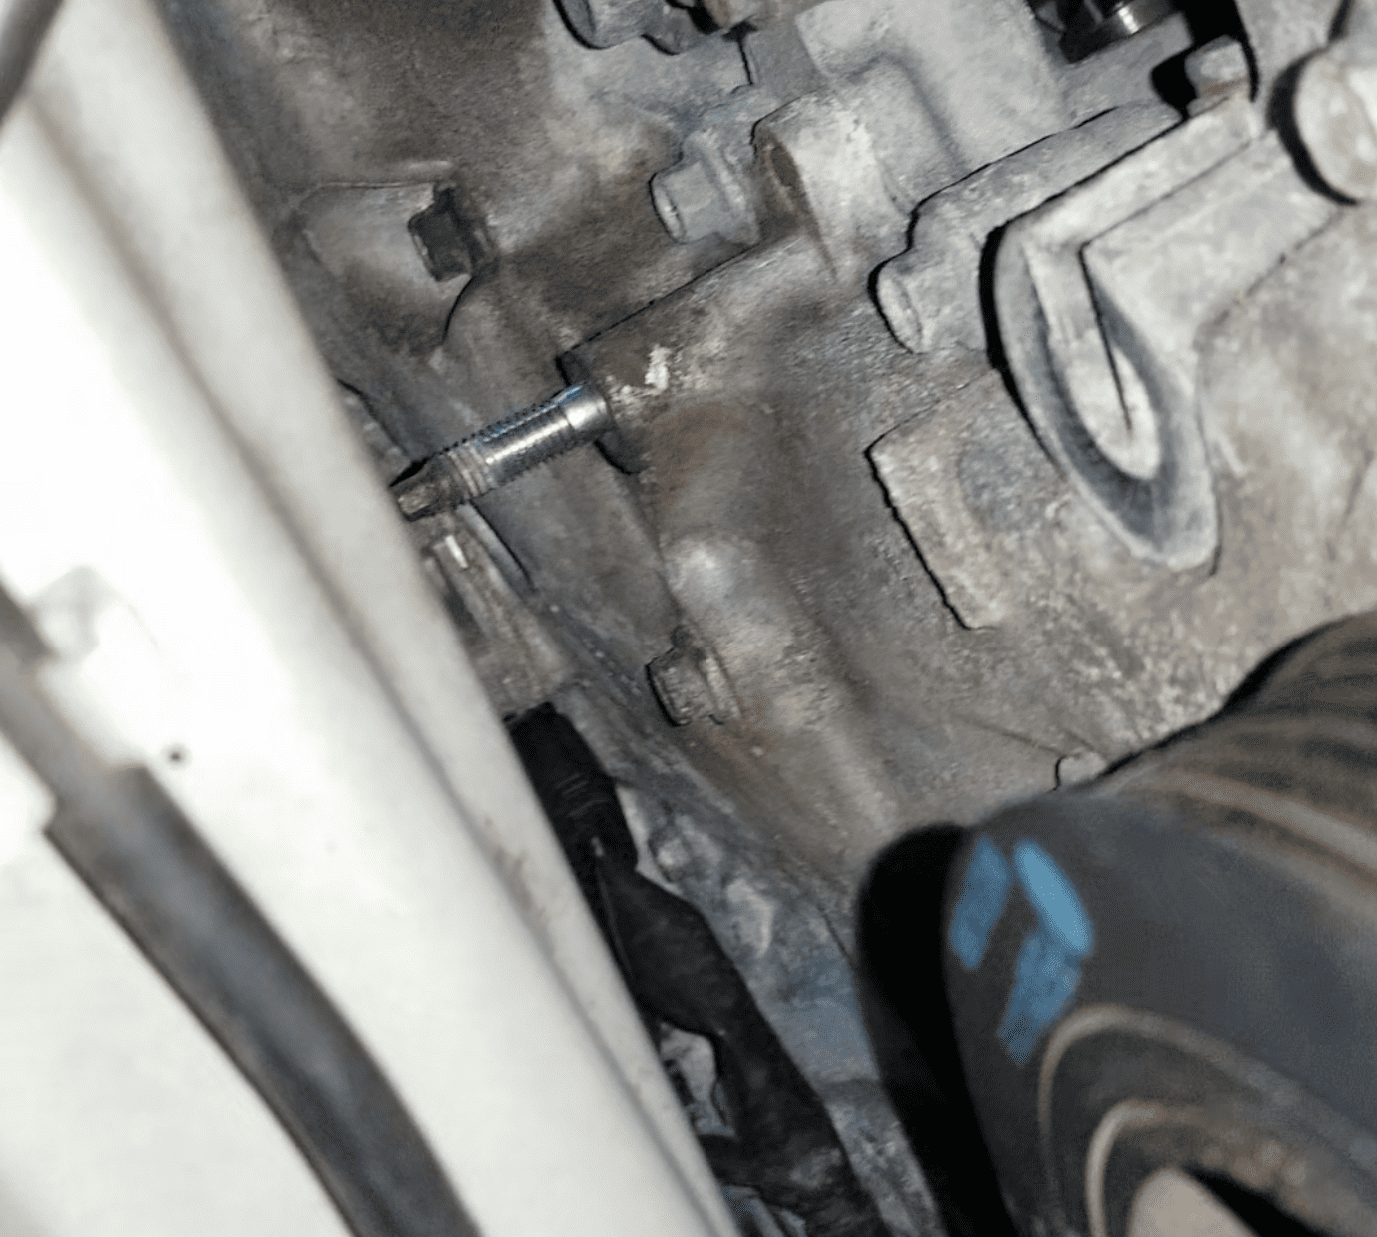
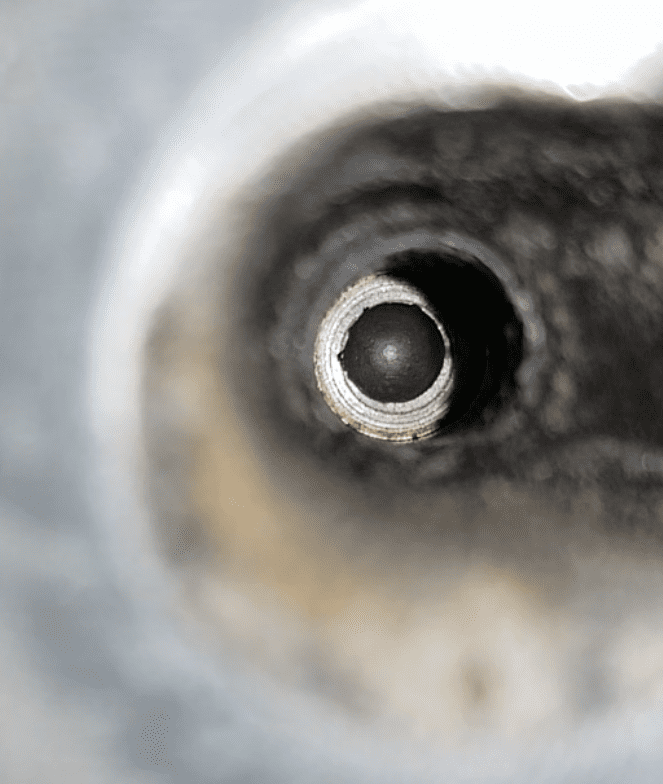 Bolt Hole
B. Installation Process (Opposite of Removal)
Tools Required:
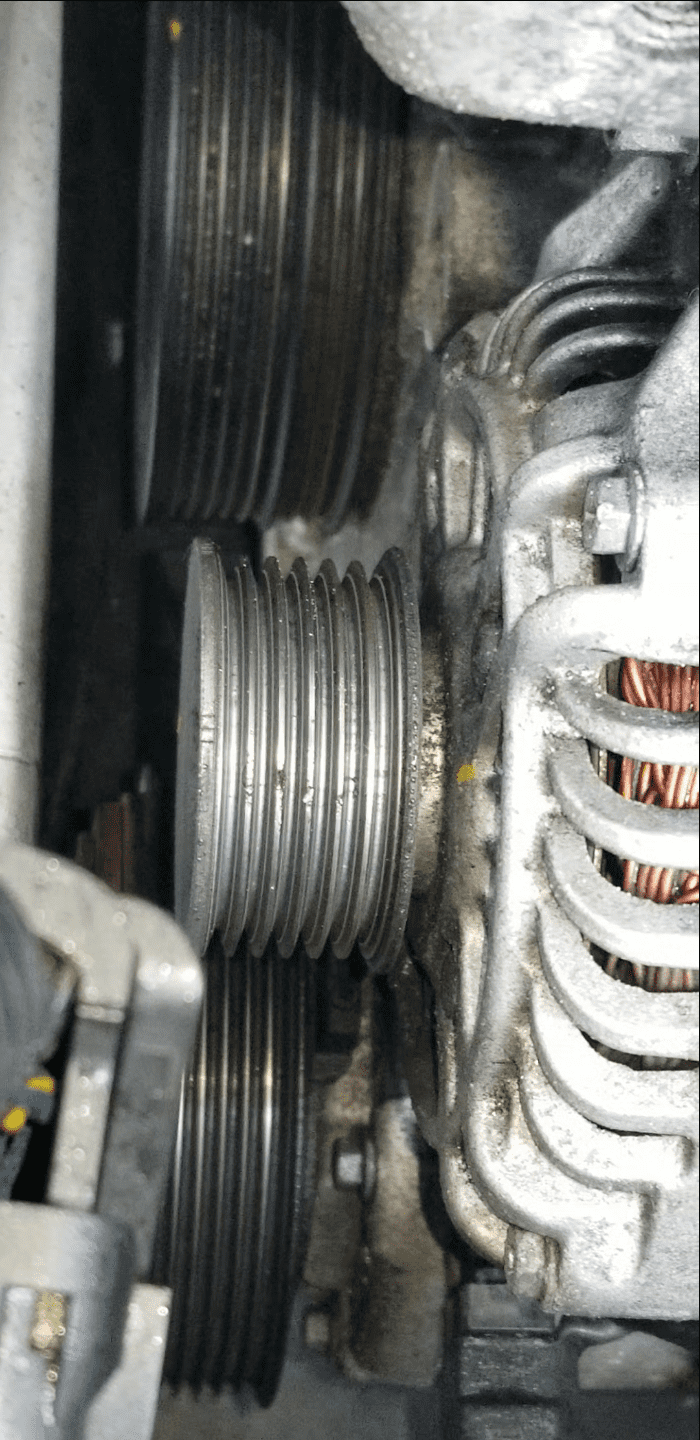
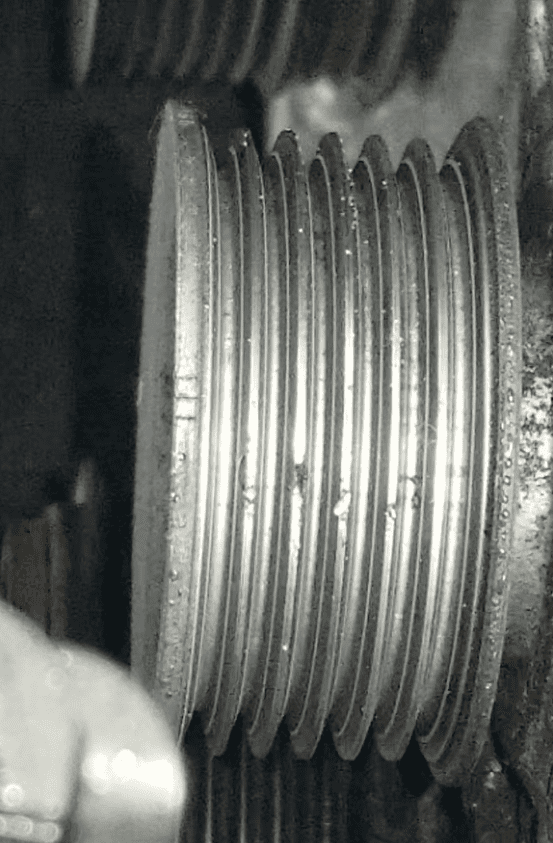
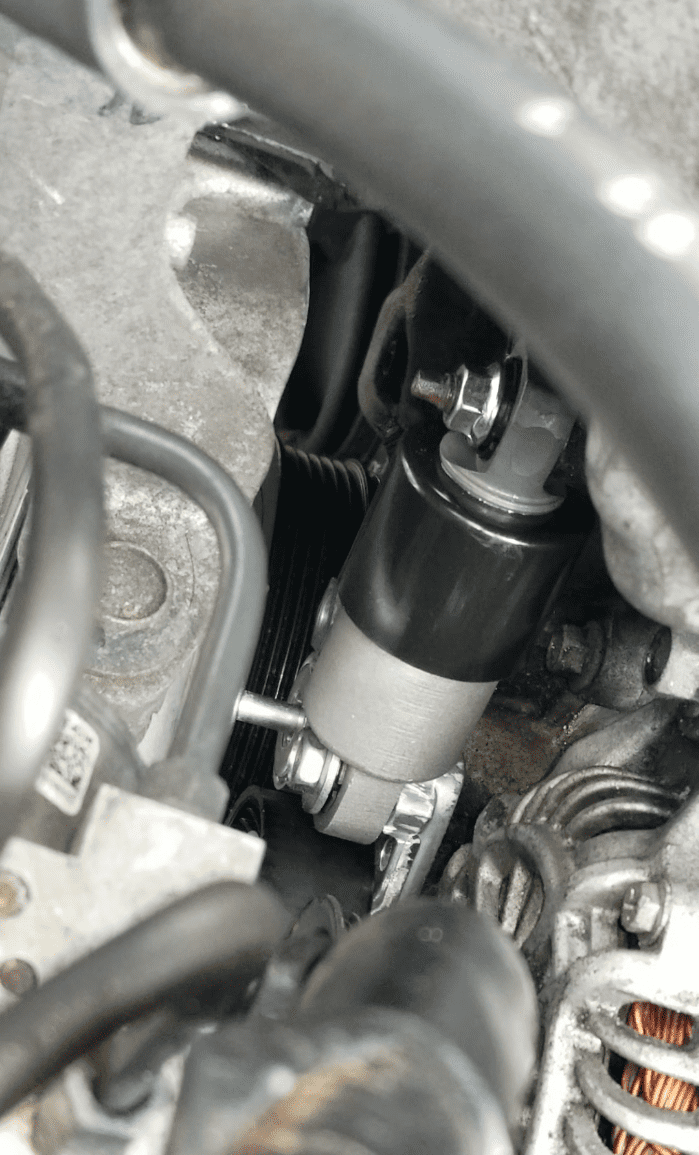
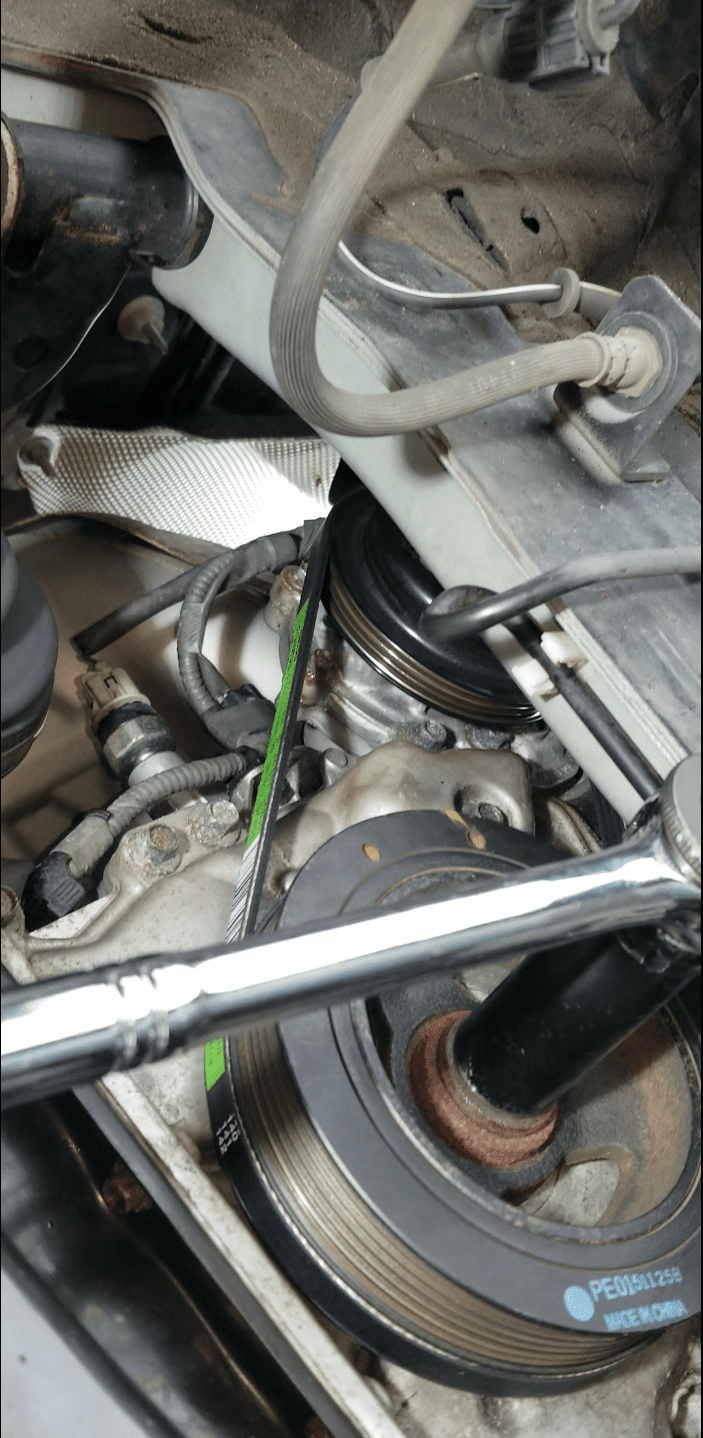
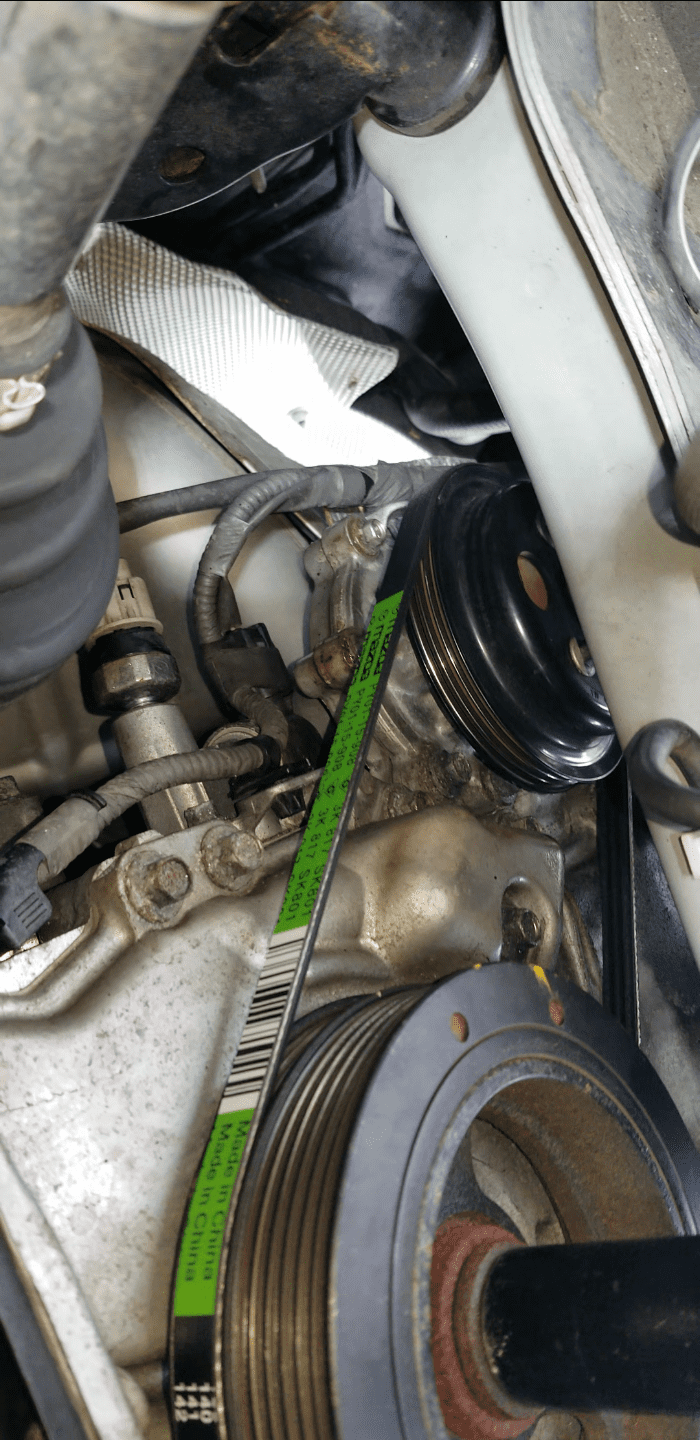
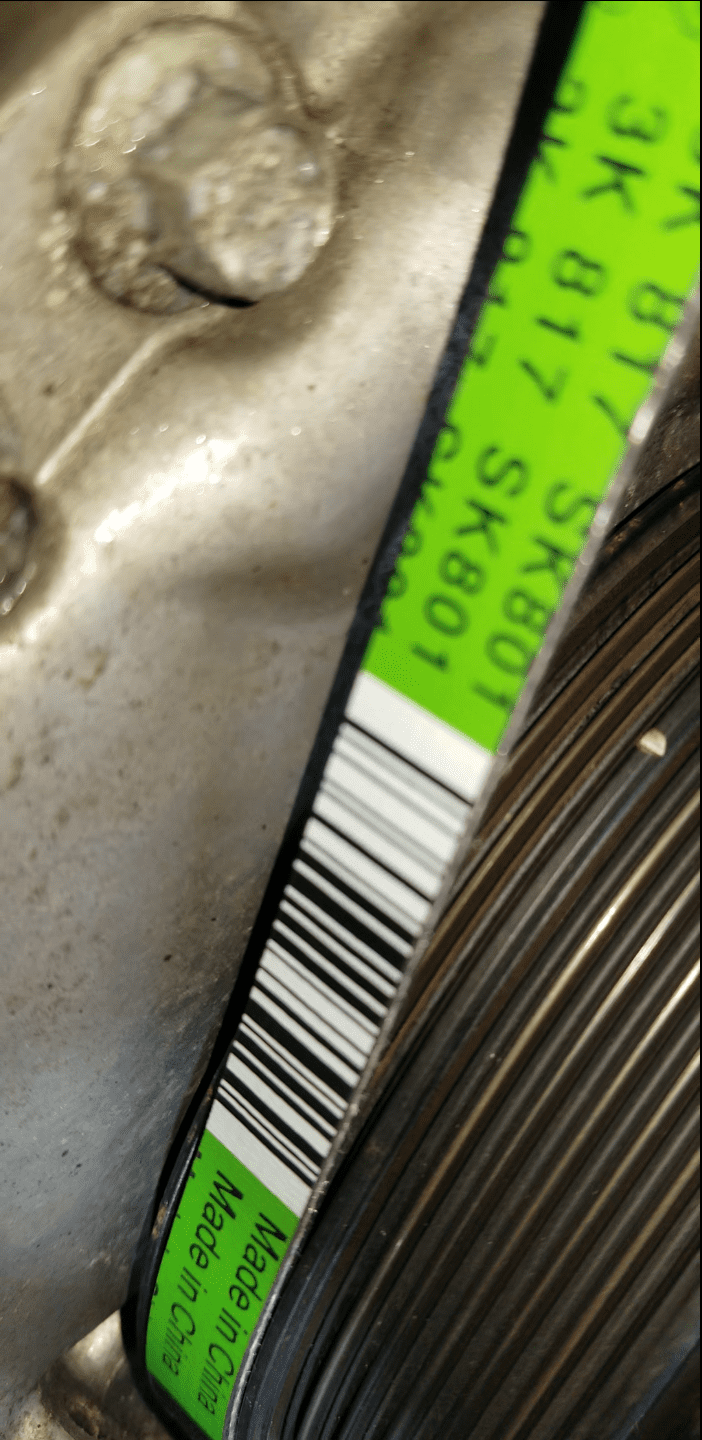
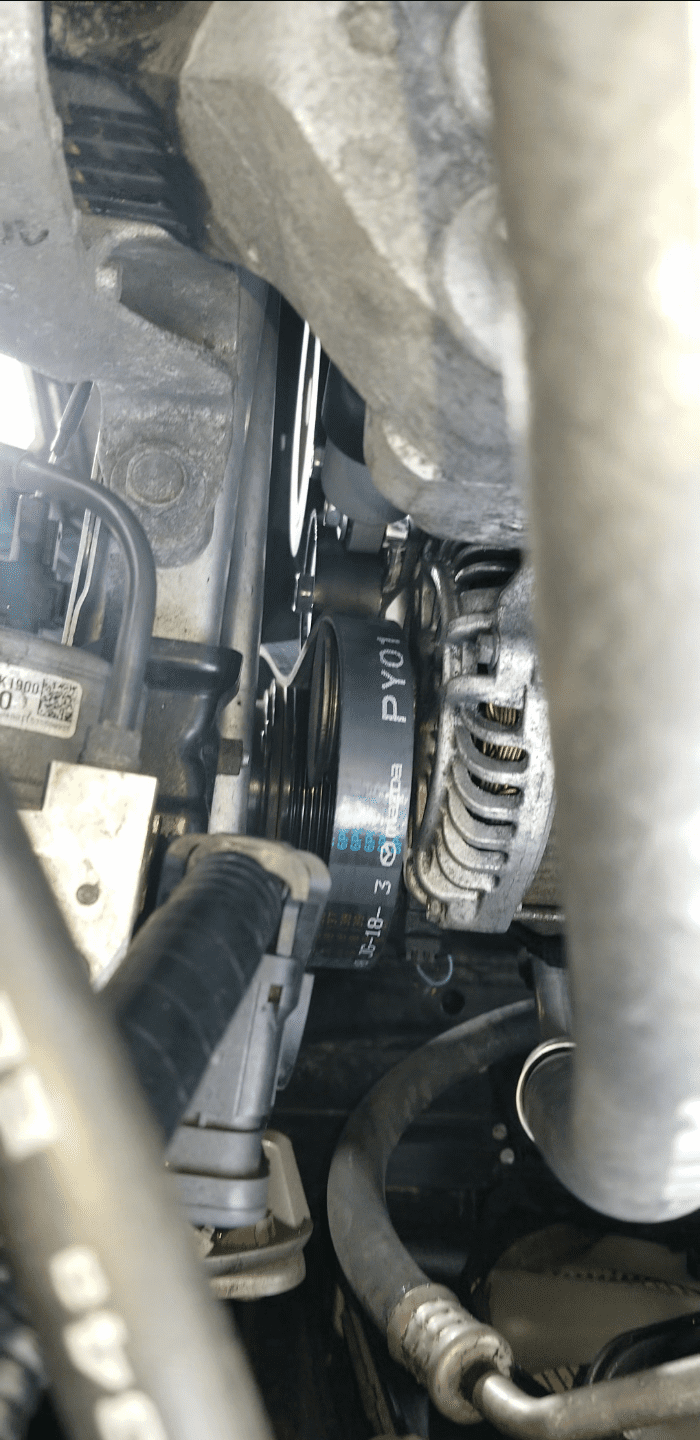
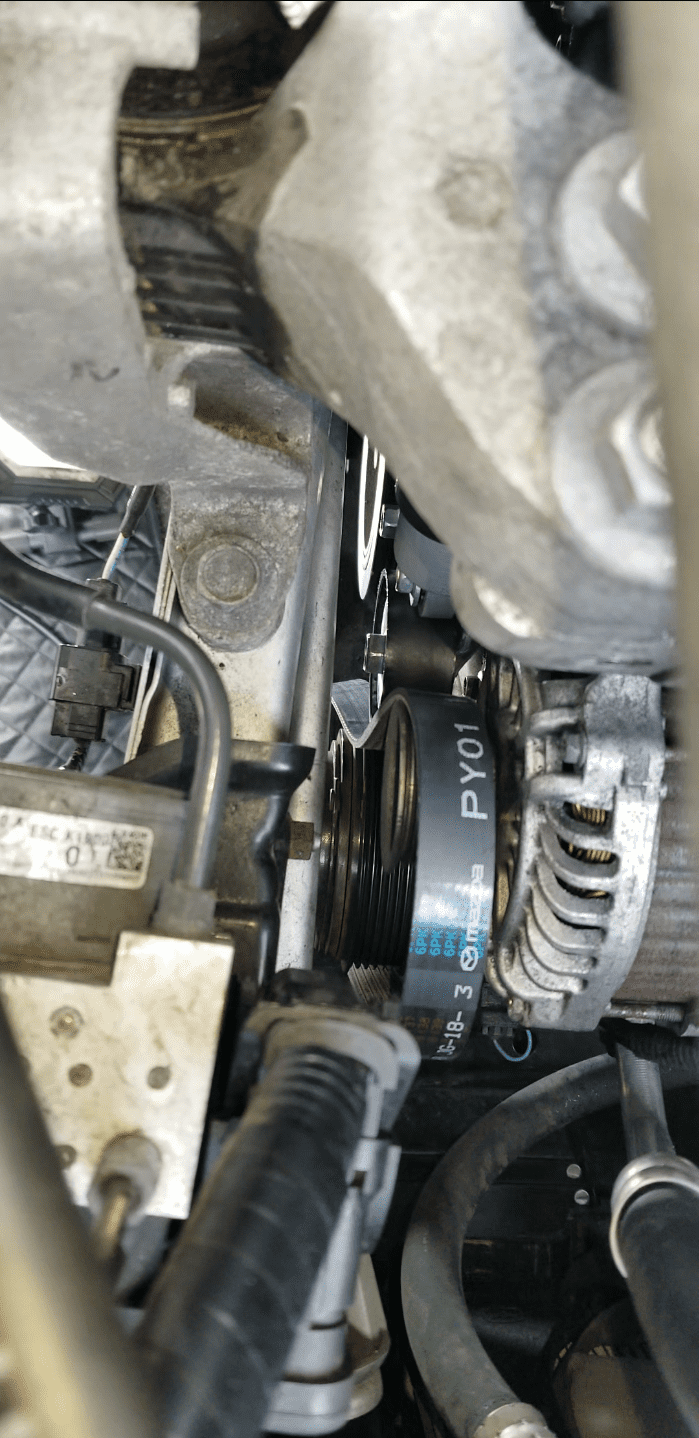
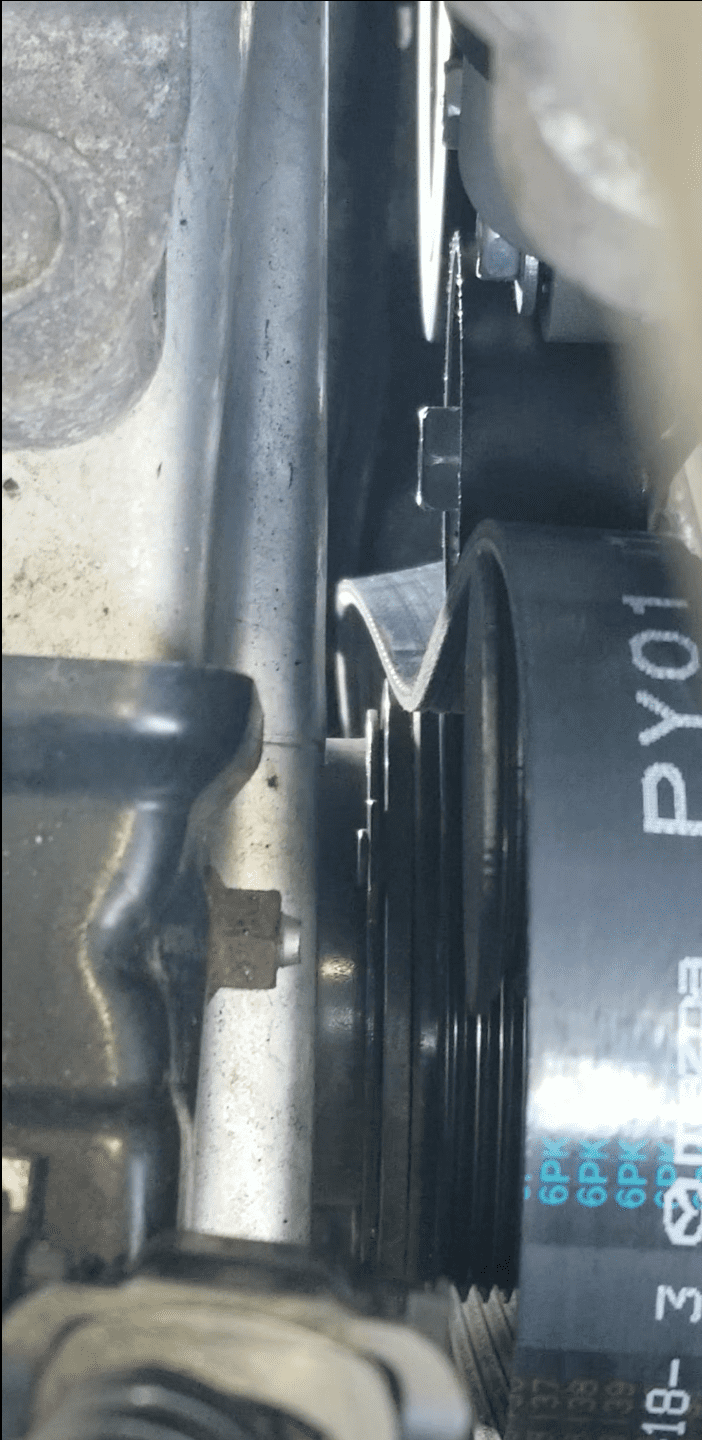
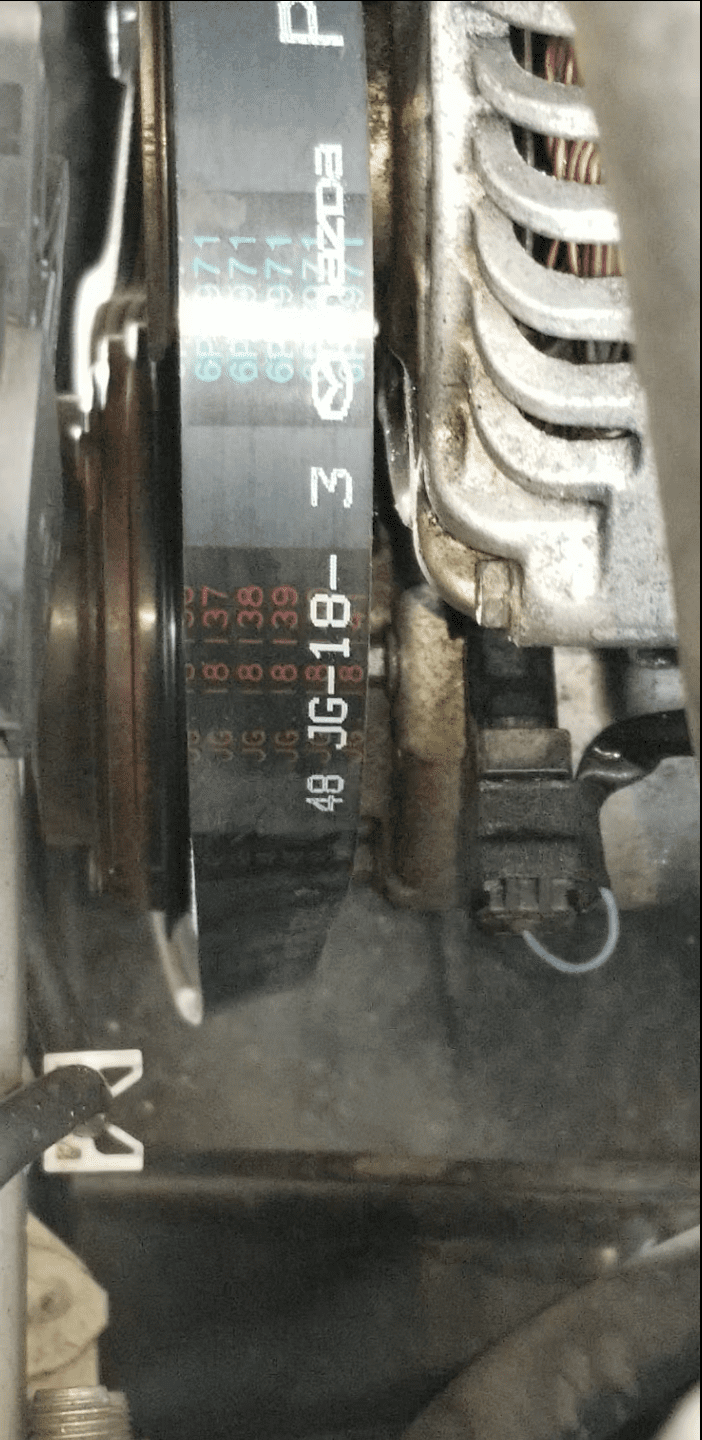


- You have a leaky belt tensioner (See TSB 01-019/19).
- You have squealing noise coming from the serpentine belt area when you turn on your AC
- Your water pump/serpentine belt is ripped/cut/broken
Belt Tensioner/Serpentine/Water Pump PDF Guide
OEM/Part #'s:
GATES 39390: Belt TensionerAfter using the GATES tensioner in my vehicle for approximately a month or so give or take, I felt that the performance of my car did not feel the same as it did when I had the OEM belt tensioner installed, primarily the pedal kickdown switch. I would recommend getting the INA version on RockAuto or the OEM INA one from a Mazda dealership that has the improved revision of the tensioner.- PE03-15-980C (Mazda Parts Store) or INA FT01291 (RockAuto): See above comment.
- PY01-15-909A: Serpentine Belt
- PY01-15-908: Water Pump Belt
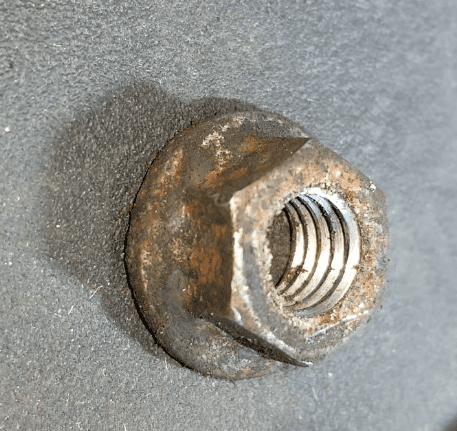
- 9994-00-801: Tensioner Flange Nut
- 9YA0-2A-818: Tensioner Bolt
- (Optional) Fender Rivets: AUTEX 30pcs Car Retainer Clips Nylon Bumper Fender Liner Fastener Rivet Push Type Clips Auto Body Retainer Clamps Replacement for Mazda 3 5 6 CX-9 Speed6 Miata
- (Optional) Inner/Outer Splash Shield Rivets: GOOACC Bumper & Radiator Support Clip Automotive Furniture Assembly Expansion Screws Kit Auto Body Clips 8mm - 40PCS
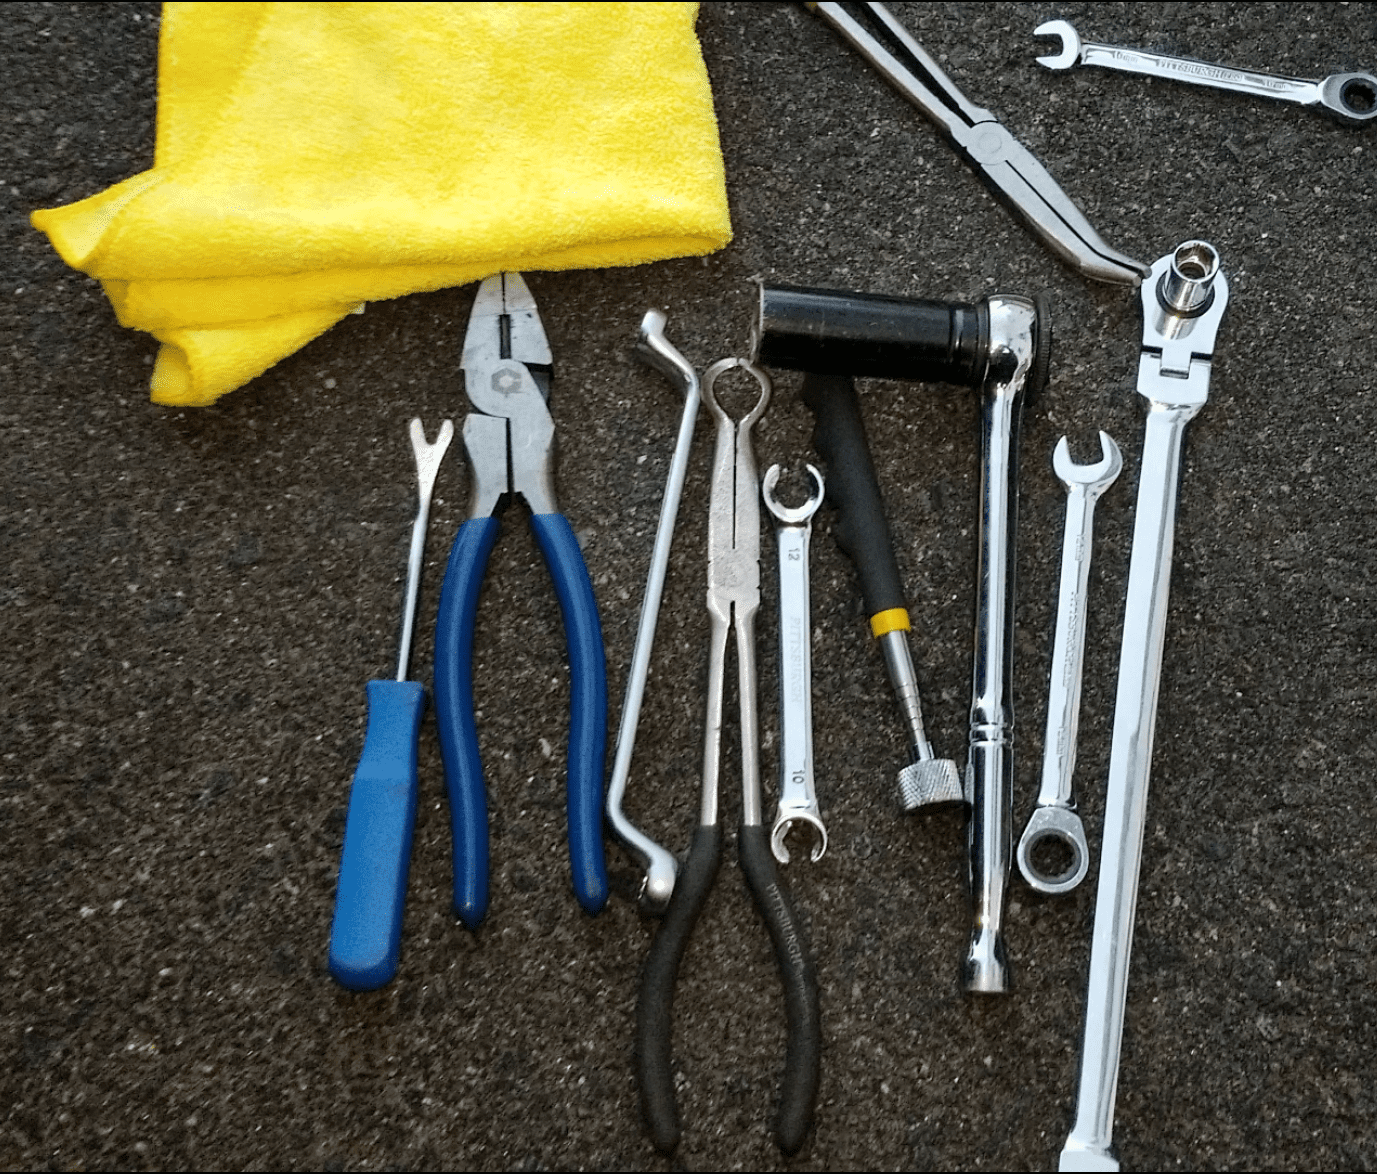
Tools Required:
- Eye Protection: I got shot in the eye with flying splash shield rivets/sand when trying to pry it off because a few of them had sand stuck inside or they just wouldn't come out. Luckily, I was wearing eye protection so I would HIGHLY RECOMMEND doing so.
- 4 lb. hammer: Used to hammer the bottom bolt loose using the 12 mm offset box wrench because my bolt was stuck on very tight and there seems to be a lot of debris/sand around the bolt. Definitely recommend using a hammer but the angle I was using a hammer had brake lines and the ABS wiring in the way so I would be very careful. I didn't want to apply brute force to the bolt using the wrench because I know it will eventually snap, having to go through that scenario in the past.
- 17 mm crow foot flare nut wrench: Used primarily to remove the water pump belt via the "Cast Hexagon".
- 12 mm crow foot flare nut wrench: Don't remember if I even used this at all.
- 8 mm socket: Used to remove the underbody bolts to remove the "splash guard/wheel well molding"
- 10 mm socket: Used to remove the underbody bolts to remove the "splash guard/wheel well molding"
- 21 mm socket: For Tires/Crankshaft Pulley
- 12 mm flare nut wrench: Used to remove the belt tensioner bolt.
- 12 mm ratcheting wrench: Used to loosen the top nut of the belt tensioner.
- 12 mm box offset end wrench: I used in conjunction with the 12 mm flare nut wrench to remove the bottom bolt of the belt tensioner because this was the only thing that I could use that was long enough to apply force using a hammer. After the bottom bolt was loosened, I went back to using my flare nut wrench as I did not want to round the bolts.
- 17 mm ratcheting wrench: You can use this instead of the 17 mm crow foot to apply tension to the "Cast Hexagon". Either one would work but the 17 mm ratcheting wrench may be easier to fit onto the Cast Hexagon.
- Long Reach Hose Grip Pliers (Not required but makes extracting the belt tensioner much easier)
- Metal/Plastic Rivet Removal Tool
- Magnet pickup tool: This will definitely make your life a lot easier if you want to take out the nut or if you want to place the nut back into the hole due to the extremely tight clearances.
- 1/4 In, 3/8 In. Drive Long Reach Dual Flex Head Ratchet: This was my primary go to tool the entire time. I opted to use this one instead of the "Serpentine Belt Removal Tool" instead because this was able to flex in the very tight crevices and it's about 14 inches long I believe. I noticed that some users purchased $70 - 120 wrenches on Amazon and I didn't want to go that route. In addition, I was able to use 10/12mm sockets inside of the engine bay compartment to access the nut from the top as well as accessing the "Cast Hexagon" to remove the water pump belt.
- 1/2 Ratchet: Used with 21 mm socket for water pump belt removal via crankshaft pulley.
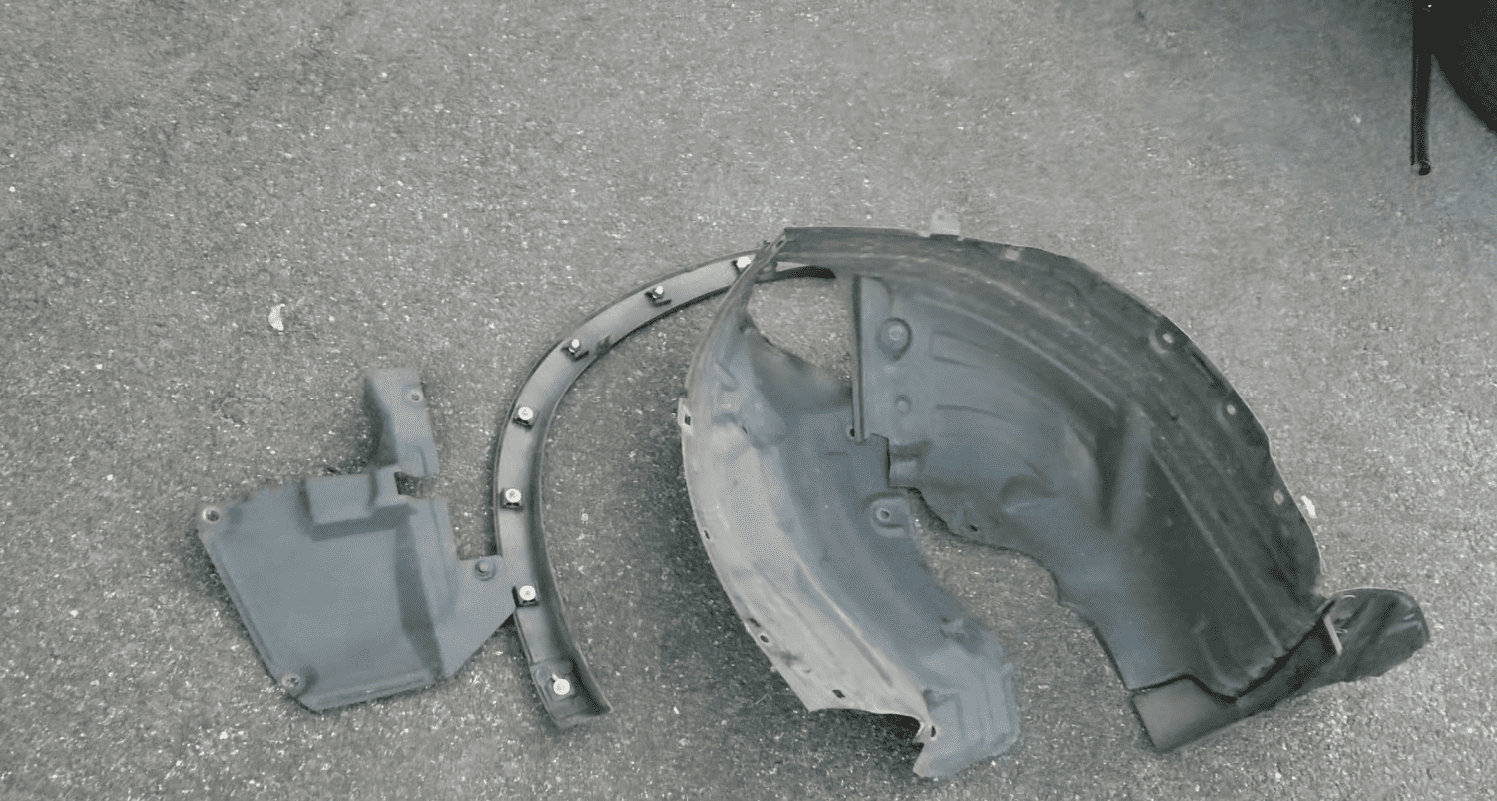
- Inner wheel splash shield (held on by 4 rivets)
- Wheel splash shield
- Outer wheel side splash shield
- Take your time, read the manual again until you're comfortable/confident. Have the manual open for reference. Everything you need to know is in there.
- Make sure the vehicle is jacked and stable because you will be directly underneath the wheel rotor and front of the vehicle itself so you don't want to have it falling on you.
- Have the hood open because you will need to reach in to remove the belt tensioner/serpentine belt. It will also allow some light to come in so you can see better.
- When removing the water pump belt, have the towel close to the crankshaft pulley and pull towards your direction when rotating it so the towel doesn't go underneath the belt (yes, that was the mistake I made). You will definitely need to apply some force.
- Have many different assortment of tools or reference my list for what worked for me because you don't want to keep driving back and forth.
- The belt removal process isn't that hard at all, if you take your time it's actually very simple. The most difficult part is getting used to which direction to rotate the pulley or how much force to apply to the "Cast Hexagon" for it to move.
- The biggest problem you'll run into is definitely the belt tensioner but if you are patient, you will definitely get it out. Just don't give up. Also, the belt tensioner bolt has an opening where you can slide the bolt upwards and it will come out.
- You will not be able to use a a full size 1/2 or 3/8 ratchet inside the engine compartment unless it's the 1/4 In, 3/8 In. Drive Long Reach Dual Flex Head Ratchet that I am using due to the clearance. You can definitely use a 12 mm bolt on the nut if you approach it from the correct angle, which would require you to swing the socket top down and rotating it into place.
- All of the sockets that I used to remove the bolts were not impact-rated sockets but the chrome plated ones. The reason being that the impact sockets are wider/longer so it would not give you enough room to work.
- You will definitely not be able to torque on the bolt/nut onto the belt tensioner (at least to my knowledge). I'm very certain that these have already been installed when the engine was out of the vehicle due to the limited clearance but I'll test that theory out tomorrow.
Outer wheel splash shield
Wheel splash shield
Crankshaft with cracks
Using my primary ratchet + flare nut crow foot to remove the serpentine belt.
Serpentine Belt Removed
1/2 Ratchet + 21 mm socket: Water pump belt removal via Crankshaft Pulley + Towel
Belt Tensioner/No belts installed
Engine bay 12 mm socket with ratchet
12 mm ratcheting wrench
12 mm flare nut wrench
Belt Tensioner Extraction via engine bay area with long reach hose pliers
B. Installation Process (Opposite of Removal)
Tools Required:
- Eye Protection
- 8 mm socket: Used to install the underbody bolts to remove the "splash guard/wheel well molding"
- 10 mm socket: Used to install the underbody bolts to remove the "splash guard/wheel well molding"
- 21 mm socket: For installing Tires/Rotating Crankshaft Pulley
- 12 mm flare nut wrench: Used to install the belt tensioner bolt.
- 12 mm ratcheting wrench: Used to loosen the top nut of the belt tensioner.
- 17 mm ratcheting wrench: You can use this instead of the 17 mm crow foot to apply tension to the "Cast Hexagon". Either one would work but the 17 mm ratcheting wrench may be easier to fit onto the Cast Hexagon.
- 1/4 In, 3/8 In. Drive Long Reach Dual Flex Head Ratchet: This was my primary go to tool the entire time. I opted to use this one instead of the "Serpentine Belt Removal Tool" instead because this was able to flex in the very tight crevices and it's about 14 inches long I believe. I noticed that some users purchased $70 - 120 wrenches on Amazon and I didn't want to go that route. In addition, I was able to use 10/12mm sockets inside of the engine bay compartment to access the nut from the top as well as accessing the "Cast Hexagon" to remove the water pump belt.
- 1/2 Ratchet: Used with 21 mm socket for water pump belt removal via crankshaft pulley.
- Trust me, everything you need to know is in the service manual. Just follow it step-by-step and reference my pictures.
- The three things you need are (1) visibility, (2) leverage and the (3) right tool. You don't really need a lift for this job at all as most of the work will require the water pump belt/crankshaft pulley to be as close to you as possible so you can press the water pump belt into place onto the water pump pulley as you turn the crankshaft. You need to be very careful when you are putting your fingers near the water pump pulley while applying pressure but once you keep turning the crankshaft clockwise, you will start to feel it/see it go onto the water pump pulley. The water pump belt will probably be off slightly but just keep pressing the belt inwards and rotate the crankshaft pulley clockwise until it seats in all the way. That's it, there's nothing more to it.
- For the serpentine belt installation, this was by far the easiest because you will be working top to bottom. Meaning, you will insert the belt onto ribs of the (1) Generator Pulley first and then onto (2) Crankshaft pulley. Afterwards, you will need to apply tension to the "Cast Hexagon" counterclockwise, then push the belt onto the (3) Crankshaft Pulley and (4) A/C Compressor Pulley. Before you let go of the "Cast Hexagon," triple check to make sure that the belt is seated properly onto all of the pulleys and then slowly release the tension and that's it.
- When bleeding the belt tensioner, you will need to pull it counterclockwise and once you compress it all the way, you will definitely feel it stop moving and that is the point where you slowly let go. The key is to "go slow" so you don't damage anything.
- The best way to perform this whole entire process would be to have your feet facing the back of the vehicle and your head facing the front of the vehicle. This yields the maximum visibility and also the maximum leverage.
- To double check your work, turn the crankshaft pulley clockwise and visually look at the belt to see if it's still on the grooves. If it is, great job, you did it!!!
- You won't be able to torque down the nut/bolt due to the limited clearance so you can only snug up the bolts to the best of your ability.
