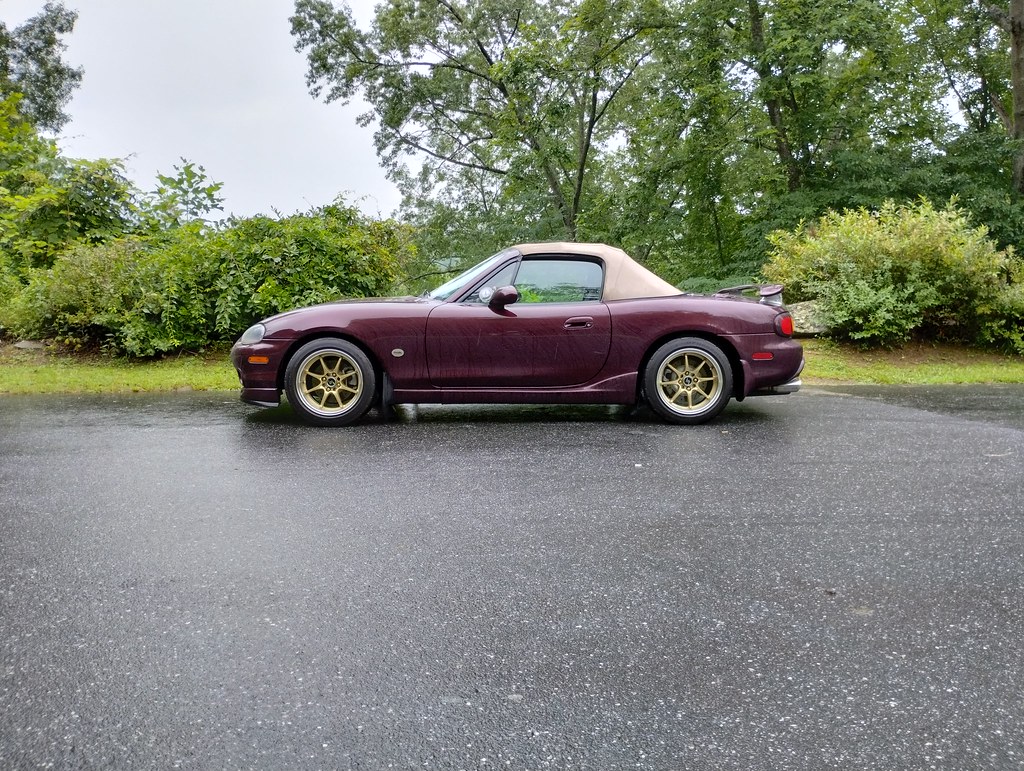
In a good way, or like WTF was I thinking?

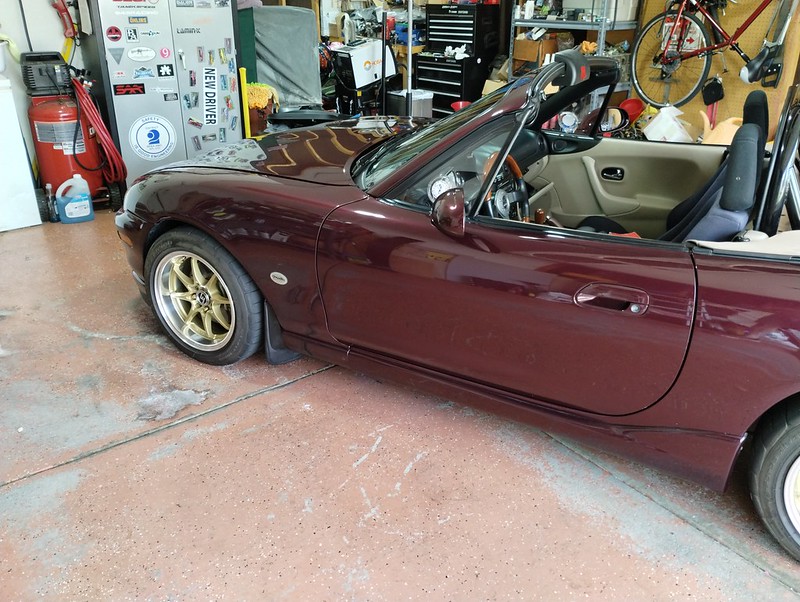
So, it turned out that my problem with gas smell and dropping of the gas gauge was still evident after changing the injector seals. Next possibility was broken injectors. I went ahead and ordered some new ones but chances are they won’t show before I was planning on leaving for MATG. I have a set of Denso 550cc injectors I used before when sending off my EV14s for work, so I dug those out and set about installing them. Got those put in, when I fired her up there was at least one of those that was spewing fuel out of the side of the injector body. I suspect it was blocked. Didn’t look to see if any of the others were the same, I just shut her down. Not having any other options, I decided to put the EV14s back in.
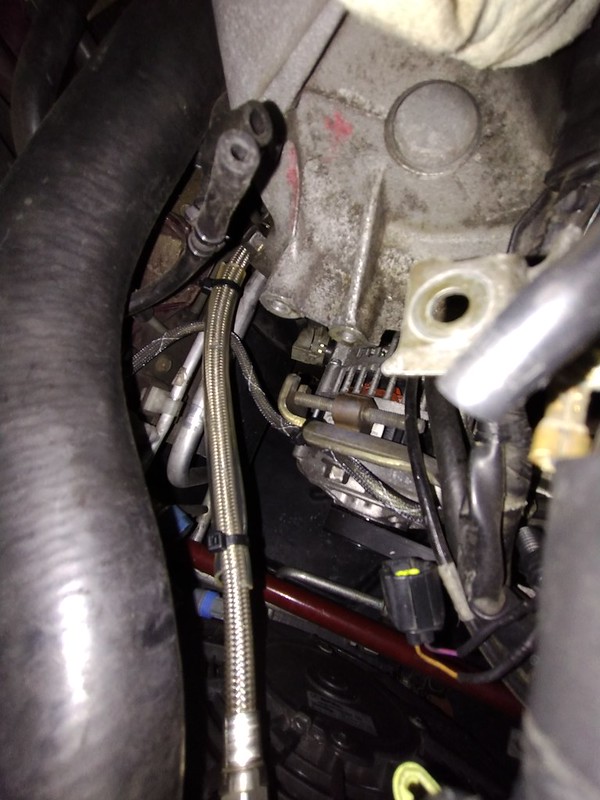
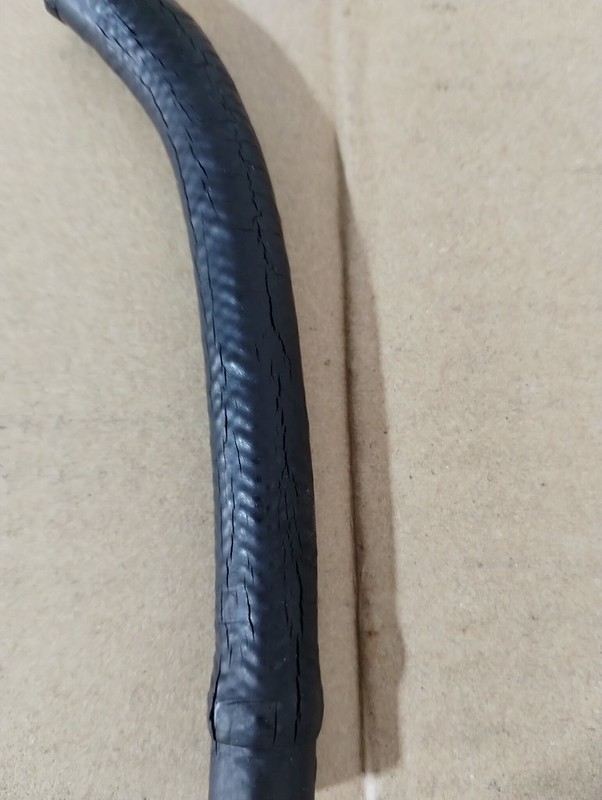
While doing this I noticed the short rubber fuel hose connecting the hard line coming from the fuel pump to the braided stainless hoses to the fuel rail inlet was badly cracked. You can see that here:
Was this the cause of the fuel smell? Only one way to find out, I replaced it. Once the EV14s were back in and with the new fuel hose I fired her up. Everything looked good so went for a test drive. There was a little fuel smell (likely due to all the fuel that came out of the rail while changing the injectors back and forth) but nothing like the intensity from before. I also did not see the gas gauge drop as it had been doing when I got on it. For now I’ll call that a win.
I am left with wondering why if the hose was the cause of all this that I didn’t see any signs of fuel being sprayed around the engine bay. Something I will have to keep an eye on.