NB MX-5 Hey, it's Minnie!

Finally got my thumb out and got in touch with EFI Analytics to see about getting my TunerStudio and MegaLogViewer registered on my laptop. They got back to me quickly with the necessary info so I was all set to get to tuning. FYI, they have this information available on their site if you use this link:

https://www.efianalytics.com/register/resendRegistrationEmail.jsp

Once you enter the name and e-mail address you used for registration you will be sent e-mails with the codes needed for activation.
 
A while back I put some new foam pads on the soft top latches to keep them from rattling when I didn't have the boot cover on. I cut these from some adhesive foam I had on hand. After that I found that you can actually buy new pads from Mazda, so I did that. Here is the number:

41142529610_ce9b33eaed_c.jpg


In the morning I got around to installing these. The foam I made mine out of was about 2mm in thickness. As you can see the factory ones are much thicker:

42953207591_f36dd97dff_c.jpg


I removed the old ones from here (in case you are not sure of what I am talking about) and then after a good cleaning installed the new ones:

29080248218_e90f7e8989_c.jpg


41142528660_2e04985506_c.jpg


Latches are nice and tight now. Once that was done I also replaced the forward splash guard on the passenger side front fender. It's this piece:

42953205801_a510cc2354_c.jpg


I managed to break the old one at the bottom where the large opening is when I was putting everything back together after the head replacement. It wasn't really hurting anything but the new one was only $32 so I figured why not?
 
I spoke too soon about the driver's airbag delete being a success. Beginning of the week I saw the light flashing six times, which is the code for the driver's airbag. I decided to just get the resistor arrangement from Garage Star. That came in a few days before this so I pulled the one I had made (checked the resistance of that and it was 0.5 ohms), swapped over the connector and plugged that sucker in. No joy, the damn thing still flashed. Note I checked the resistance of the GS part before installing and it was 3.6-3.7 ohms. I removed the part and checked the resistance again with the factory connector in place and it read 0.5 ohms. So I took the connectors that GS uses, opened them up so I could put them back on and then took the factory connector off. Before I did anything else I checked resistance of the GS piece and it was back to the same as my initial measurement. I checked for continuity between the ends of the factory connector and both were normal. I also checked the resistance of the resistor I used when I made mine up and it was 3.4 ohms. I have no idea why this wasn't working using the factory connector but oh well. Put the GS connectors back on and soldered the wires for good measure, then put it all back together. I would find out later if it worked or not.

42371503564_0e529ddd53_c.jpg
 
No dice on the airbag resistor, the light started flashing again. Took me a few days to get motivated. Disconnected the battery, when everything was back together the airbag light started flashing immediately. Double-checked the resistor and it was still showing the correct resistance. Probably going to try plugging the stock airbag back in to see if that clears the light, if not then I would know something else went bad.
 
Pulled the steering wheel and connectors all out, reset the clockspring just in case I had messed that up and then put it all back together. Airbag light was out for a few drive cycles but it came back on. Time for some head scratching to see where that gets me.

The 'charger belt had been moving off by one tooth since I put her all back together. I tried a small adjustment with no success, so that morning I pulled it off completely to move the brackets around. Took a couple of tries to get it where it needed to be but finally got it done. I would wait for a road test with some speed changes to see if it would be okay or would need some more fettling.
 
'charger belt had been staying in place so that was good. Unfortunately there had been some damage to the front edge from it walking so I would get another one to replace it with.

Scraped a couple of the diffuser fins one night leaving the driveway of one of my wife's friends. No major damage but I would have to lightly sand and repaint the damage.

I'd been doing some research on adjusting my VE tables. Finally manned up and made some changes to see what I could do. I am happy to report that it was an improvement. AFRs under boost were still high, but the gas smell was almost gone and she felt a little stronger. Now that I felt confident in making changes I would be doing more.
 
Finally got my thumb out and measured the resistance of the stock driver's airbag. It showed 0.3 ohms. Now everyone and their brother say to use a 3.3 ohm resistor when you remove the airbag which is a lot different. The GS one I bought measured at 3.6 ohms, the ones I previously tried were 3.3 ohms. I'm not the best with electrical stuff but I can get some 0.3 ohm resistors cheaply from Amazon, so I was going to give that a shot.
 
Since I was now headed for MATG 2018, I got my Recaros out of storage and swapped them in. Dropped one of the washers I had modified to use as a spacer for the belt receiver, a diligent search couldn't find it. Made another one and got that all together.

While the driver's seat was out I pulled the brake and clutch pedal switches that tie into the cruise control system. Since I had changed everything else with no change I figured might as well. The one on the brake pedal has two switches, one for the brake light actuation and the other for the cruise. Both of those tested good. The clutch switch was intermittent while I was measuring it. Sometimes I would get continuity/break, other times it would stay in continuity. Going to get one of those ordered to see if I could finally fix that problem.
 
Replaced the 'charger belt. You may recall I noticed some fraying of the edge from when it was walking off one rib. Figured better safe than sorry considering my upcoming trip.
 
Picked up the clutch switch that Saturday and installed it. Due to rain wasn't able to get out for a test for a few days. Results of that to come.

So the switch I am talking about is the one on the clutch pedal that is closest to the driver. Mazda number here:

43556383921_b1669bdc5e_b.jpg


Here is what it looks like:

28669023637_e9f975f803_b.jpg


And here is where it goes:

43556382291_4ab5b3823f_b.jpg


Note the lock nut on it is what allows you to set the height of your clutch pedal. Getting access to this is much easier if you have the seat removed and also remove the plate below the steering column. A set of thin wrenches make this job easier, as so:

42651097395_7e2c271708_b.jpg


You can see the thinness compared to a normal wrench:

41748190630_2537b26e77_b.jpg


On to the test. Unfortunately this did not solve my issue and the cruise still didn't work. On to the next possibility.

Finally in case anyone has forgotten what the Recaros look like installed, here they are:

43556379741_fda6c2b966_b.jpg
 
Since I was supposed to be getting some help with my tune at MATG, I decided I would go ahead and calibrate the O2 sensor. Got that done, then since I was already under there figured I might as well finally install the RB front sway blocks I bought a long time ago. Found out the bolts were wrong so measured the length I would need and paid a visit to Ace. Got what I thought were the correct bolts (M8 X 1.25) based on the stock bolt and some nuts to lock the blocks down. Unfortunately the bolts were jamming when I tried putting them through the factory sway bushings blocks. Had to go to a local hardware store, they usually have a wider selection of fasteners to see if I could find what is correct.
 
Forgot earlier but also while I was underneath the car I touched up the slight damage to the rear diffuser done on my wife's friend's driveway. Here is how it looked before:

43638983291_eb1d20bf8d_b.jpg


41831875470_a3a6550316_b.jpg


The impact only hit the two fins on the driver's side. I just sanded things down and gave them two coats of the paint. They ain't perfect but you won't see it if you don't crawl under the car.
 
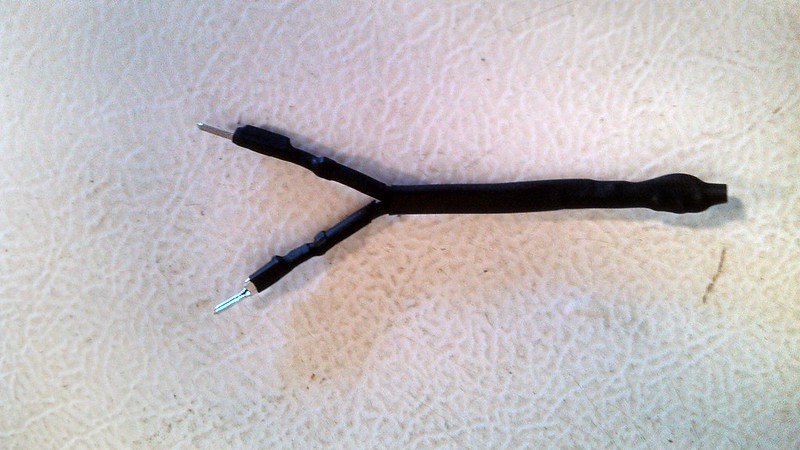
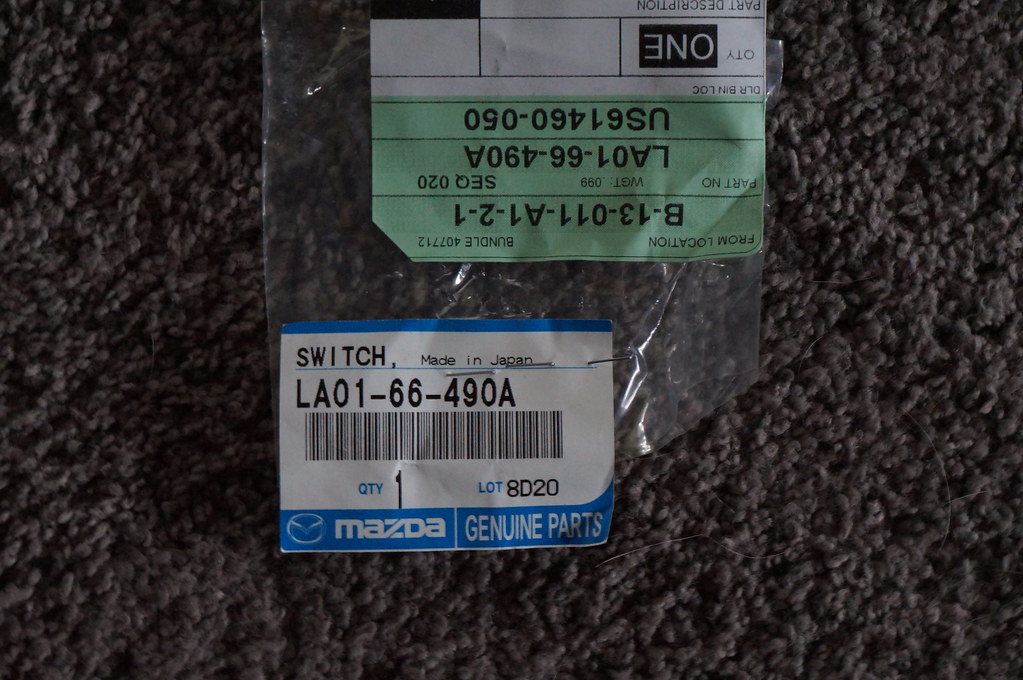
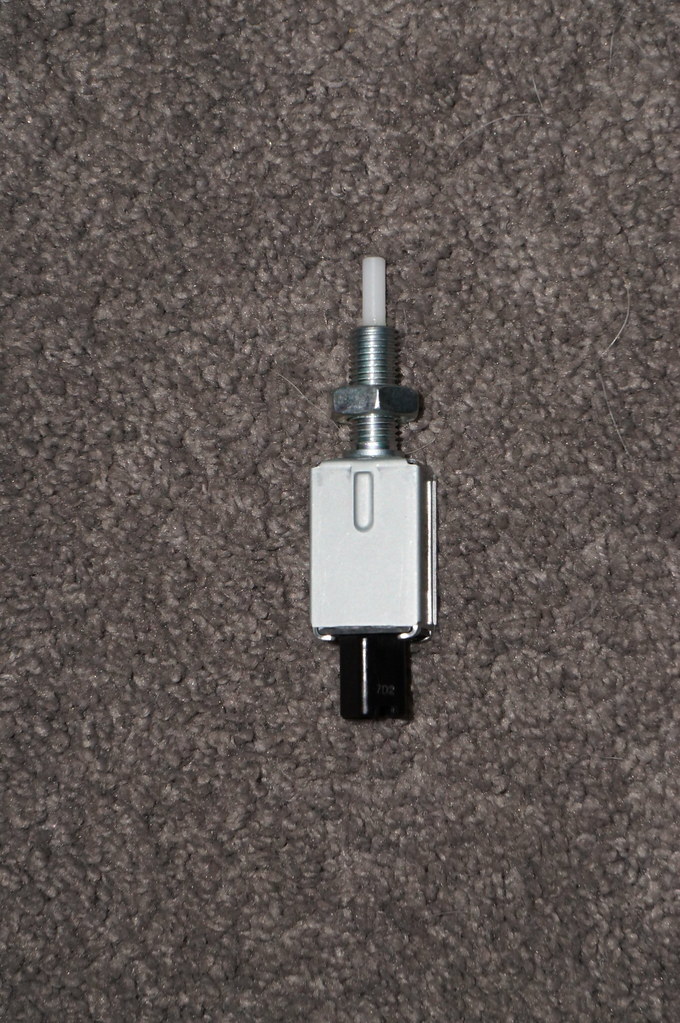
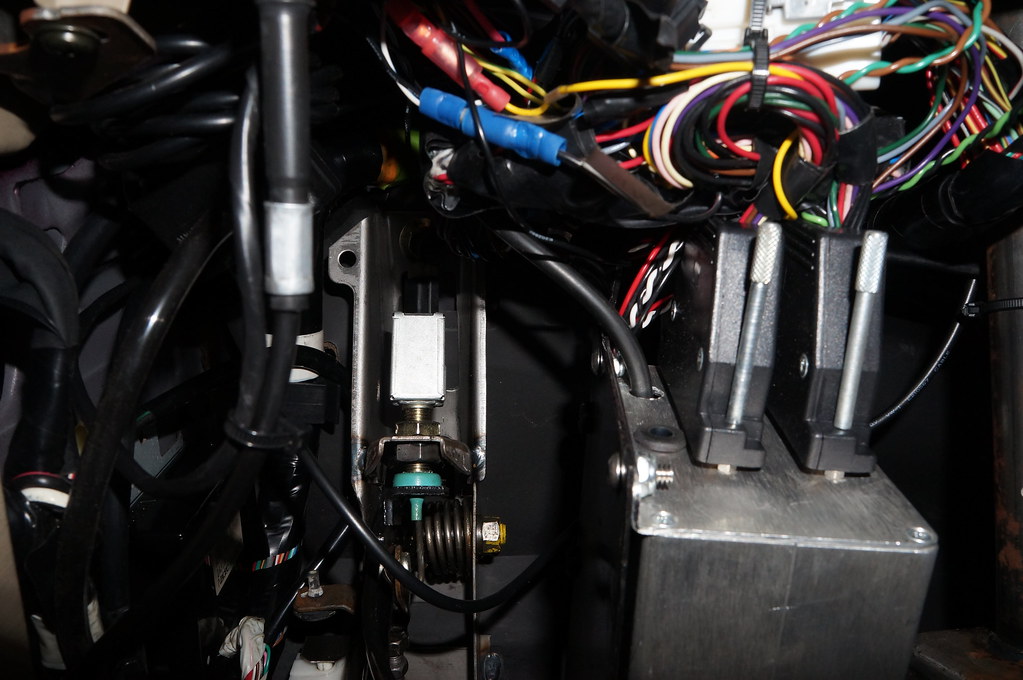
Next mission was to install the RB front sway bar bushing blocks, and troubleshoot the cruise control some more. I looked at the cruise first. Figured I'd take a look at the vacuum hoses to make sure I had no issues. As it turned out I did have an issue, and a big one. I was an imbecile. PSA, a vacuum motor (what the cruise actuator is) works a lot better when it is connect to a vacuum source. Way back when I was getting frustrated with this I removed the connection to the actuator so I didn't have any leak issues. Had to make a run to Ace for a tee (I am also running this line to the boost gauge), then made the actuator connection. Got back from a test drive, and I had cruise control again! Note, the problem was down to that clutch switch I replaced. I haven't heard of anyone else having this problem, it is usually the pad on the clutch pedal missing but it makes sense. How many times is that switch cycled during a normal drive?

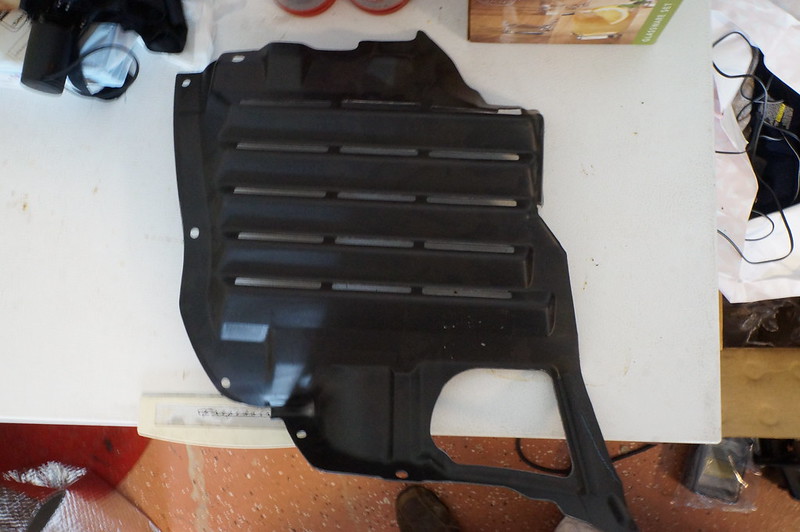
While I was at Ace I looked at M8 X 1.25 bolts again. Ended up buying some that were 50mm in length. After the vacuum hose connection (but before the test drive) I hoisted her into the air and pulled the engine belly tray. Removed one of the bolts from a sway bar bushing bracket and checked it against the tap I bought the day before. It matched up so I knew I had the correct size. I then proceeded to check the tap against the new bolts. Again they were fine. Next was looking at the longer bolts I had bought previously. What I found REALLY pissed me off. Three of the bolts were the correct size/thread pitch, the other one was M8 X 1.0. Some fidiot had put it back into the wrong package. What is ironic is I had just had a conversation with an employee at the very store a few days ago about how people can't put **** back in the right place. I had checked the bolts against each other but totally missed that one was off.

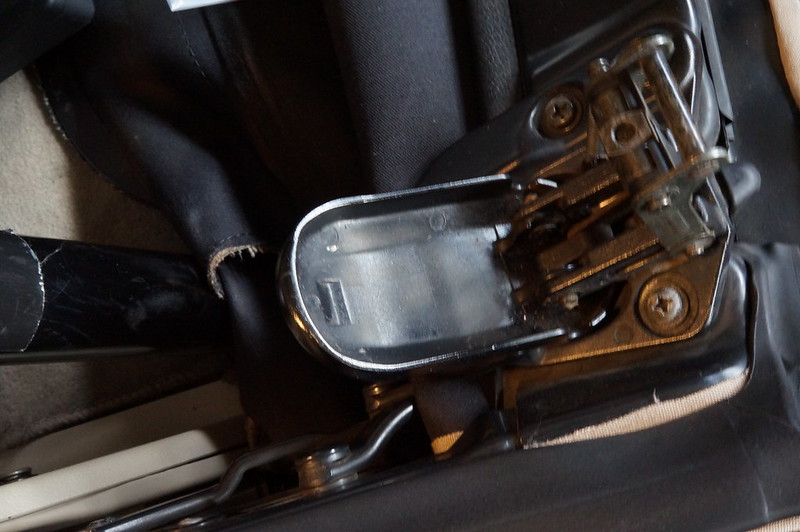
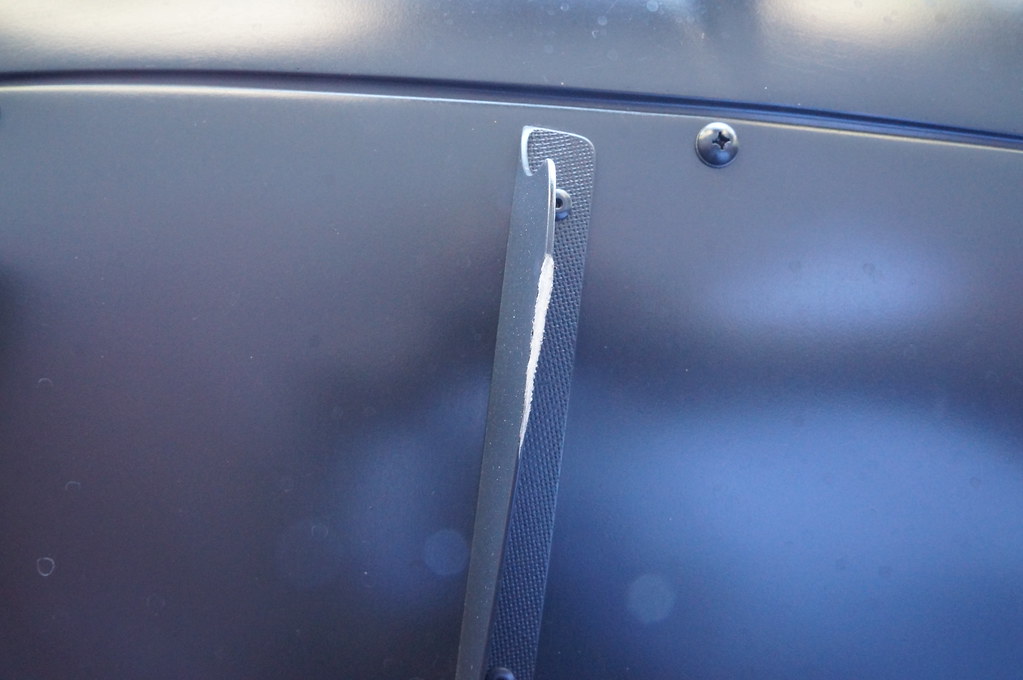
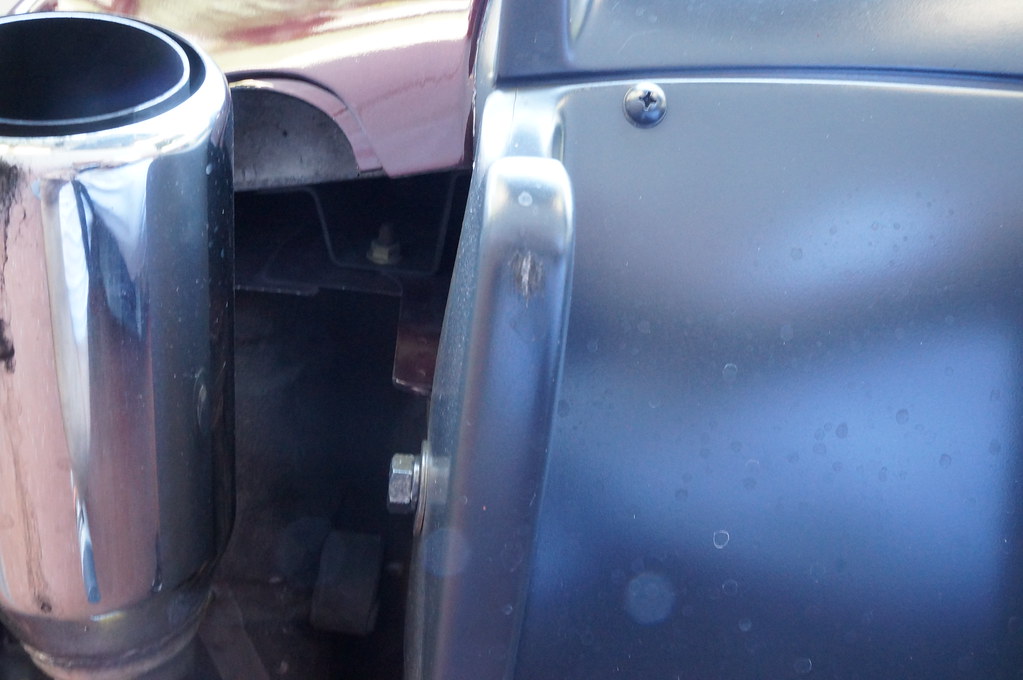
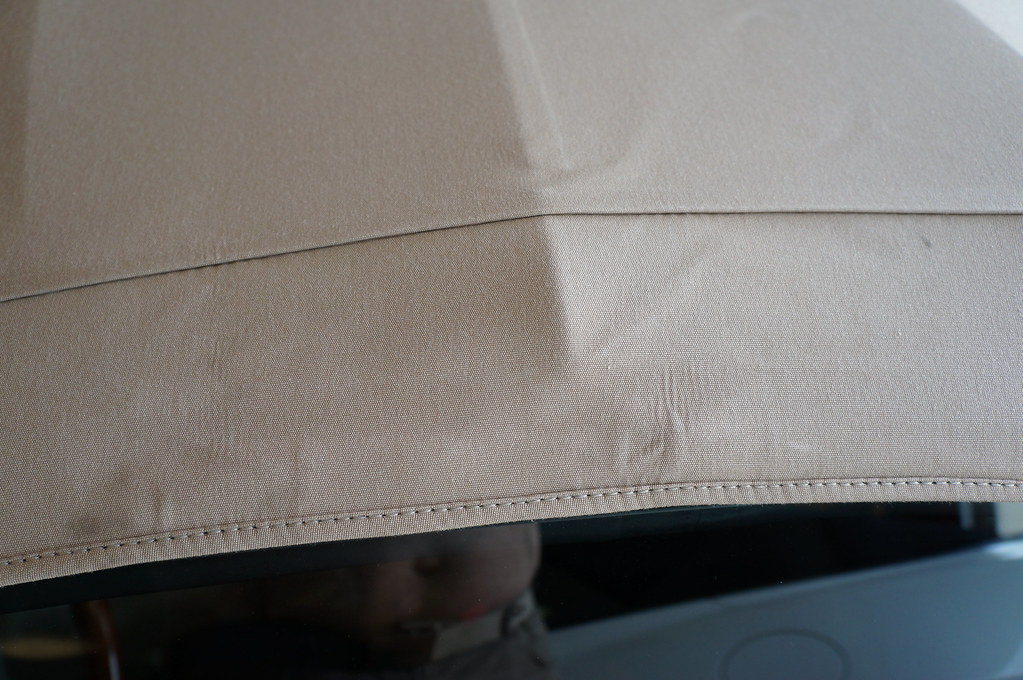
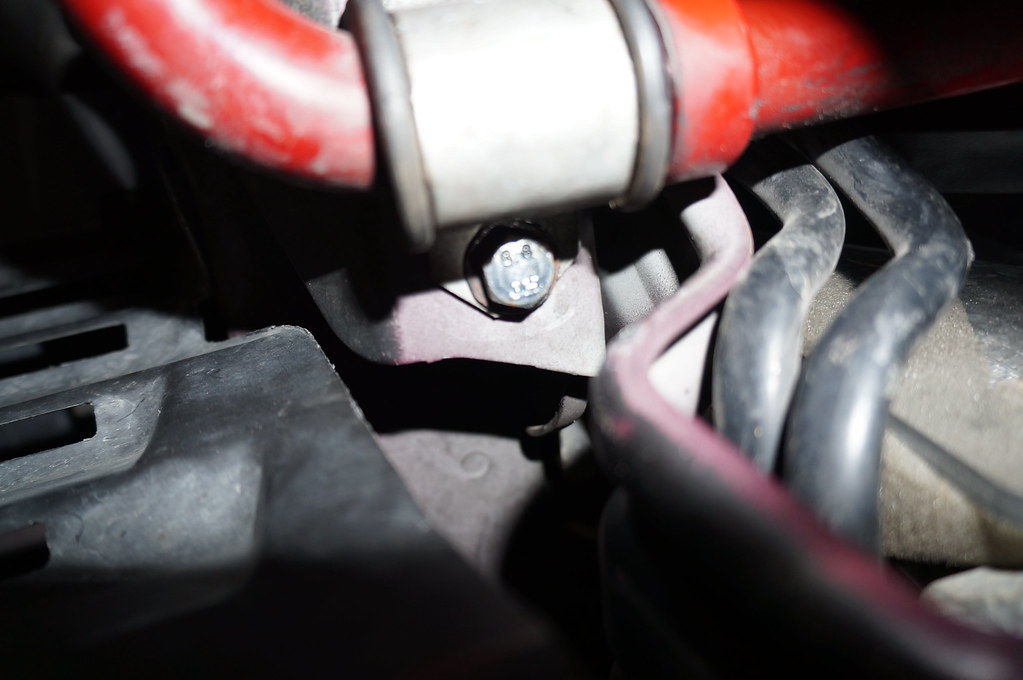
With that mystery solved I proceeded. Removed all the stock bushing bolts and chased the threads with the tap. I then ran one of the longer (60mm) bolts in to check for clearance. It was bottoming out so I decided to remove a little length. Here's a tip, if you are cutting a bolt down put a nut on first prior to removing material. Once you get the length you want file the end of the threads to put a bevel on them (I used a thread file I have) and then remove the nut. It will clean up the threads for you so you will be able to get the bolt started. I cut them down to about 55mm. Then I put everything together. I found the blocks I have weren't drilled correctly so it was tough getting them on both bolts. After some trial and error I ended up starting the bolt enough to get the locknut on and have about 5mm of thread showing, then putting the block in place. After that what worked best was to run the bolt all the way up while backing off the locknut slightly so as not to jam it up. If you do it correctly you will end up with the bolt tight and the block close to where it needs to be so you minimize the amount you have to tighten the locknuts (and trust me, you want to do this because of the tight quarters you are working in). I was thinking about putting some blue LocTite on the threads for the locknuts but couldn't really get in there. Since I was short one longer bolt I ended up using one of the new 50mm bolts in the front position on the driver's side. Thanks to interference with the lower radiator support on that side that is what I needed to do anyway. Even then it was tight, if you look at the four o'clock position from the bolt head in this picture you can see the shiny spot where the bolt head rubbed on the bracket while being tightened (couldn't get the camera to focus on that spot):

43630600902_75e4b7a8c3_b.jpg


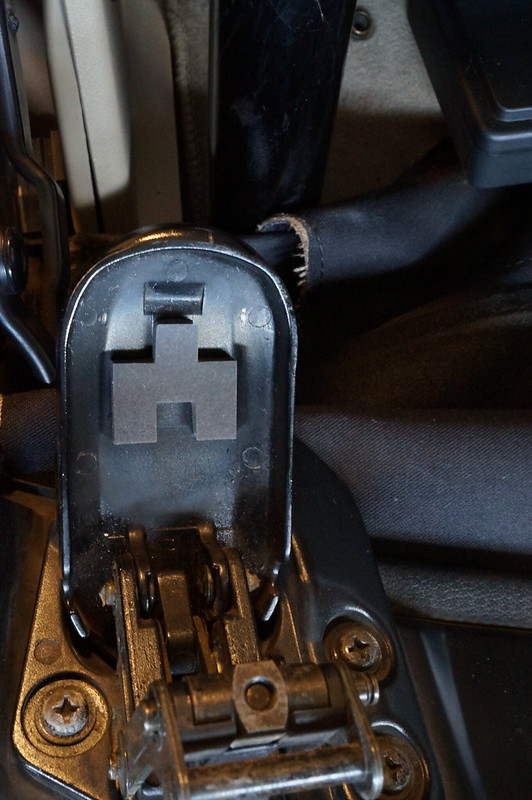
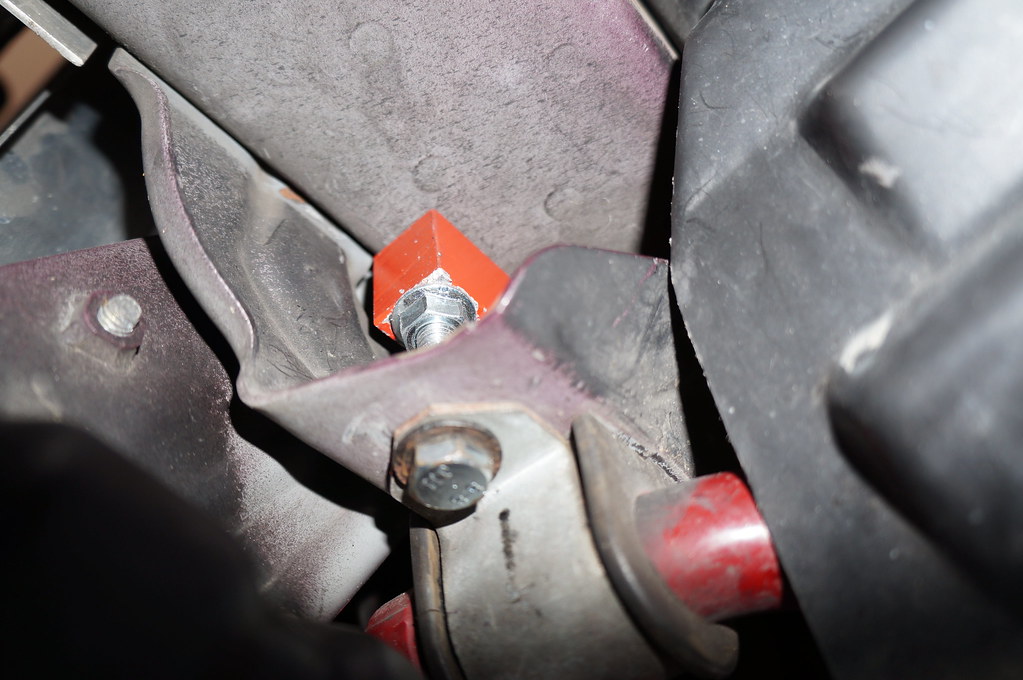
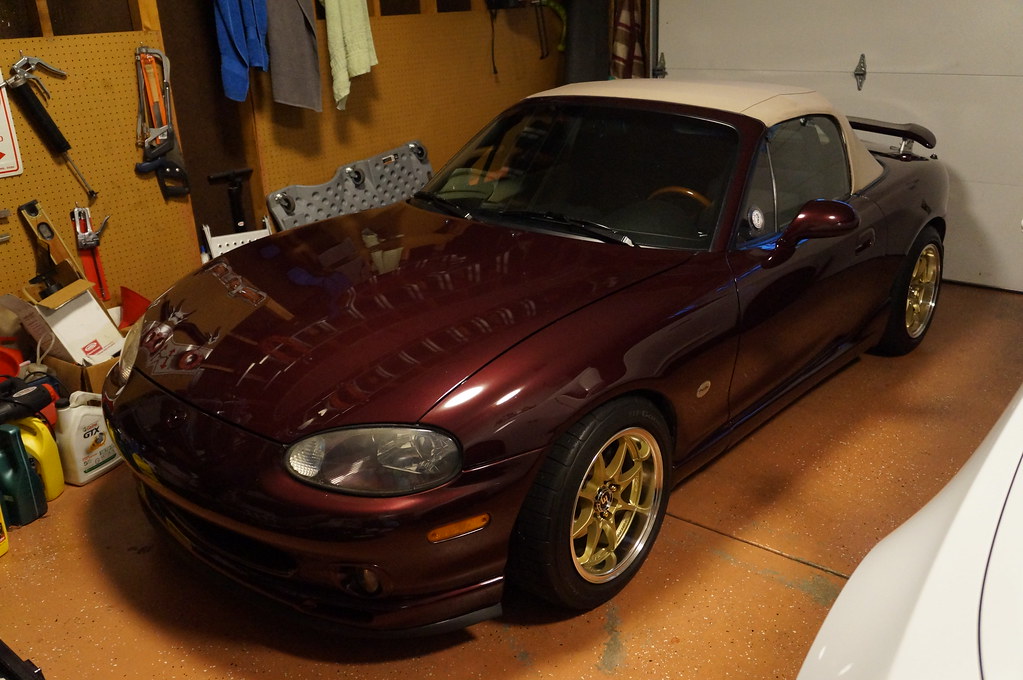
Here is how they look, notice how they match the color of my front sway:

28788209807_8e8a8a1816_b.jpg


When you tighten up the locknuts be sure to go back and forth, front to rear and retighten the nuts. I had to do this many times on each side to be sure they were all tight enough. This may have had something to do with how mine didn't want to slide easily over the bolts, but it's good practice in any case.
 
Washed her before a trip to Cars & Coffee. Tested all modes of the cruise control successfully. Going to be a relaxing trip to MATG.

I also found that the hose for my lumbar air bladder had gotten trapped on the seat hinge and cut. Pulled it off the pump, cut it back and put it back on. Lumbar was working again.
 
Since I had my cruise control problem fixed, I decided to reinstall the steering column switches that didn't have the lettering worn off. Pulled the steering wheel to get at those. While I was at it also decided to try one of the 3.3 ohm resistors I had bought for the airbag light. Kept it simple on that this time, folded the wire on each end of the resistor twice and applied some solder. Cut a piece of heat shrink to protect from grounding and installed that (note: it's a PITA since the wire doesn't have anything supporting it. Needlenose pliers came in handy). Put the switches in place and assembled everything. I'll give it a proper test the next time I take her out.

Touched up a couple of small paint chips that had been bothering me. One on the front mascot, the others in the gas lid bowl. Planned on doing a clay bar and waxing the next day.
 
First thing in the morning, washed, claybarred, washed again and dried her. Would be waxing a little later once she's completely dry (and I attend to my honey-do list).

When I pulled her into the garage the airbag light did not flash at all. I'm going to reserve judgment on this being the final fix, but I am hopeful. If so then I will transfer the connectors over from the GS resistor to one of mine so it would stay in place better.
 
I was doing some reading on M.net and found that the crease in my soft top above each window was because I had installed the tension cables incorrectly. While I was waiting for her to dry for the waxing I figured I would take care of that. It's fairly simple to fix, you just pull the top back off the front bow also removing the front weatherseals and channels. Here is how it looks when it's wrong:

42841521375_5f07b9f07e_b.jpg


And here is how it looks when it is correct:

43029892514_09de2773bf_b.jpg


Note this was taken on the opposite side from the incorrect installation (so you aren't seeing things. Well maybe you are, but not in relation to this). I used 3/16" dia pop rivets with a grab of 3/16 to 1/4".

This is an easy mistake to make with aftermarket cables as they are different than the factory ones, and as you can see from the initial picture the tab fits very nicely in the recess in that configuration. The proof is in the pudding though, here is how it looked when the cables were wrong (note the crease above the window):

13544739364_f790c846d5_b.jpg


Here is how it looks with the cables correct:

43029891244_798cab030b_b.jpg


I expected it to smooth out over time (it did). It was interesting that the top was now easier to latch despite the cables having more tension on them.
I went ahead and cut the connectors off the GS airbag resistor and soldered them onto one of my 3.3 ohm resistors. That was installed then.

Wax was on the car and I also put another coat of the RaggTop protectant on. If I didn't polish the wax off that night it would get done in the morning.
 
Buffed the wax off. Still had some more to do but nearly ready for MATG.

43044345994_789e73cea4_b.jpg


43044344304_90f76087a6_b.jpg
 
Had a blast at MATG. Made it 10 miles on the trip down before having to stop to put up the top. It stayed up for the next 2 1/2 days, rain was fairly continuous. It did dry out some Friday and was mostly dry Saturday. Coming home Sunday was good too, had some overcast sky north of Knoxville but that finally cleared up.

She performed well the whole time. Managed to have a forum friend take a look at my MS settings on Saturday and he did some tuning. He pulled a ton of fuel out and smoothed my VE table out a lot. She ran great then. Still some extra fuel under high boost but not as bad as it was. He also found my EGO control was not enabled which meant I was always using more fuel than I should have been (instead of using AFR feedback from the wideband the MS was only operating off the VE table settings). I went from getting 23.6 mpg on a complete freeway tank on the way down, to 25.2 on a tank combined with about 100 miles on twisty roads including the Dragon and freeway.

On the trip home she started acting up a little. AFRs were jumping around although the engine never missed a beat. Also had the temp gauge move a little above normal. I stopped to check for any problems but nothing presented and when I got back on the freeway the gauge was where it normally is. For the AFRs I am wondering if the COPs got damaged when I had some water in the plug wells a while back, so would be changing those for a spare set I had to see what happened.

In the morning I washed her dirty ass (cabin I was staying in was down a gravel/dirt [aka mud] drive so she got really messy). Had some house work to do then crashed for a while. Changed out the Recaros for the stock NB2 seats. Something I found out is that a FM butterfly brace acts as a superb road grader/scoop. Every time I ran on the driveway to the cabin I would end up scooping up some, which would then fall out around various corners. The last time I used it as I was leaving I managed to miss all the high spots (or I had just planed them all down past where it was an issue. Got to meet a few new forum people as well as reconnecting with old friends. All in all it was a hoot.
 
A few of the 2000 SE gang at MATG. I used to think I was special until attending in 2017, there were quite a few of this trim.

28998806897_5714683d19_b.jpg


Overlook on Rt 28:

43031393195_ea7d595d78_b.jpg


Just prior to washing her after getting home (for the record, she was way dirtier while at the Gap. Gravel/dirt-mud drive to the cabin I was in):

43031393885_a8178fd468_b.jpg


A day or so later I got around to swapping over to the spare set of coils I had. Started her up and she was running on 3 cylinders. So, back to the other set. I had forgotten about one of them being bad, would probably look into getting a new set as both of the Toyota sets I had were used when I bought them.
 
Back